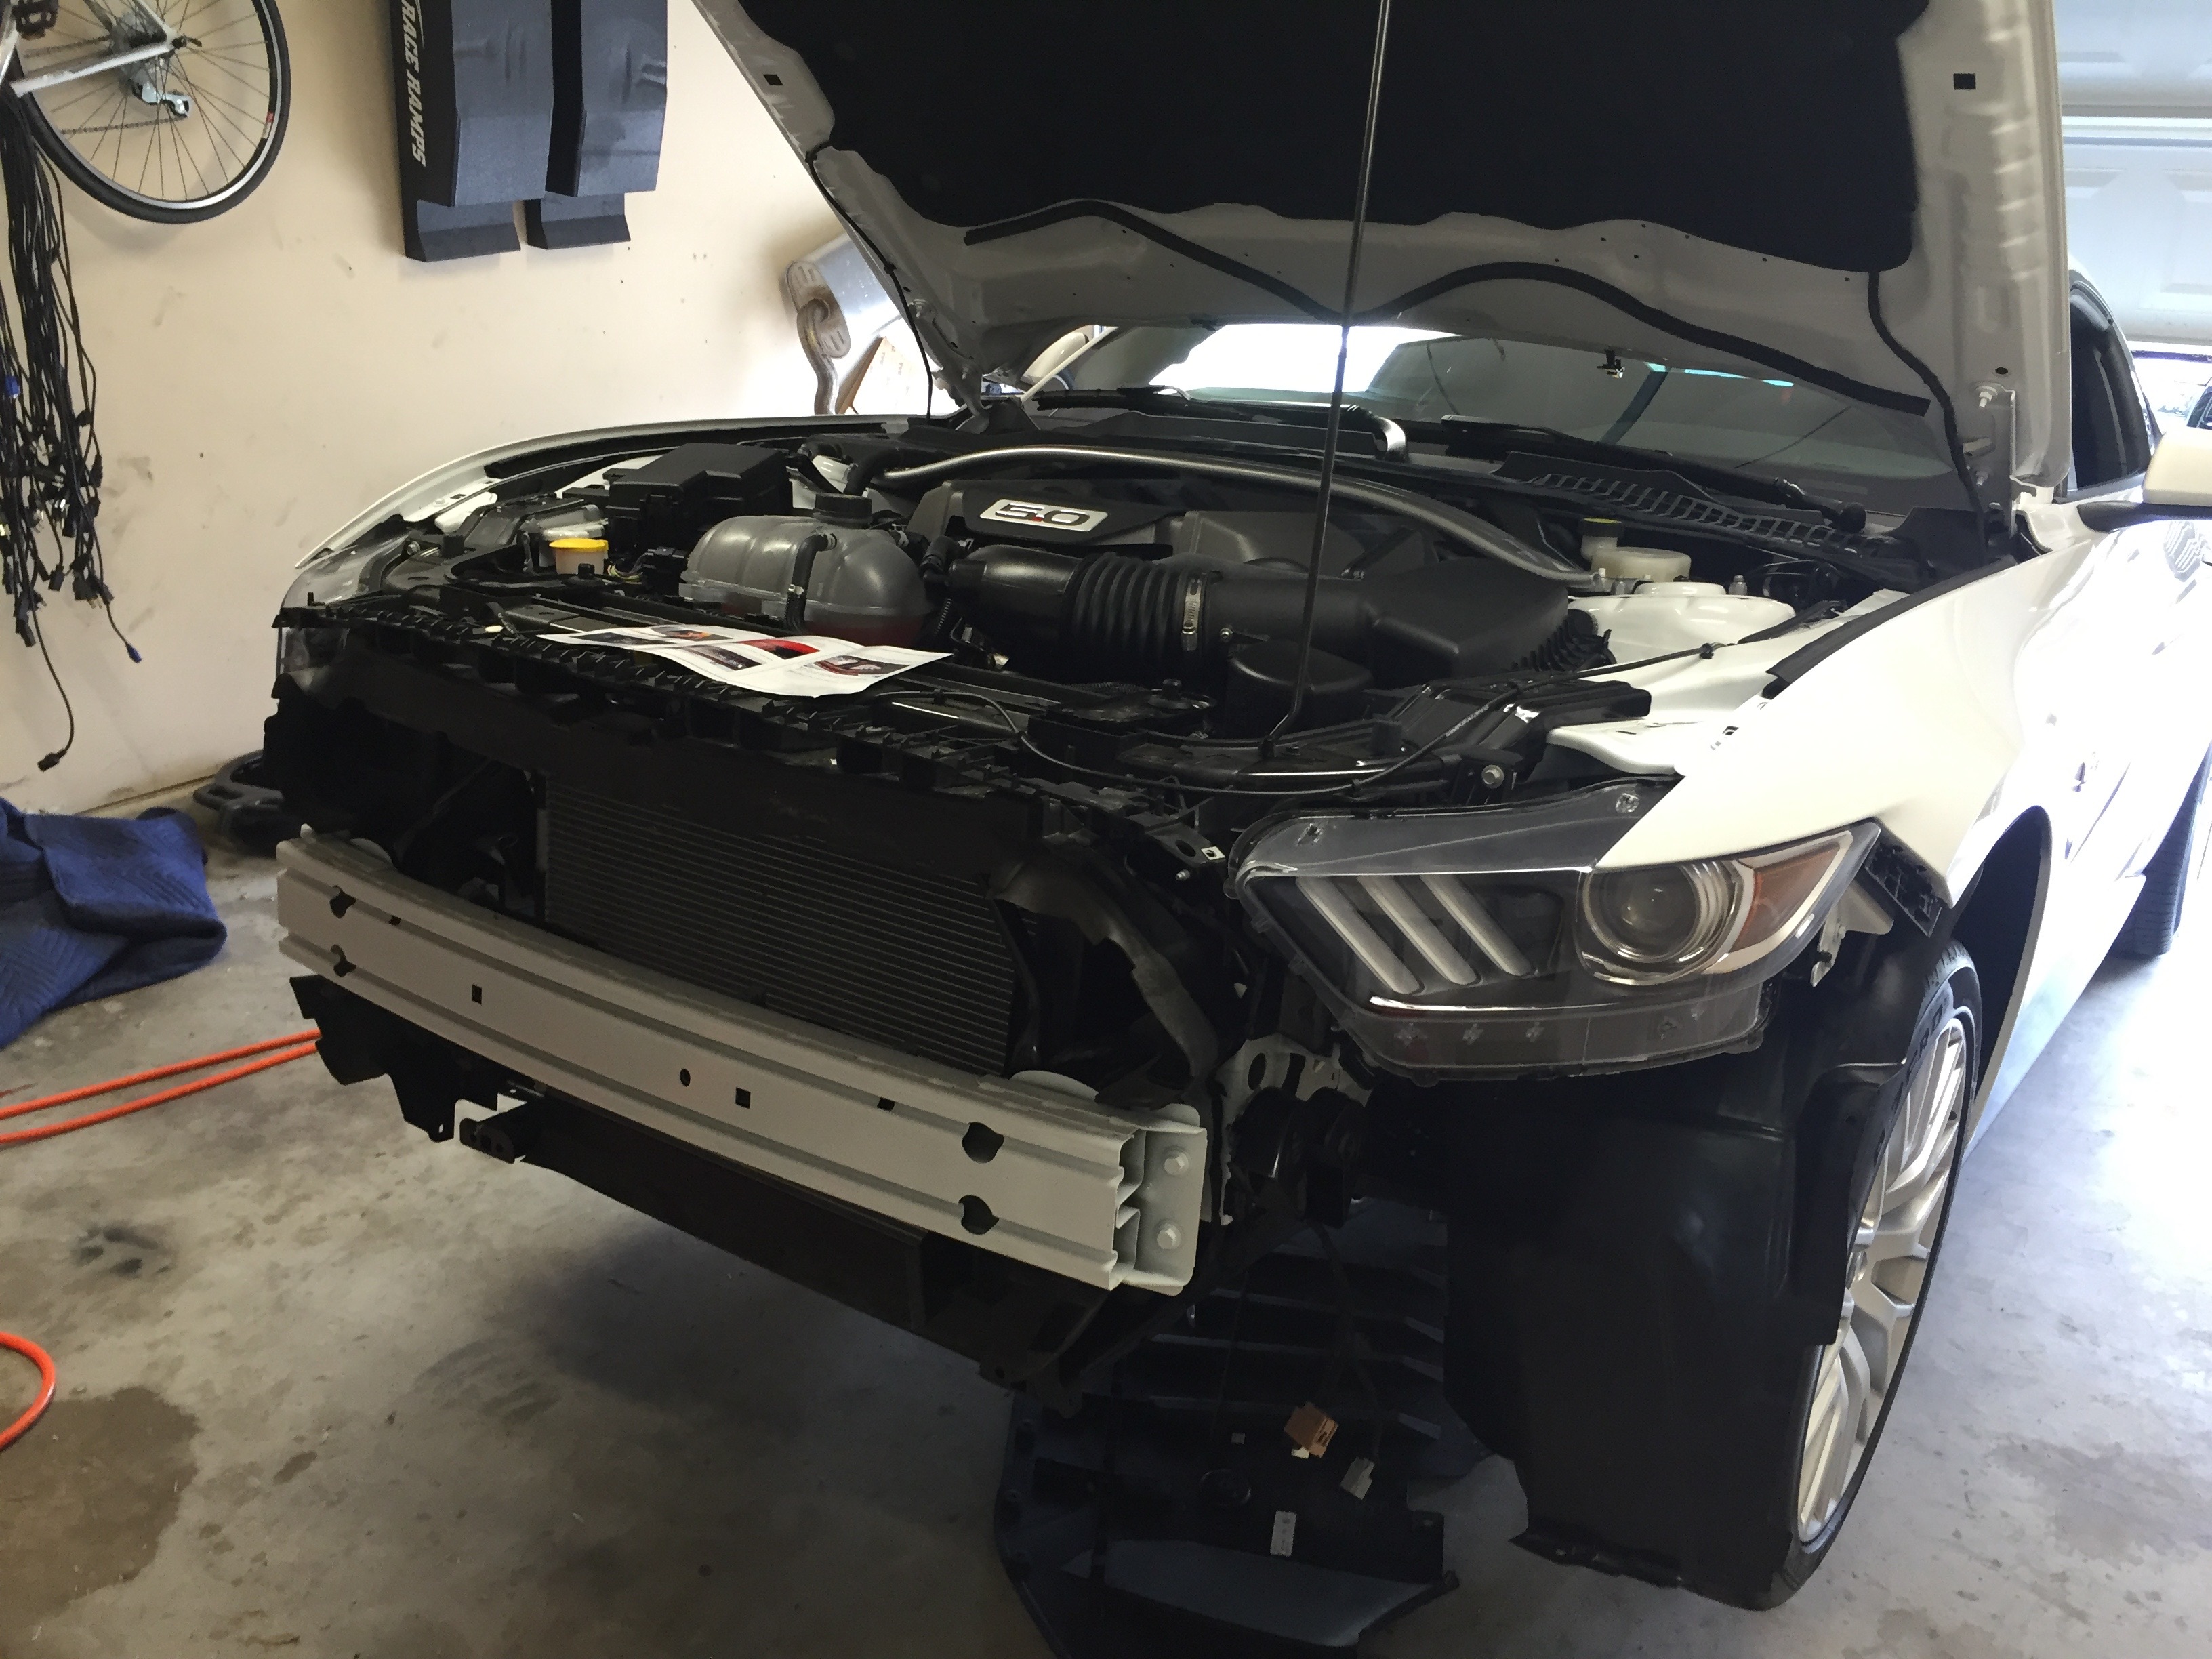
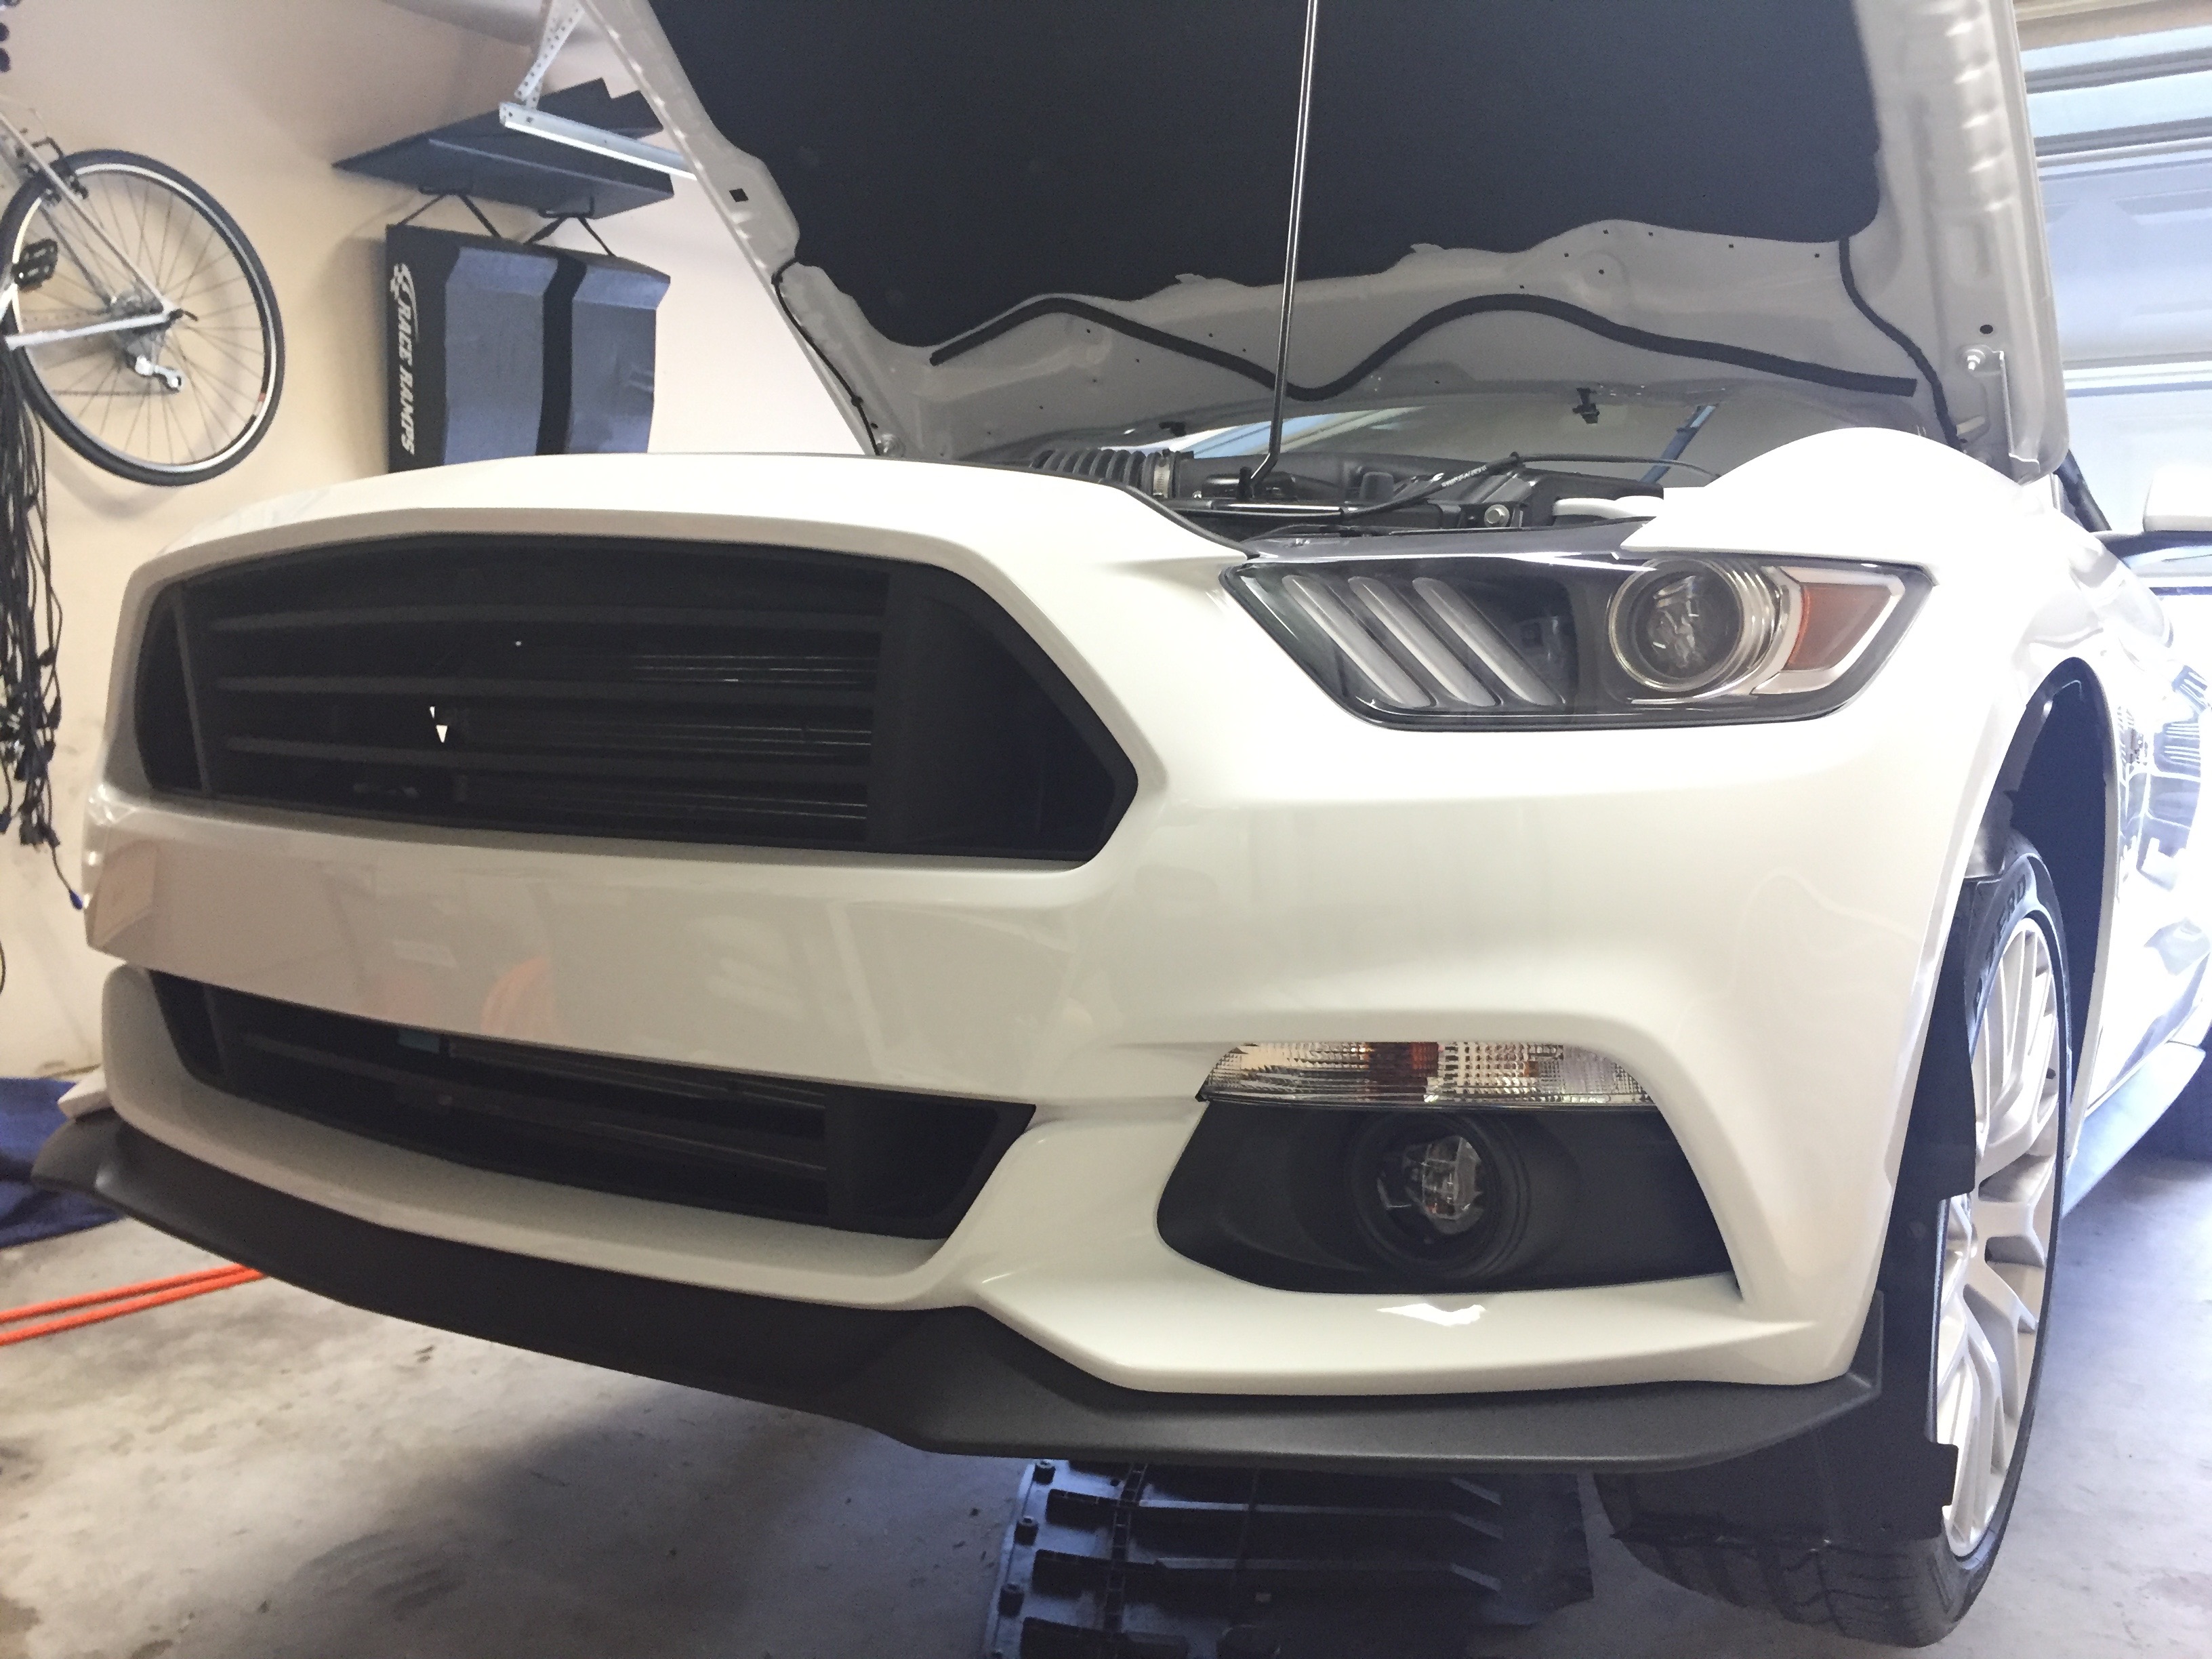
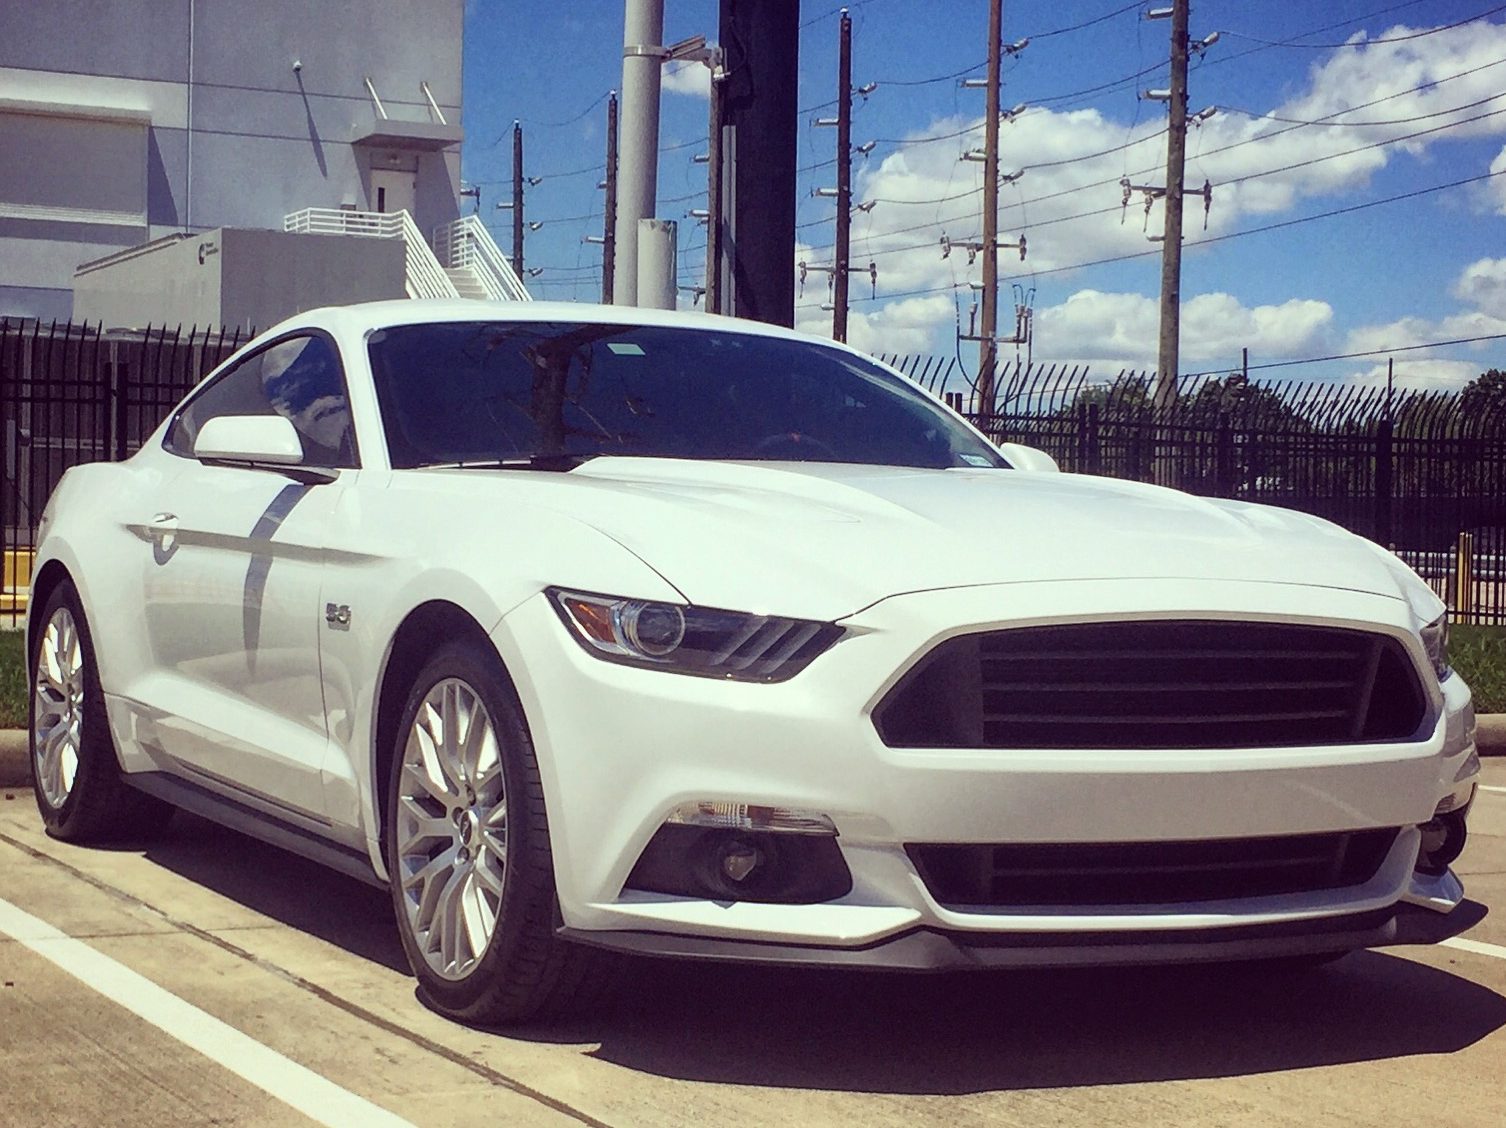
I waited for MMD’s V-Series Grilles to come out. They were the best looking mustang grilles out of all the models on the market at the time. I was very excited about the install, but dreading taking off the front fascia.
Mile 1,779: Mustang Grilles from MMD’s V-Series
I was one of the first buyers of this mustang grilles kit. I can safely say the install is NOT that bad! Everyone makes a huge deal out of removing the front fascia. Yes, it’s burdensome, but it’s not hard at all. There was what seemed like a million clips and screws to undo. It wasn’t challenging work. Make sure you have a decent nylon pry tool for popping off the clips. It will also help when removing the grilles from the front fascia. I use a $10 set of plastic trim tools from Amazon. Just take your time and make sure you removed all the screws and clips, that’s what seems to trip people up, it really is very simple.
Someone suggested wheels off is the easiest way to reach the hidden bolt holding the front fascia in place. However if you use jack stands or a lift you don’t have to take the wheels off as long as you let the suspension fully drop. Then remove two additional clips towards the middle of the wheel well, that is two past what the instructions show. That will get the wheel liner cover way out of the way without removing your wheels. This worked on my factory PP 19″ wheels.

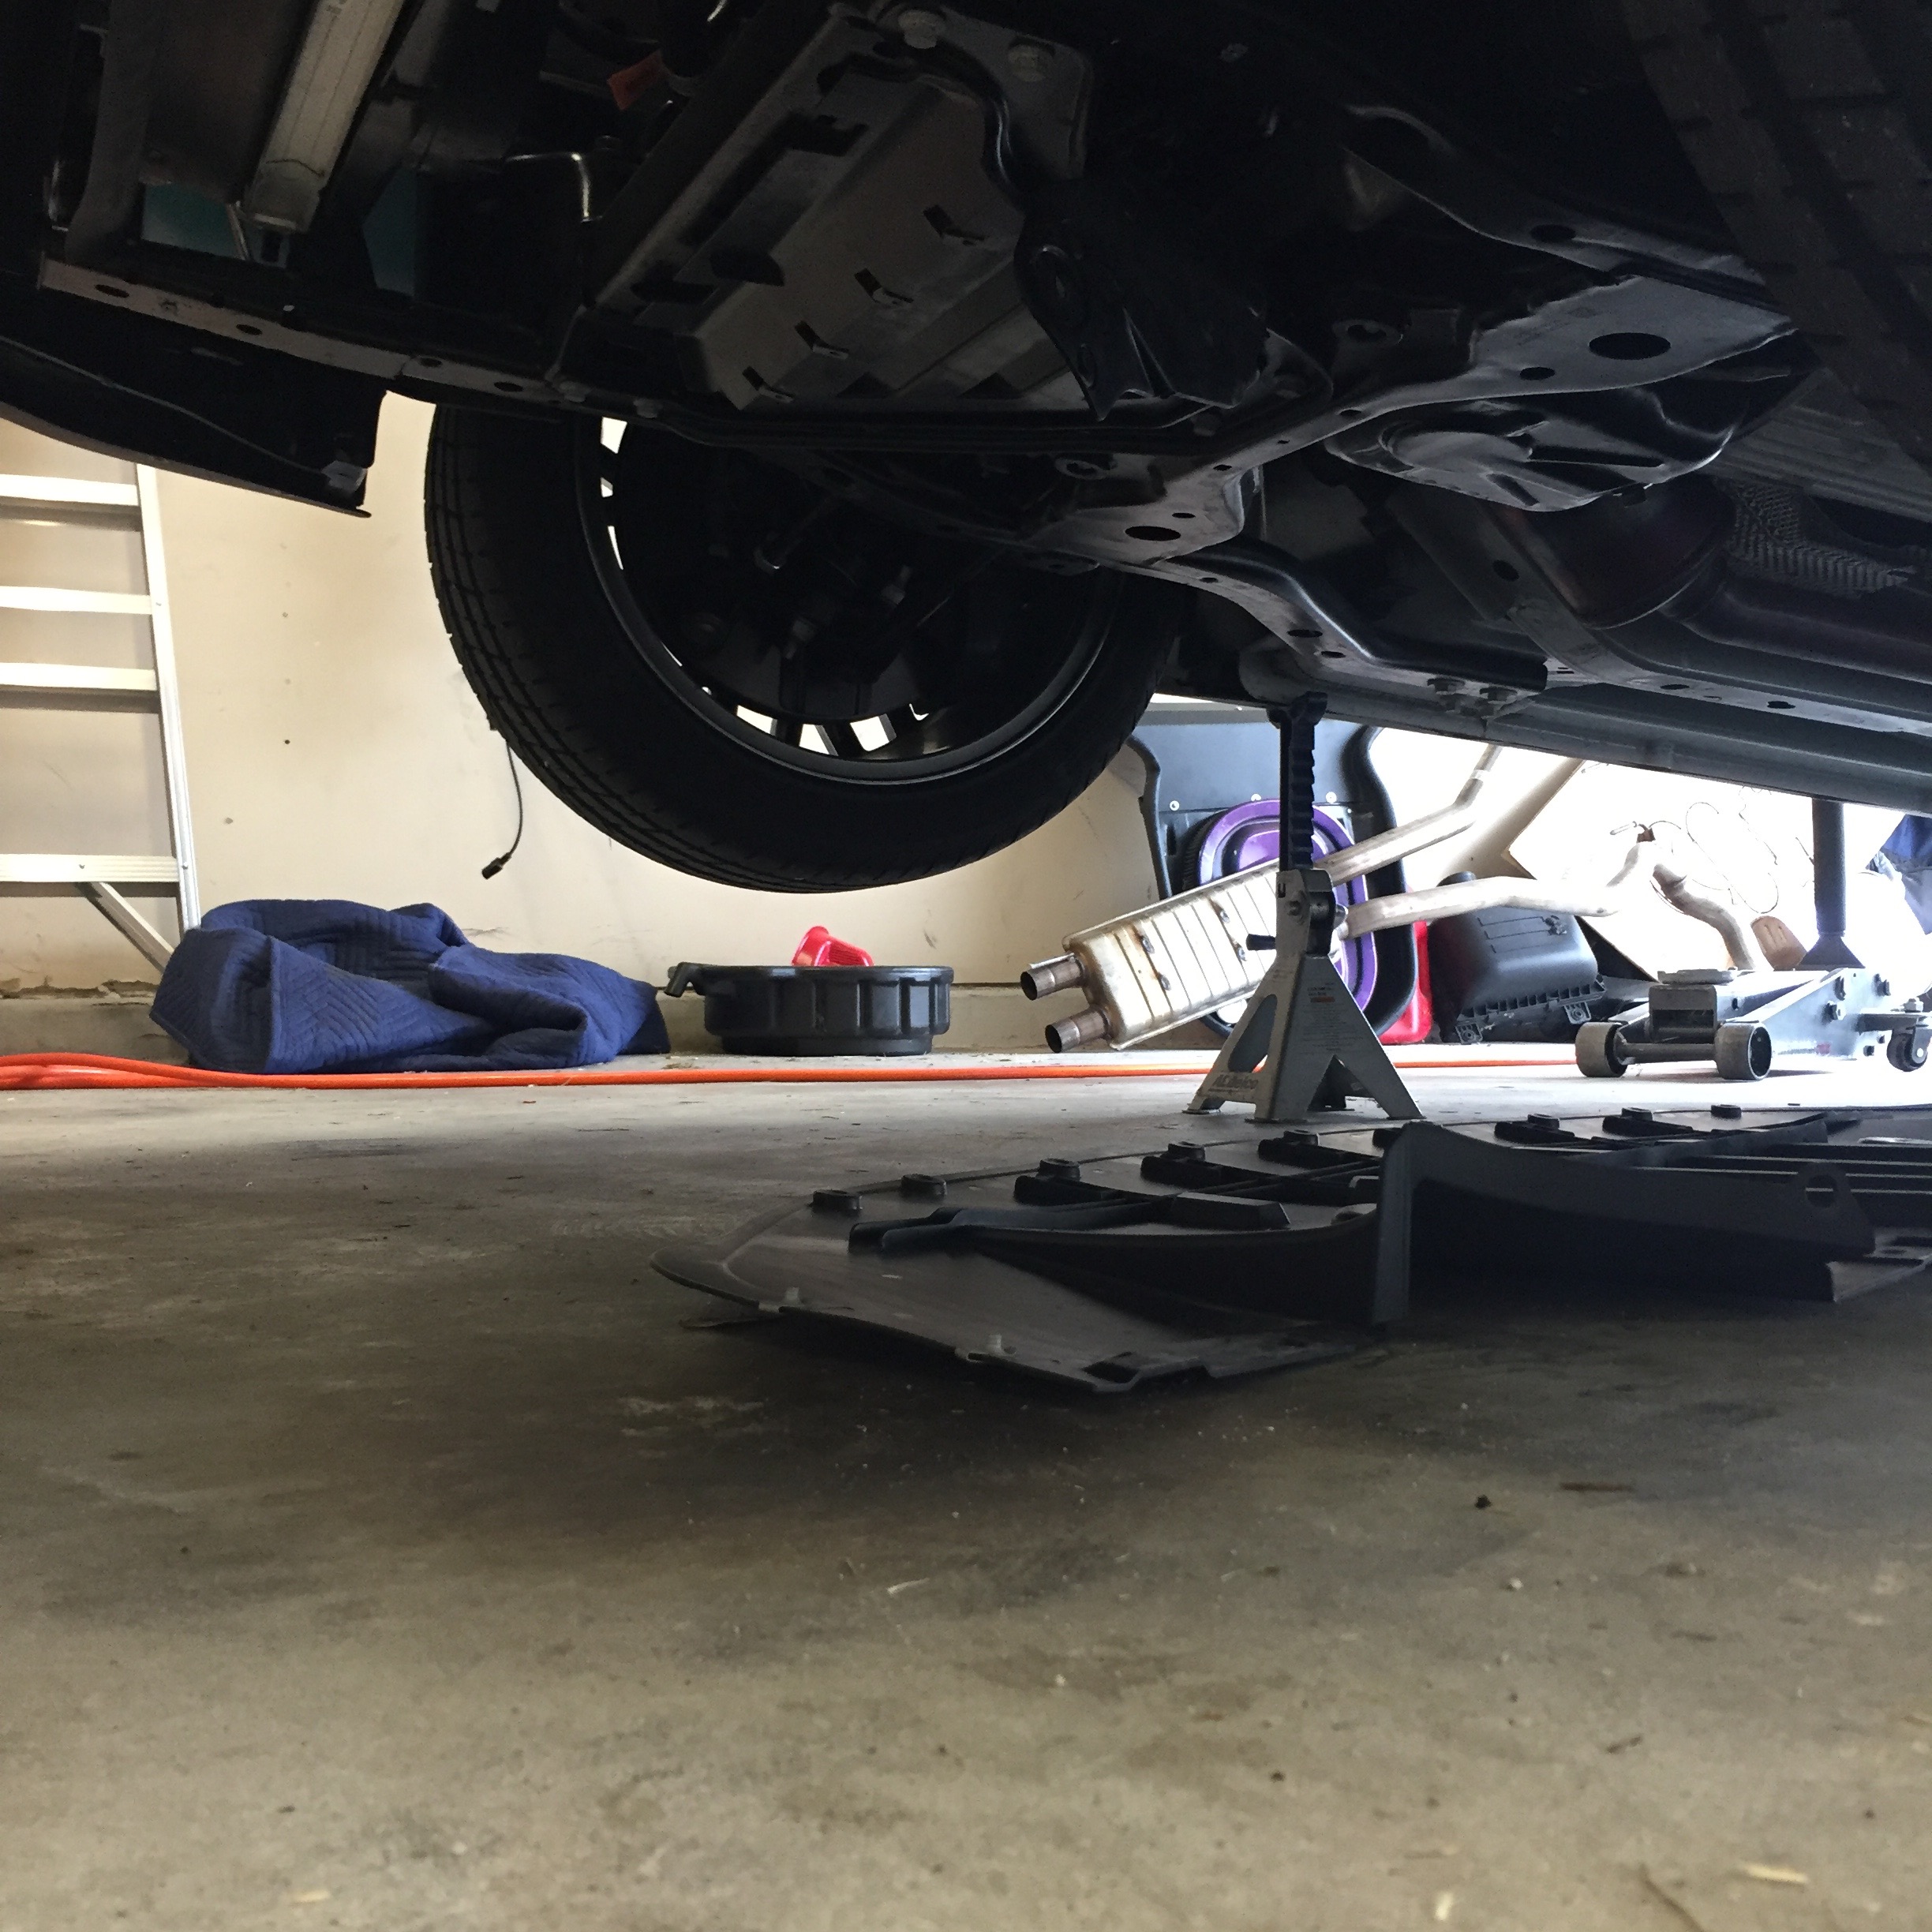

The hidden bolt behind the wheel liner can be reached from the top where you’d stick your hand in to access the headlight bulb as well as the bottom where the wheel liner cover comes off. I wouldn’t try doing it without moving the wheel liner out of the way because you really do need two hands or you will drop tools and then must remove the wheel liner any way. If you have a small ratchet and some swivel extensions you can get that bolt from the top or bottom and use your spare hand from opposite side to guide it. I also tried using a small wrench and it was easy to do it that way too if the wrench is small enough. Took me maybe 15 minutes to remove on both sides, but only because I was playing with different swivel extensions. Putting it back in place took just a few minutes for both sides.
The white foam sleeves the mustang grilles ship in make for a great surface for the front fascia on. Tear or cut them at the seams to make the foam into big rectangles and drape them over a table. Take your time on the clips holding the factory grilles into place. This is actually the trickiest, but by no means difficult, part of the install. I was really paranoid about doing this part. I was worried I’d break a clip and mess up my front fascia. I found it best to start at one side and work your way around in a circle as each tab pops out. I used the slimmest plastic trim tool between the black plastic tabs of the factory grilles and the fascia tabs in front of them. This allowed me to bend back the black grille tabs first giving the fascia tabs more room to bend and pop out. It’s more difficult to push both tabs back at the same time. Just take your time and just go in a circle until the grille pops out.
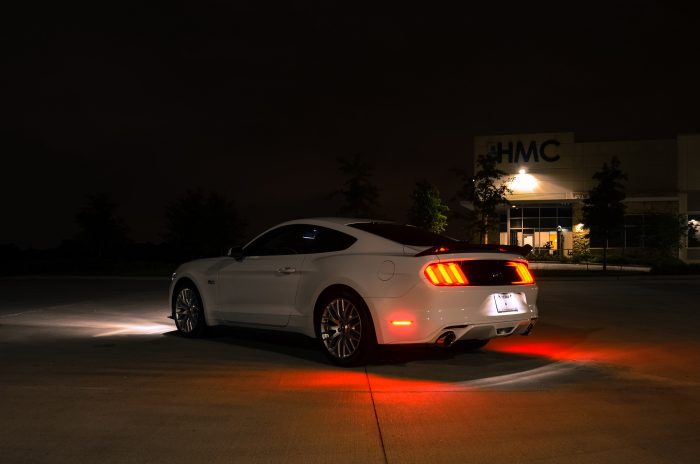
Mile 1,795: More Lighting & Radar + Mirror 12V
In my quest for replacing incandescent lighting with LEDs I did some shopping at Diode Dynamics. These guys have a solid selection of lighting components and kits, check em out! They’ve had stuff for pretty much all my cars, except my 2017 Audi which has LED everything stock. For the Mustang, I picked up Diode Dynamics HP24 Cool White/Amber Turn Signal LEDs, Diode Dynamics HP3 Cool White Side-marker LEDs, Diode Dynamics Red LED Rear Side-marker Lenses, and a Diode Dynamics HP11 Backup LED. The turn signal LEDs are cool! These LEDs are white when driving or parked and turn amber to signal and they are combined with the front side-marker LEDs for a complete look. The rear red LED lenses are entire lens replacements, you pop out the old lights and plug in the new lenses with LEDs. This turns the rear side marker into a cool red LED strip instead of a lame incandescent bulb. The quality of the lens is decent, though I did have an LED die in one strip of the driver’s side lens later on, but they sent me a replacement pair! The last piece, the backup LED is a great buy, because at night the factory lighting did NOT provide adequate illumination to reverse safely by my standards.
The last thing I did with the Mustang before hitting 2,000 miles was installing a Valentine One radar detector and tapping power from my mirror. The hard wire kit is super easy install and for those that haven’t seen one it’s basically a set of prongs you wedge into the harness on the back of your mirror. This gives you switched power for your radar detector or possibly other toys. The kits are all over Amazon and other sites. The Valentine One came out of one of my other cars, because I had bought an Escort Max 360 radar detector to quiet down alerts. I don’t drive the Mustang every day, so the hair trigger sensitivity of the V1 isn’t a problem.