I decided it was time to make some serious changes. To start off we need to get some boost. This holiday weekend I’m going to be adding 10PSI during my stage 2 mustang procharger install! It’s all about maximum performance and handling from here on out.
Mile 4,043: Mustang ProCharger Install
Since I decided to stop messing around only one thing made sense, forced induction! I checked out what must have been a dozen configs and was really torn. The reason I ruled out positive displacement superchargers like the Roush is because they’re more invasive. The Paxton centrifugal kit looked good, but the ProCharger Stage 2 kit seemed better designed. I really liked the dedicated drive belt, if you tear it up you can still get home. I liked the promise of an easy mustang procharger install based on reviews. Turbo kits were also tempting, the hellion makes tons of power and there were several single turbo and twin turbo kits poised to hit the market. So ultimately, I was torn between a turbo kit and the ProCharger centrifugal supercharger. No matter which kit you pick it’s a big job, but I really wanted something I didn’t have to commit to and could upgrade relatively easily. The nice thing with centrifugal supercharger and turbo kits is that they’re easier to upgrade too.
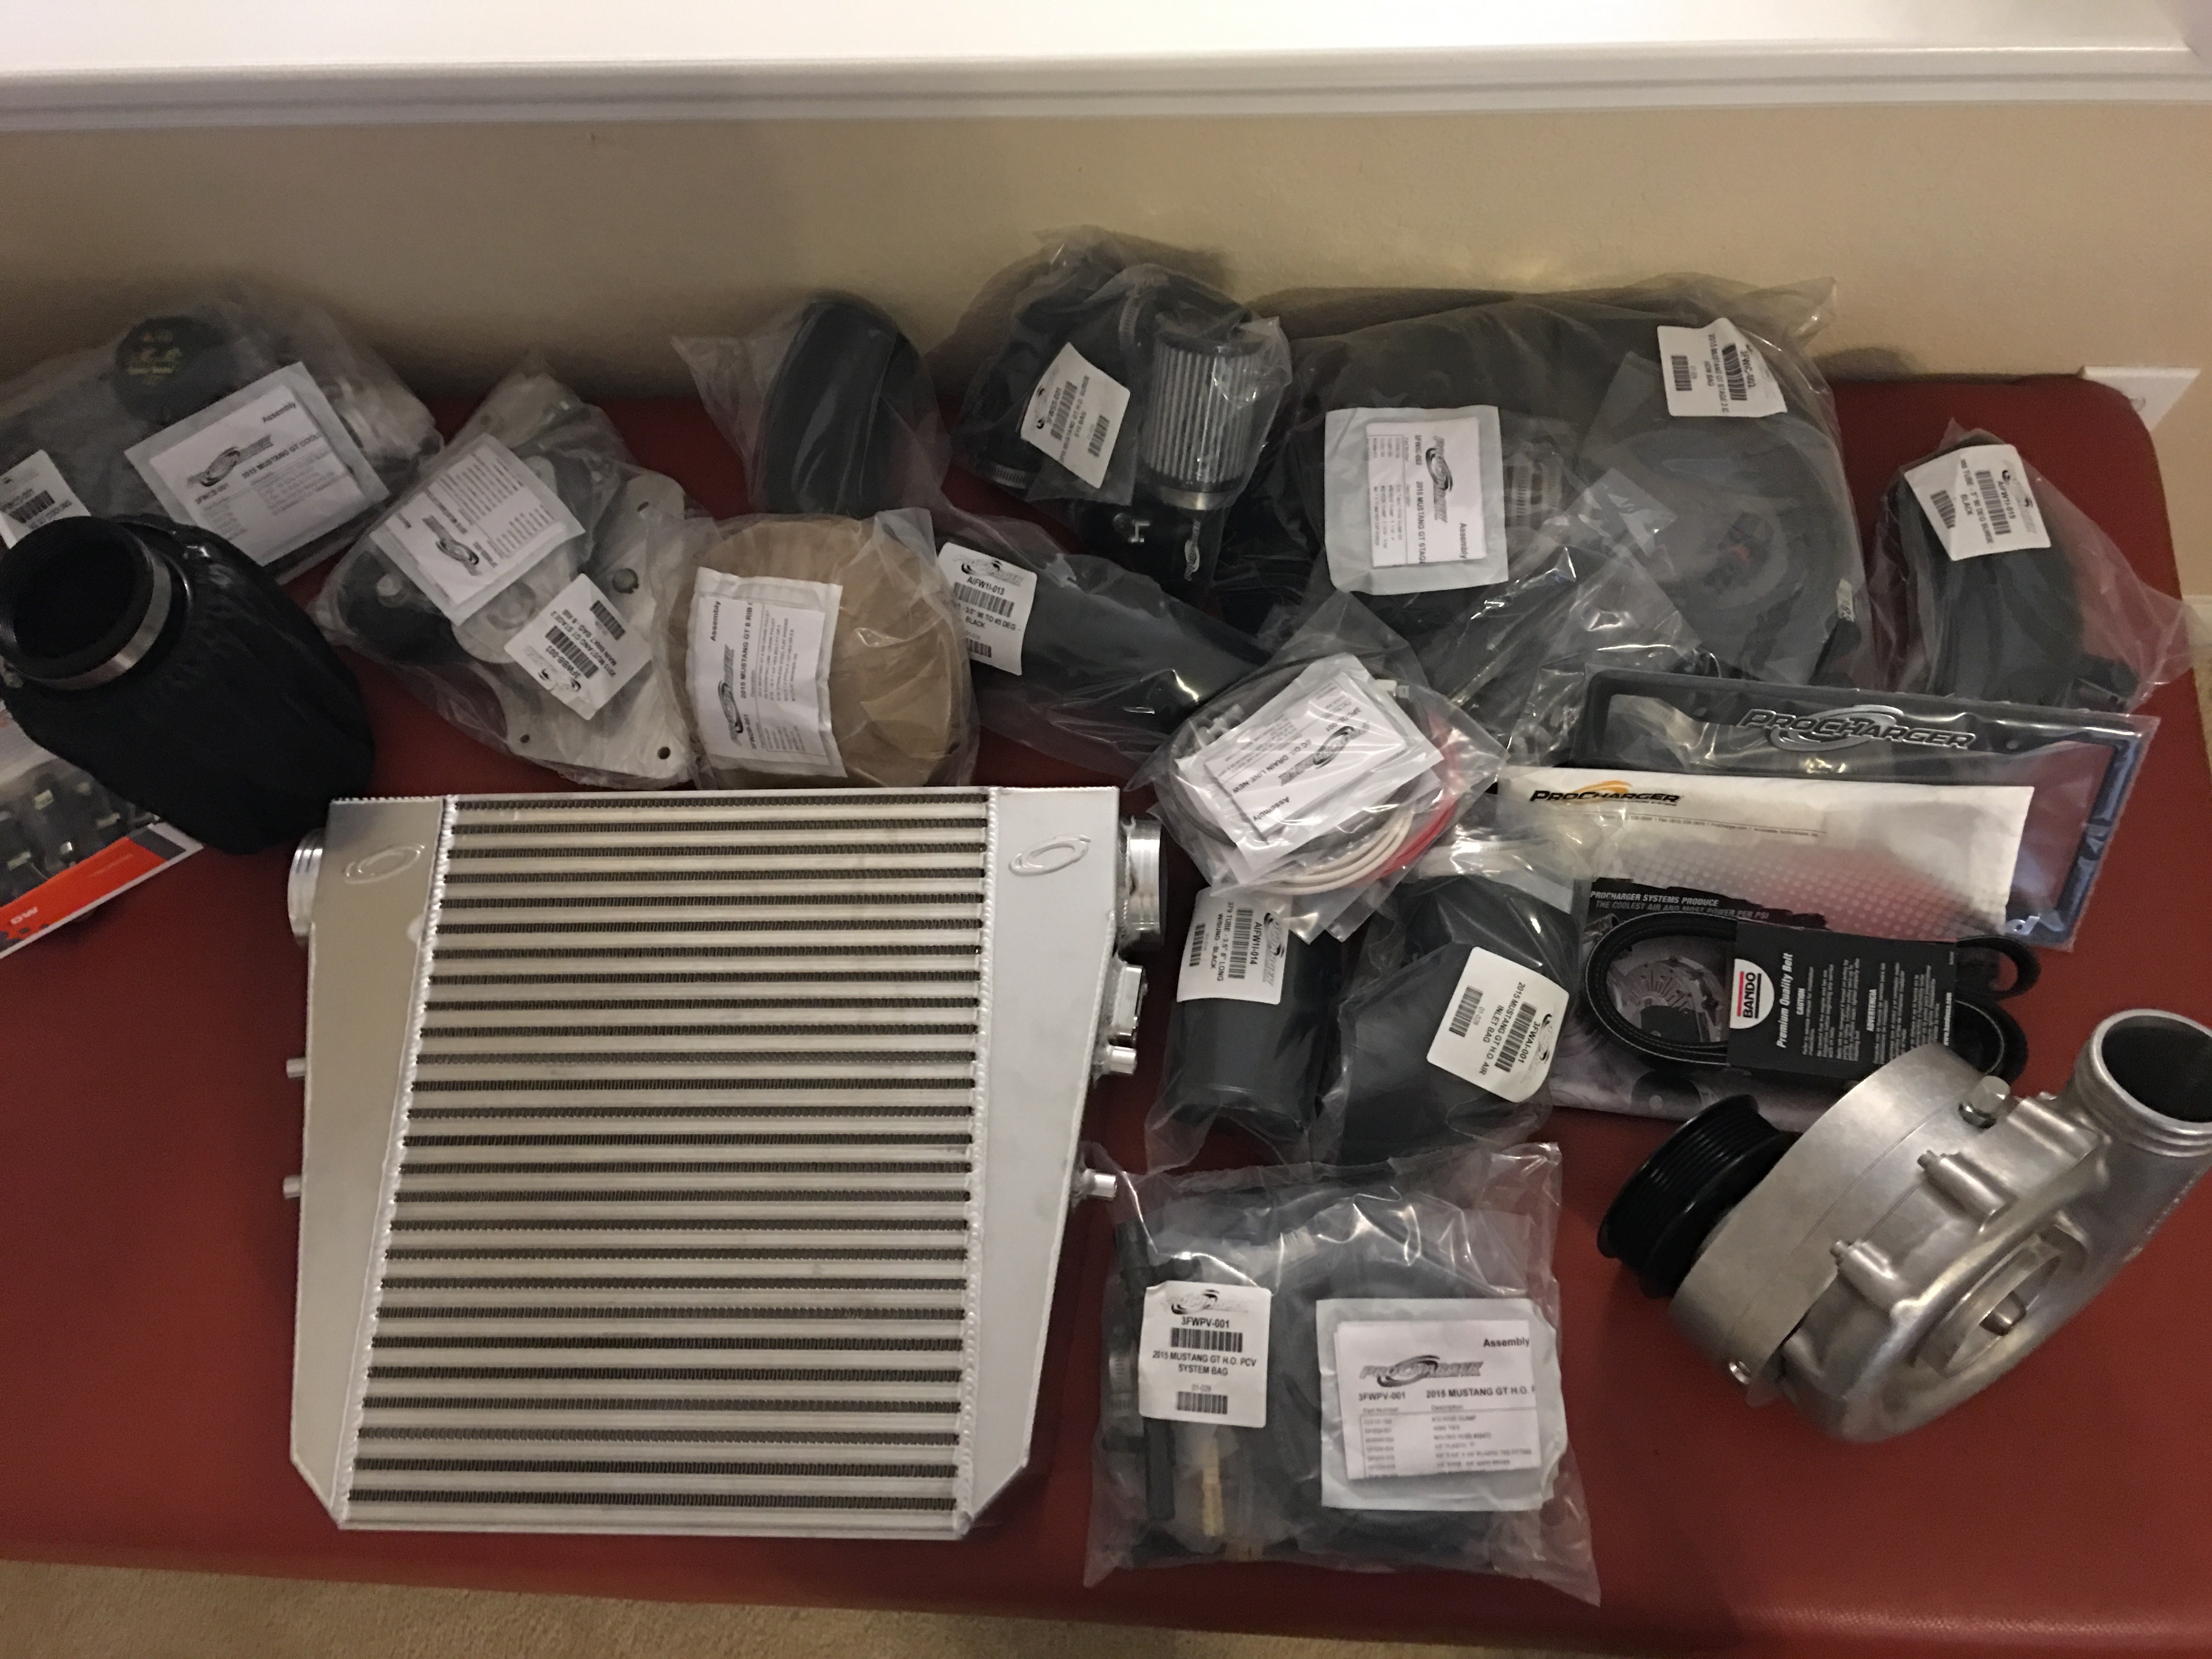
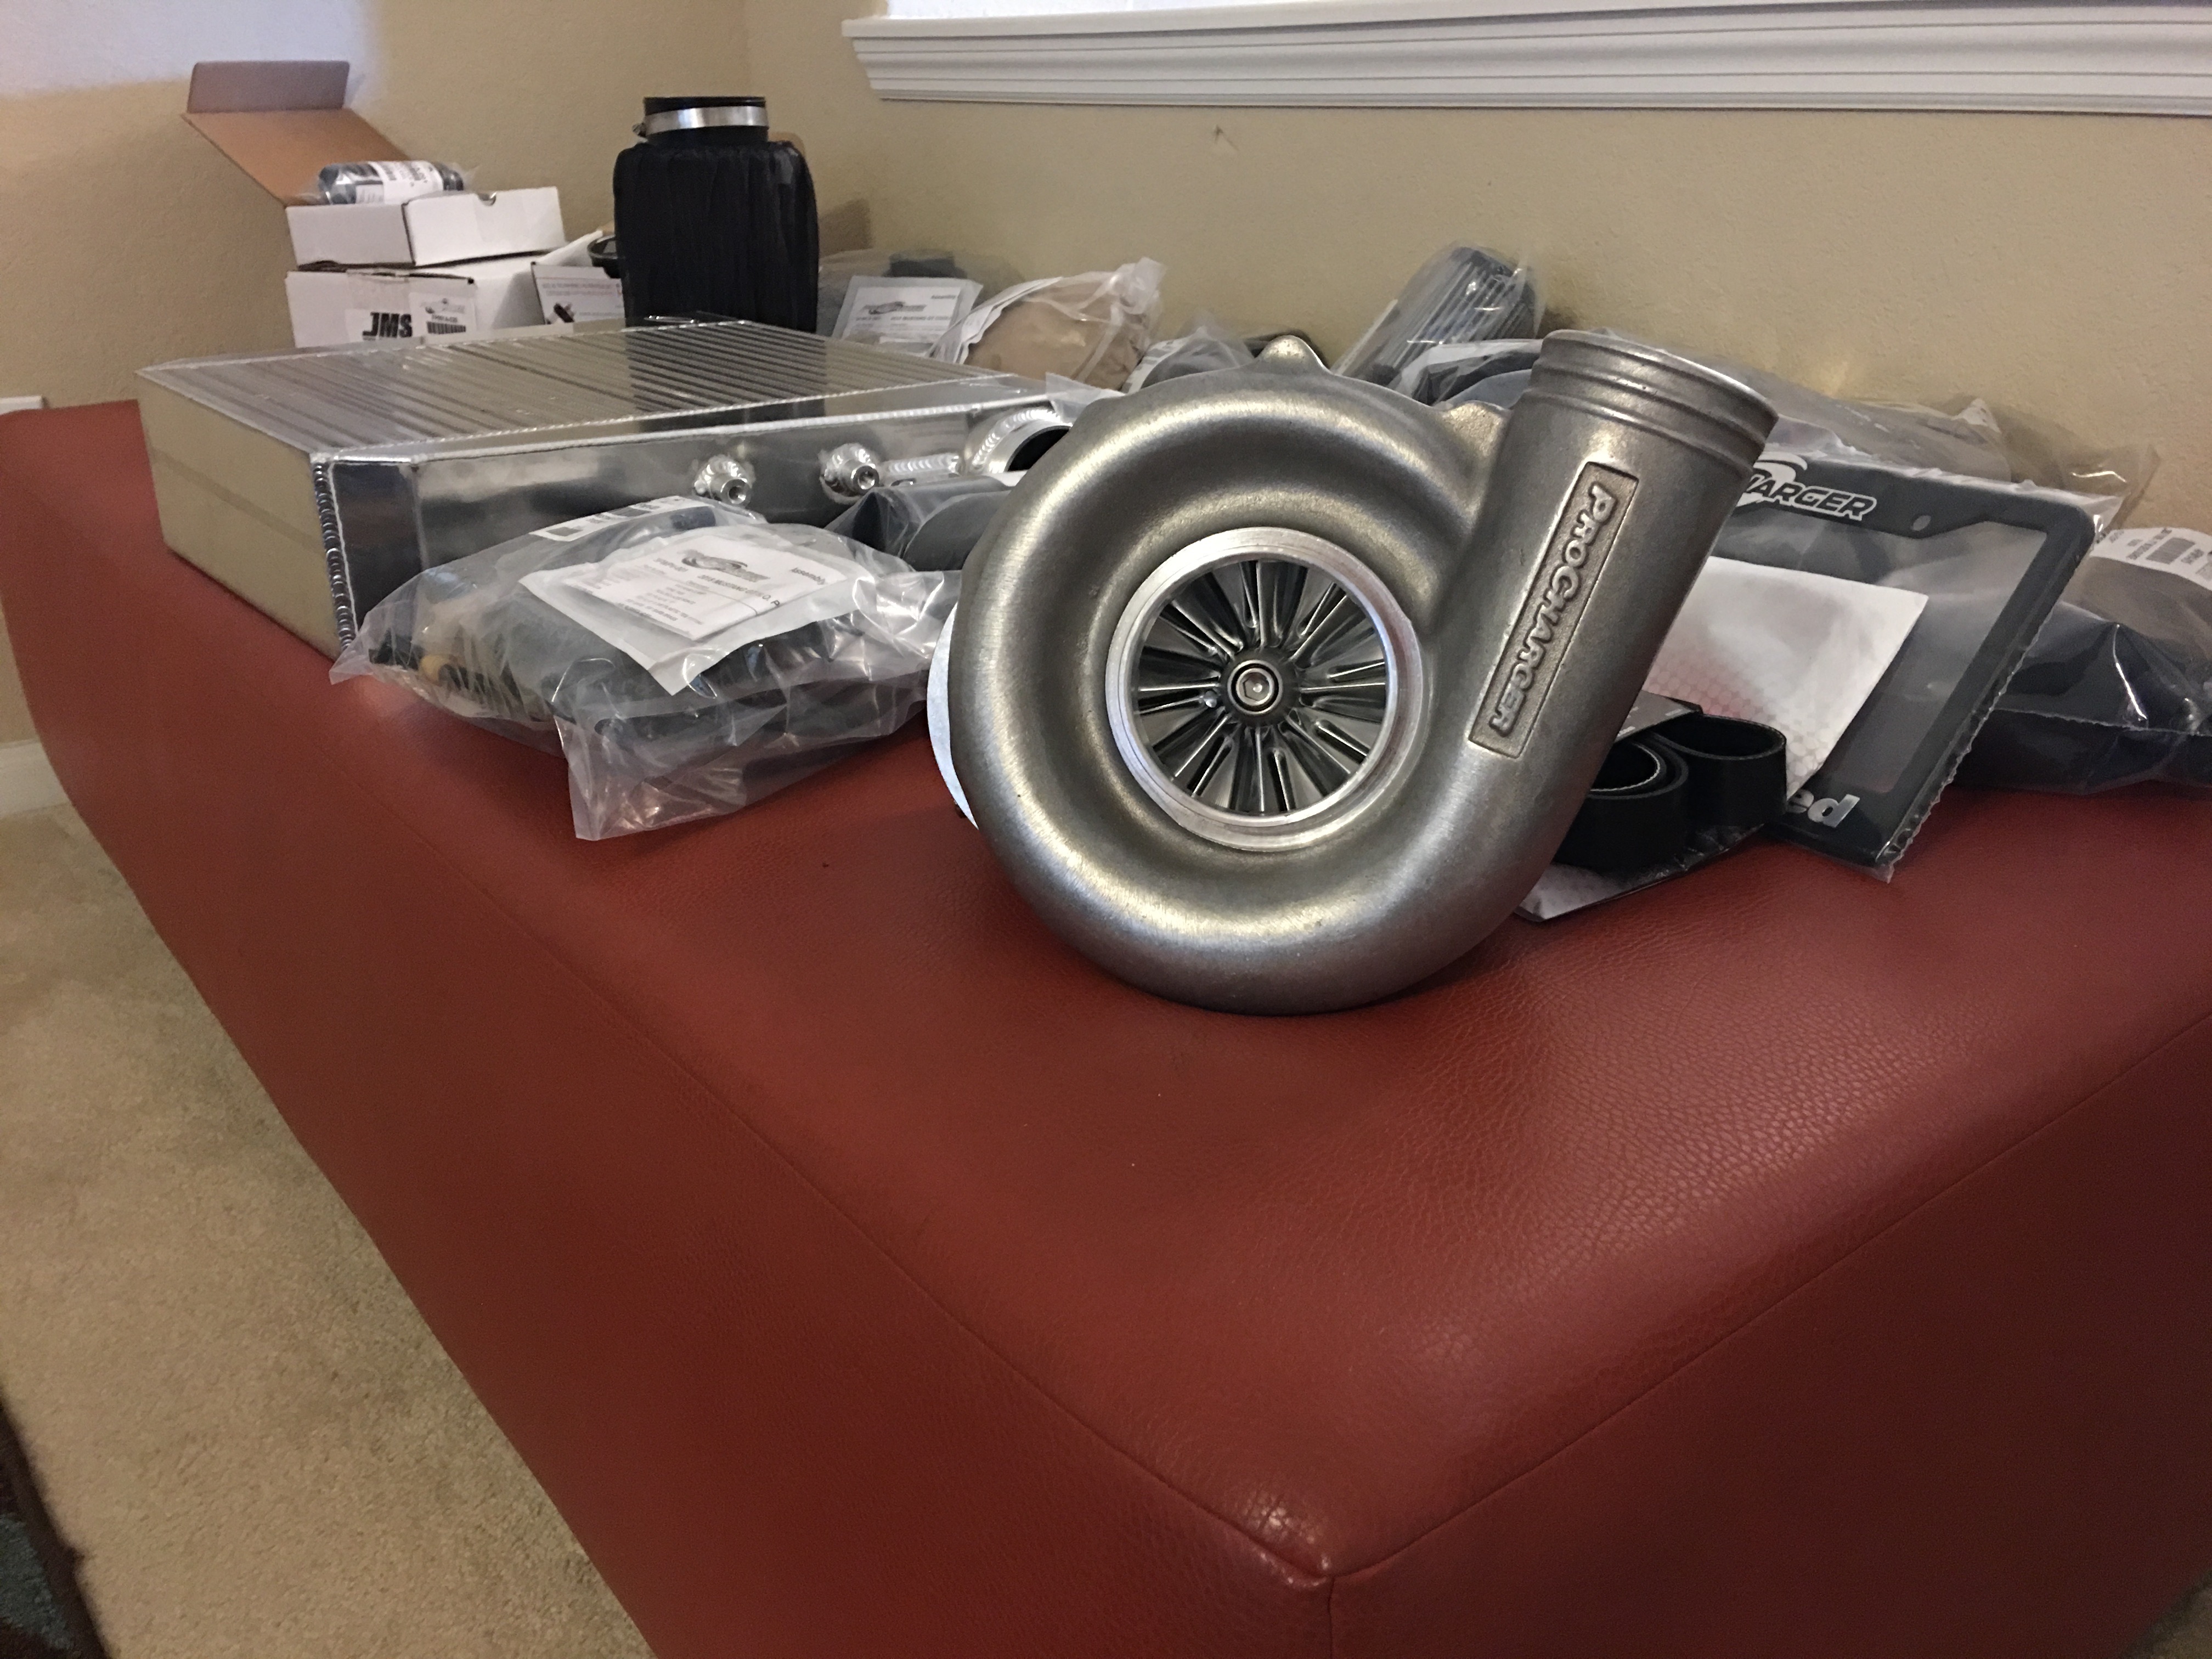
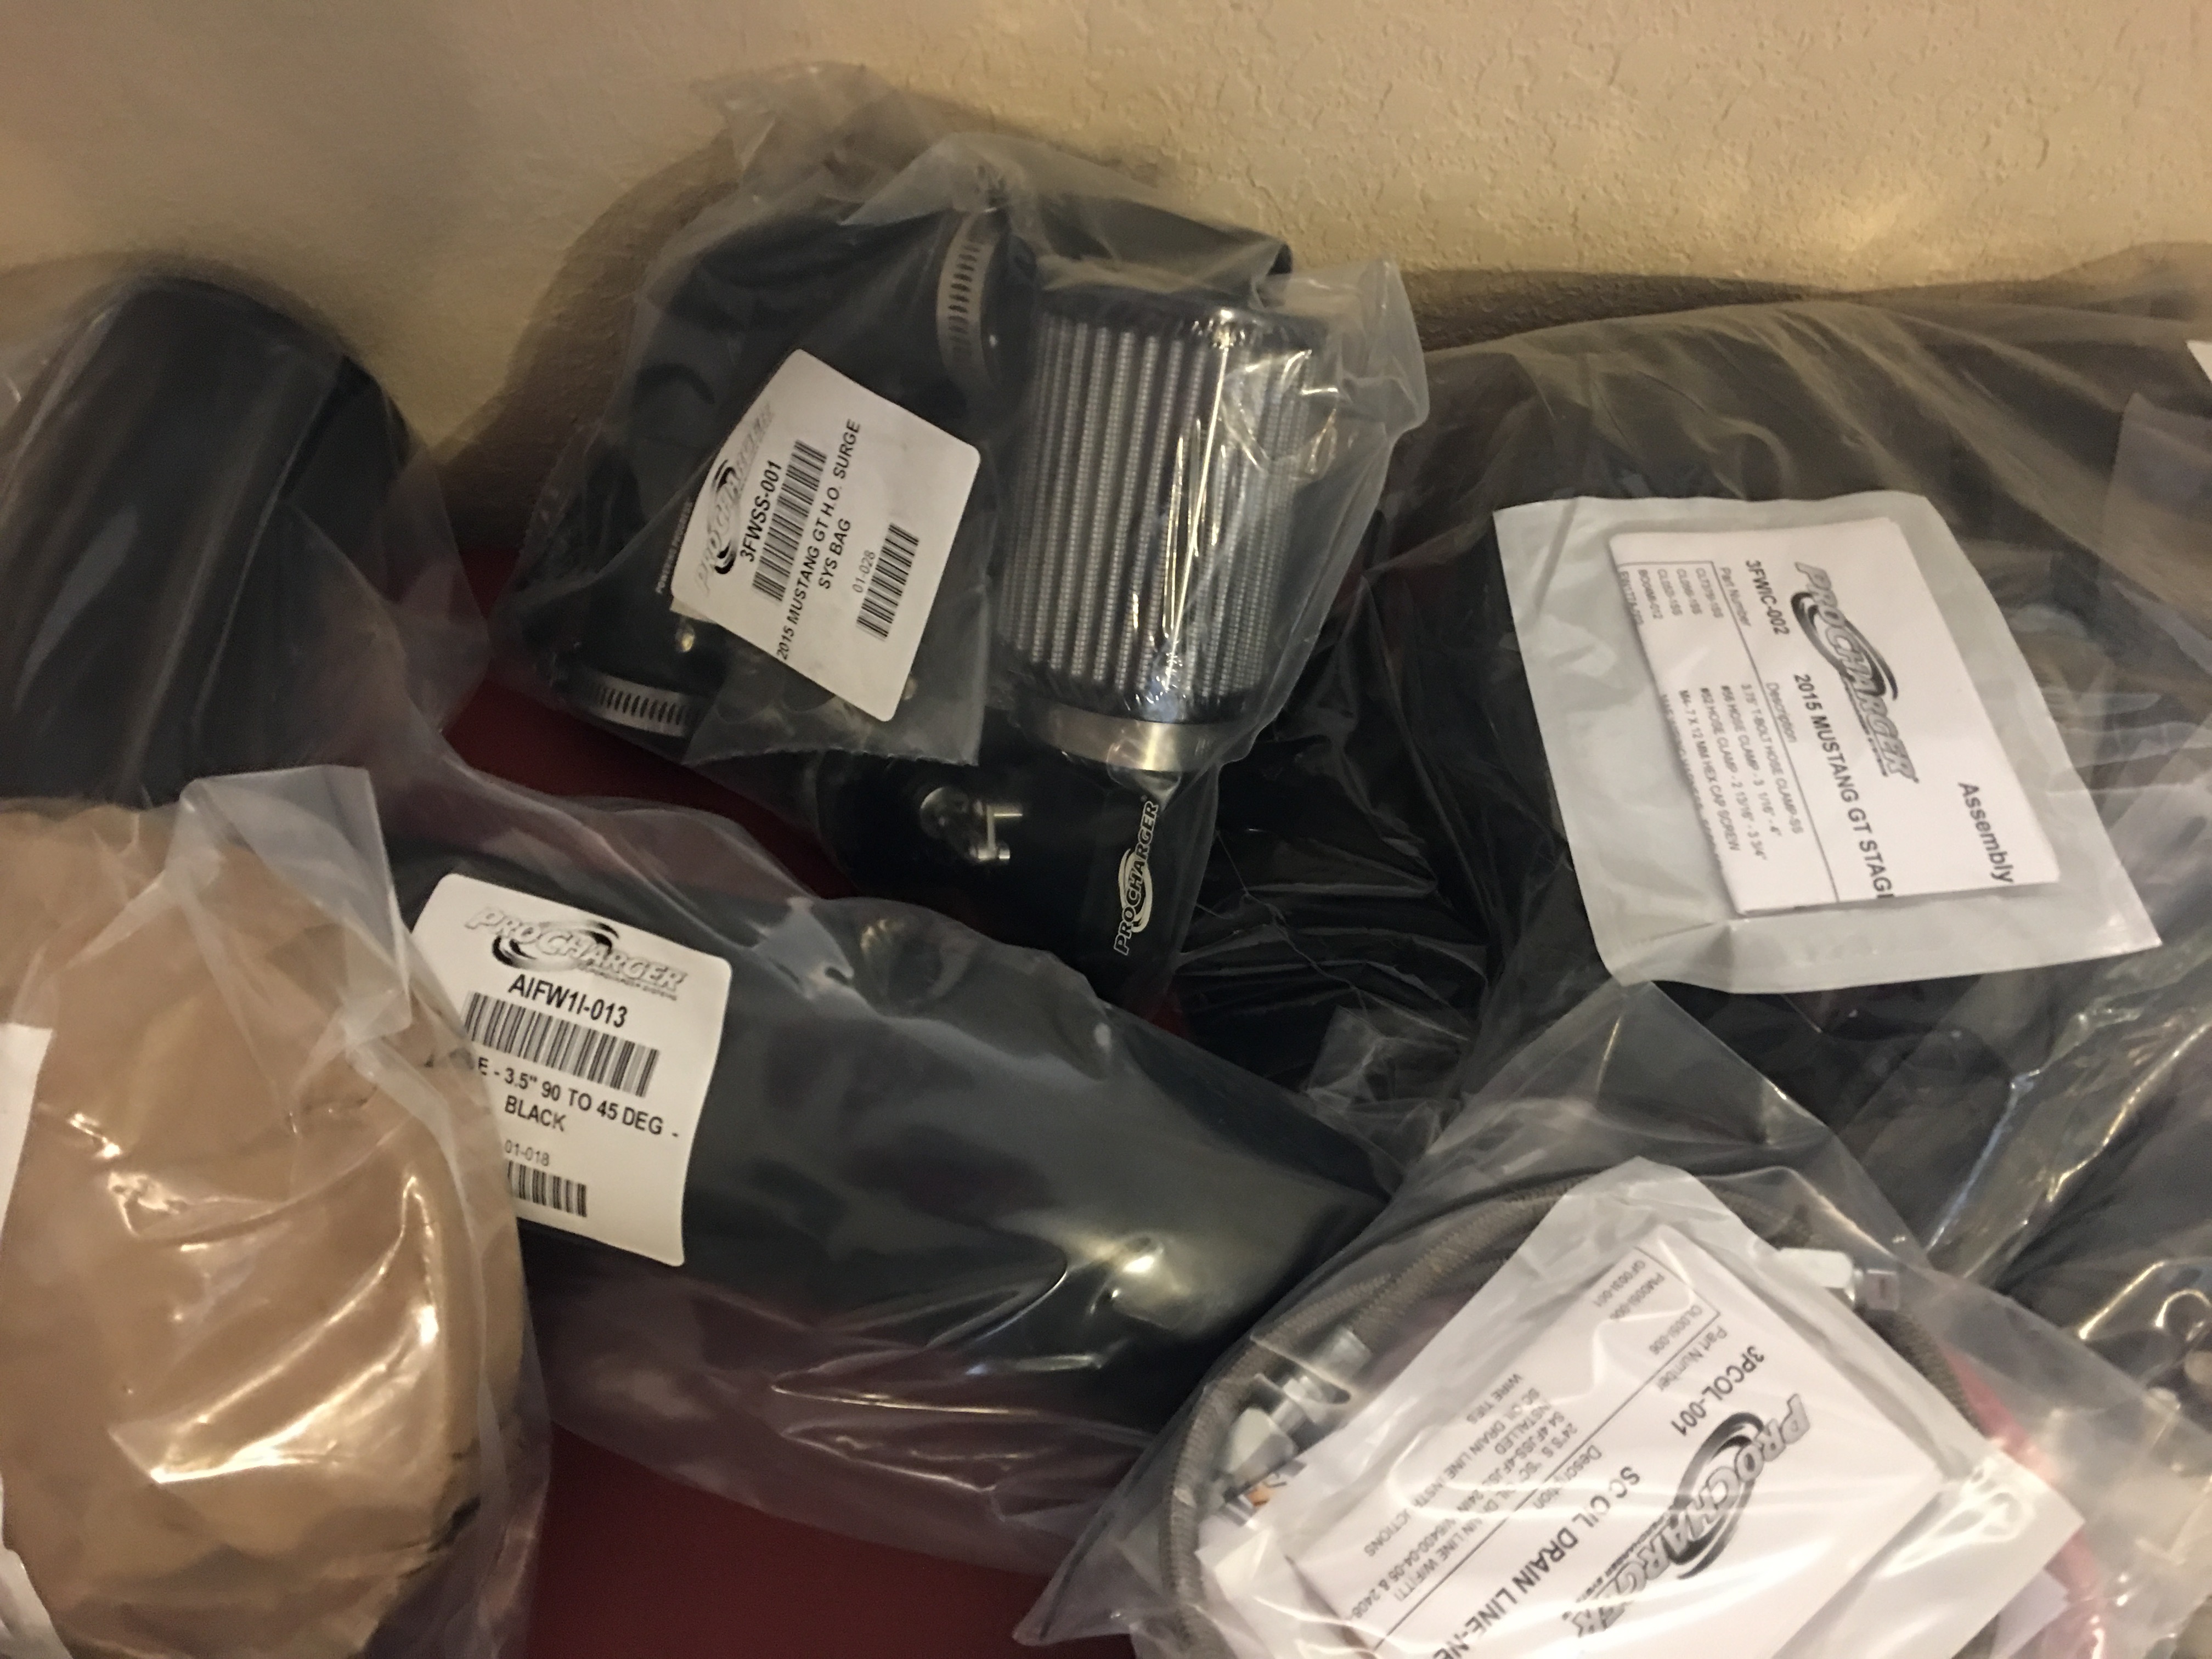
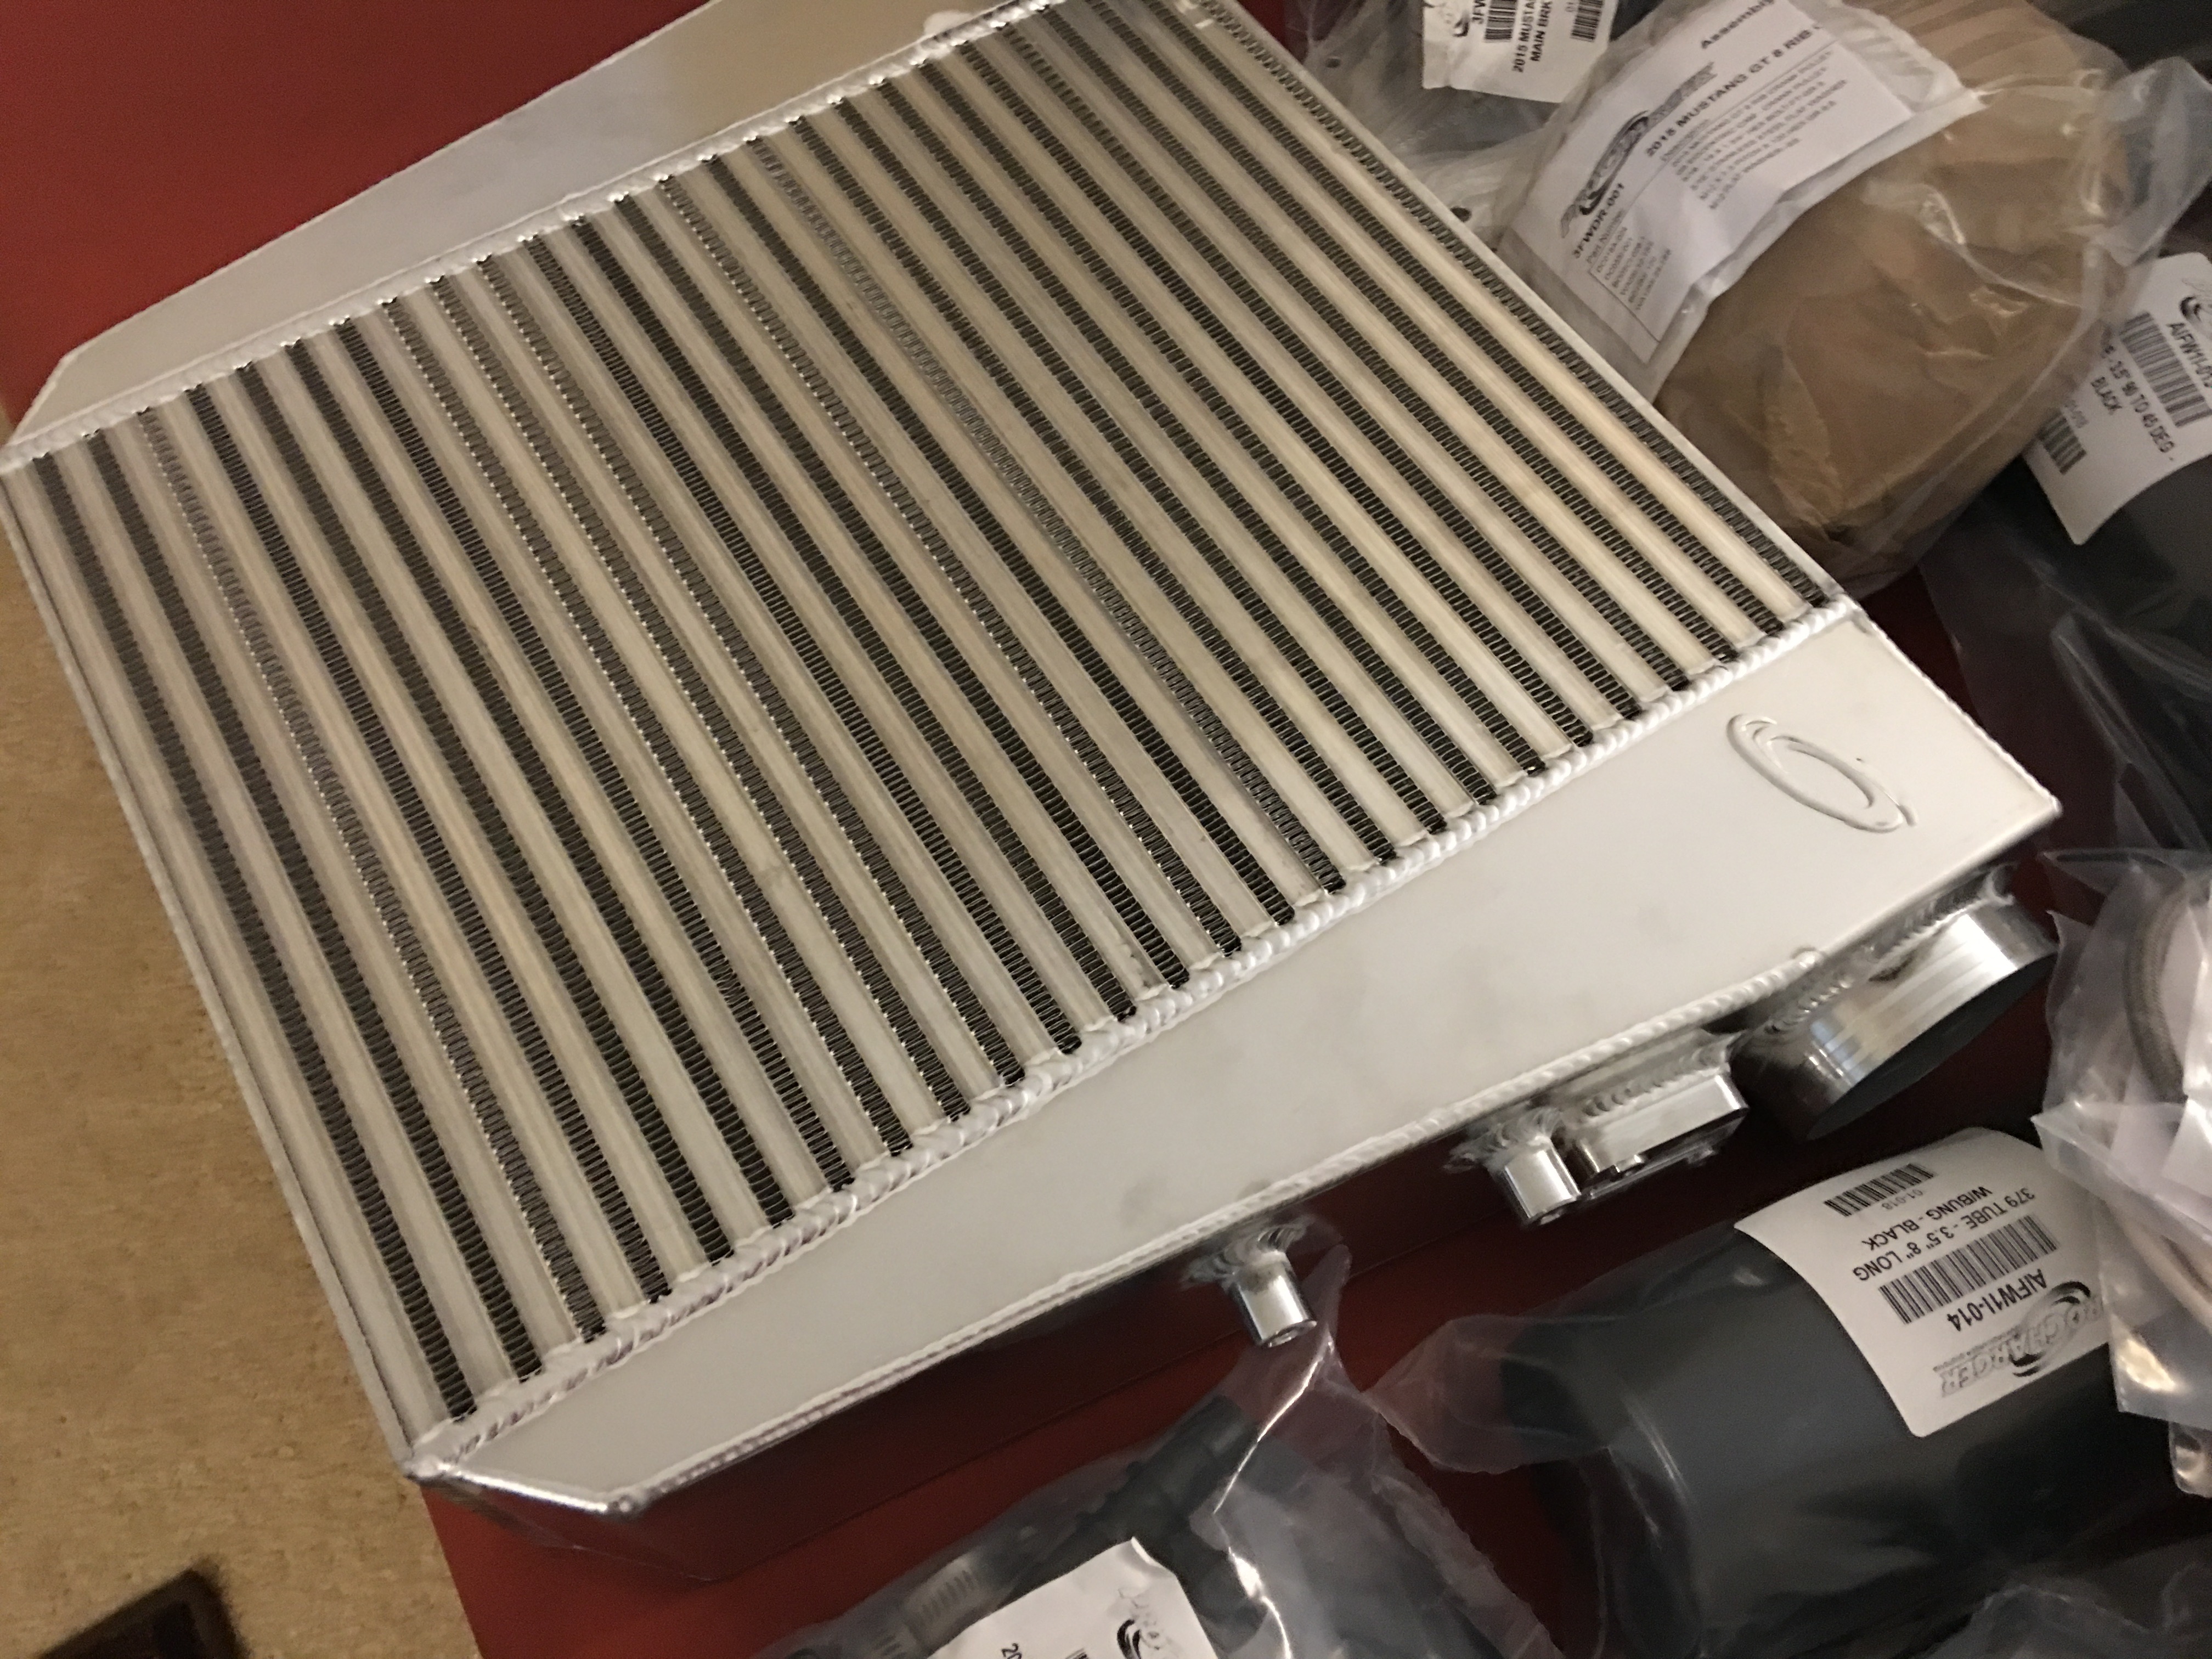
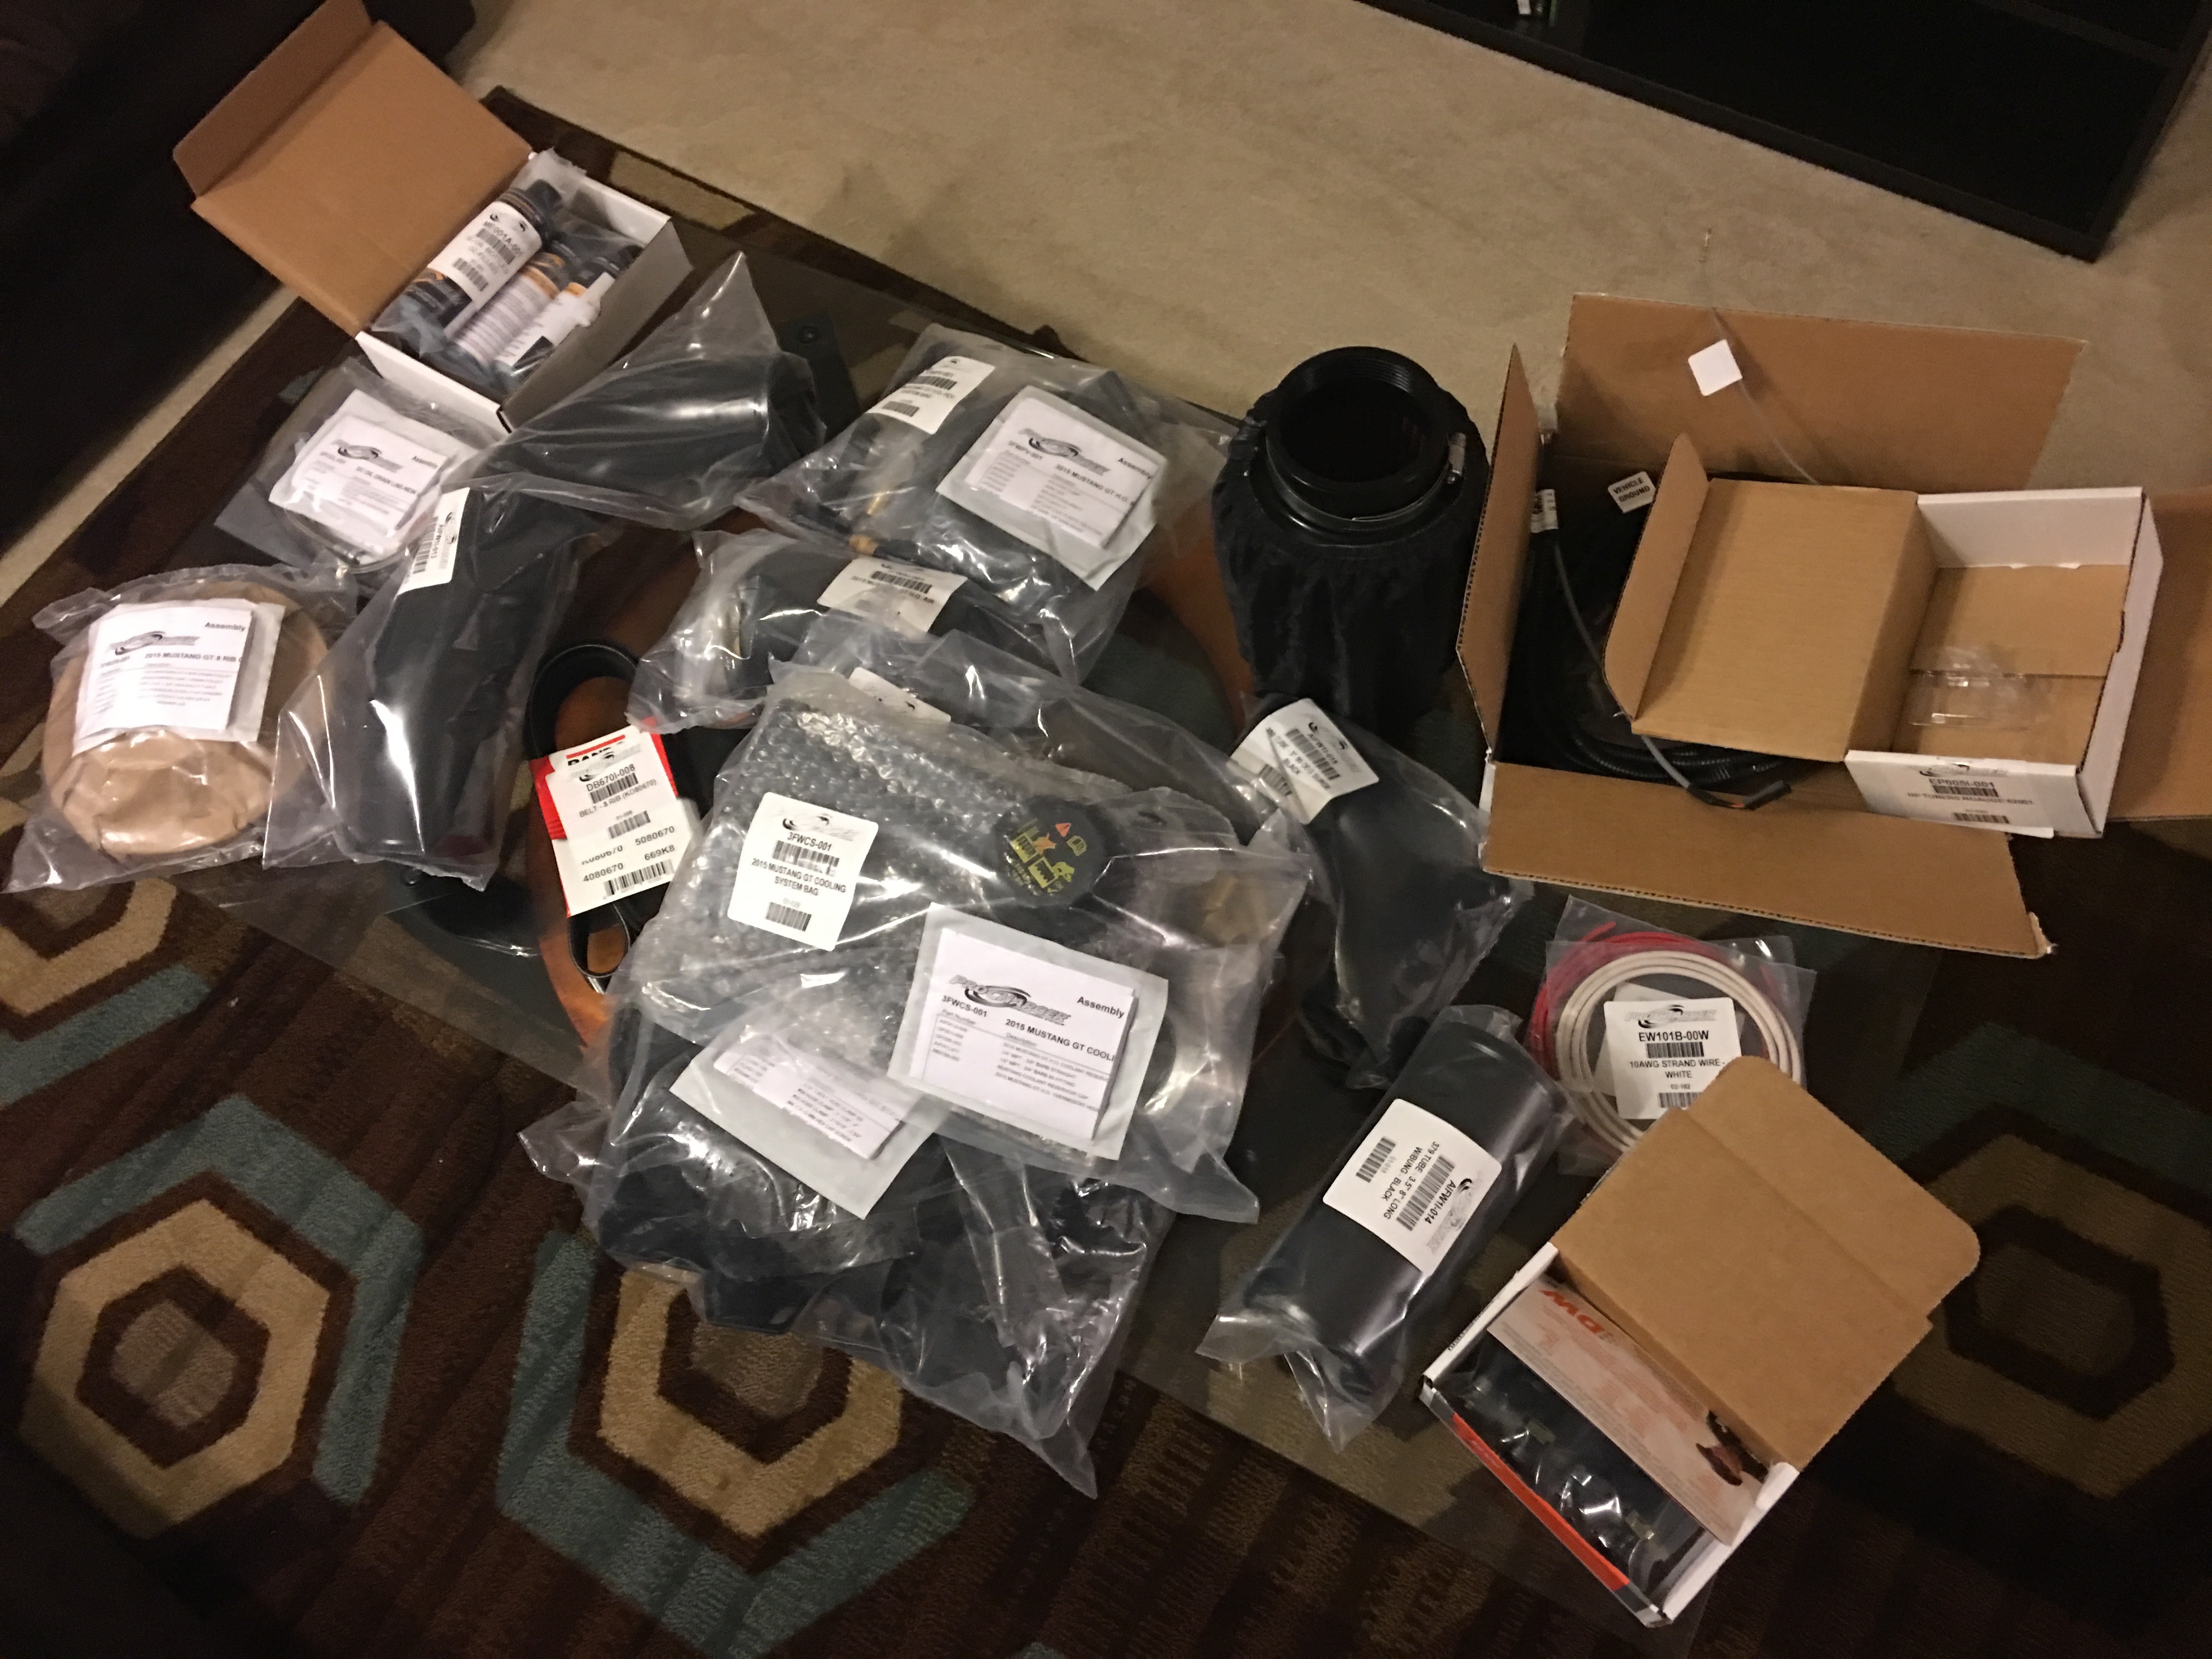
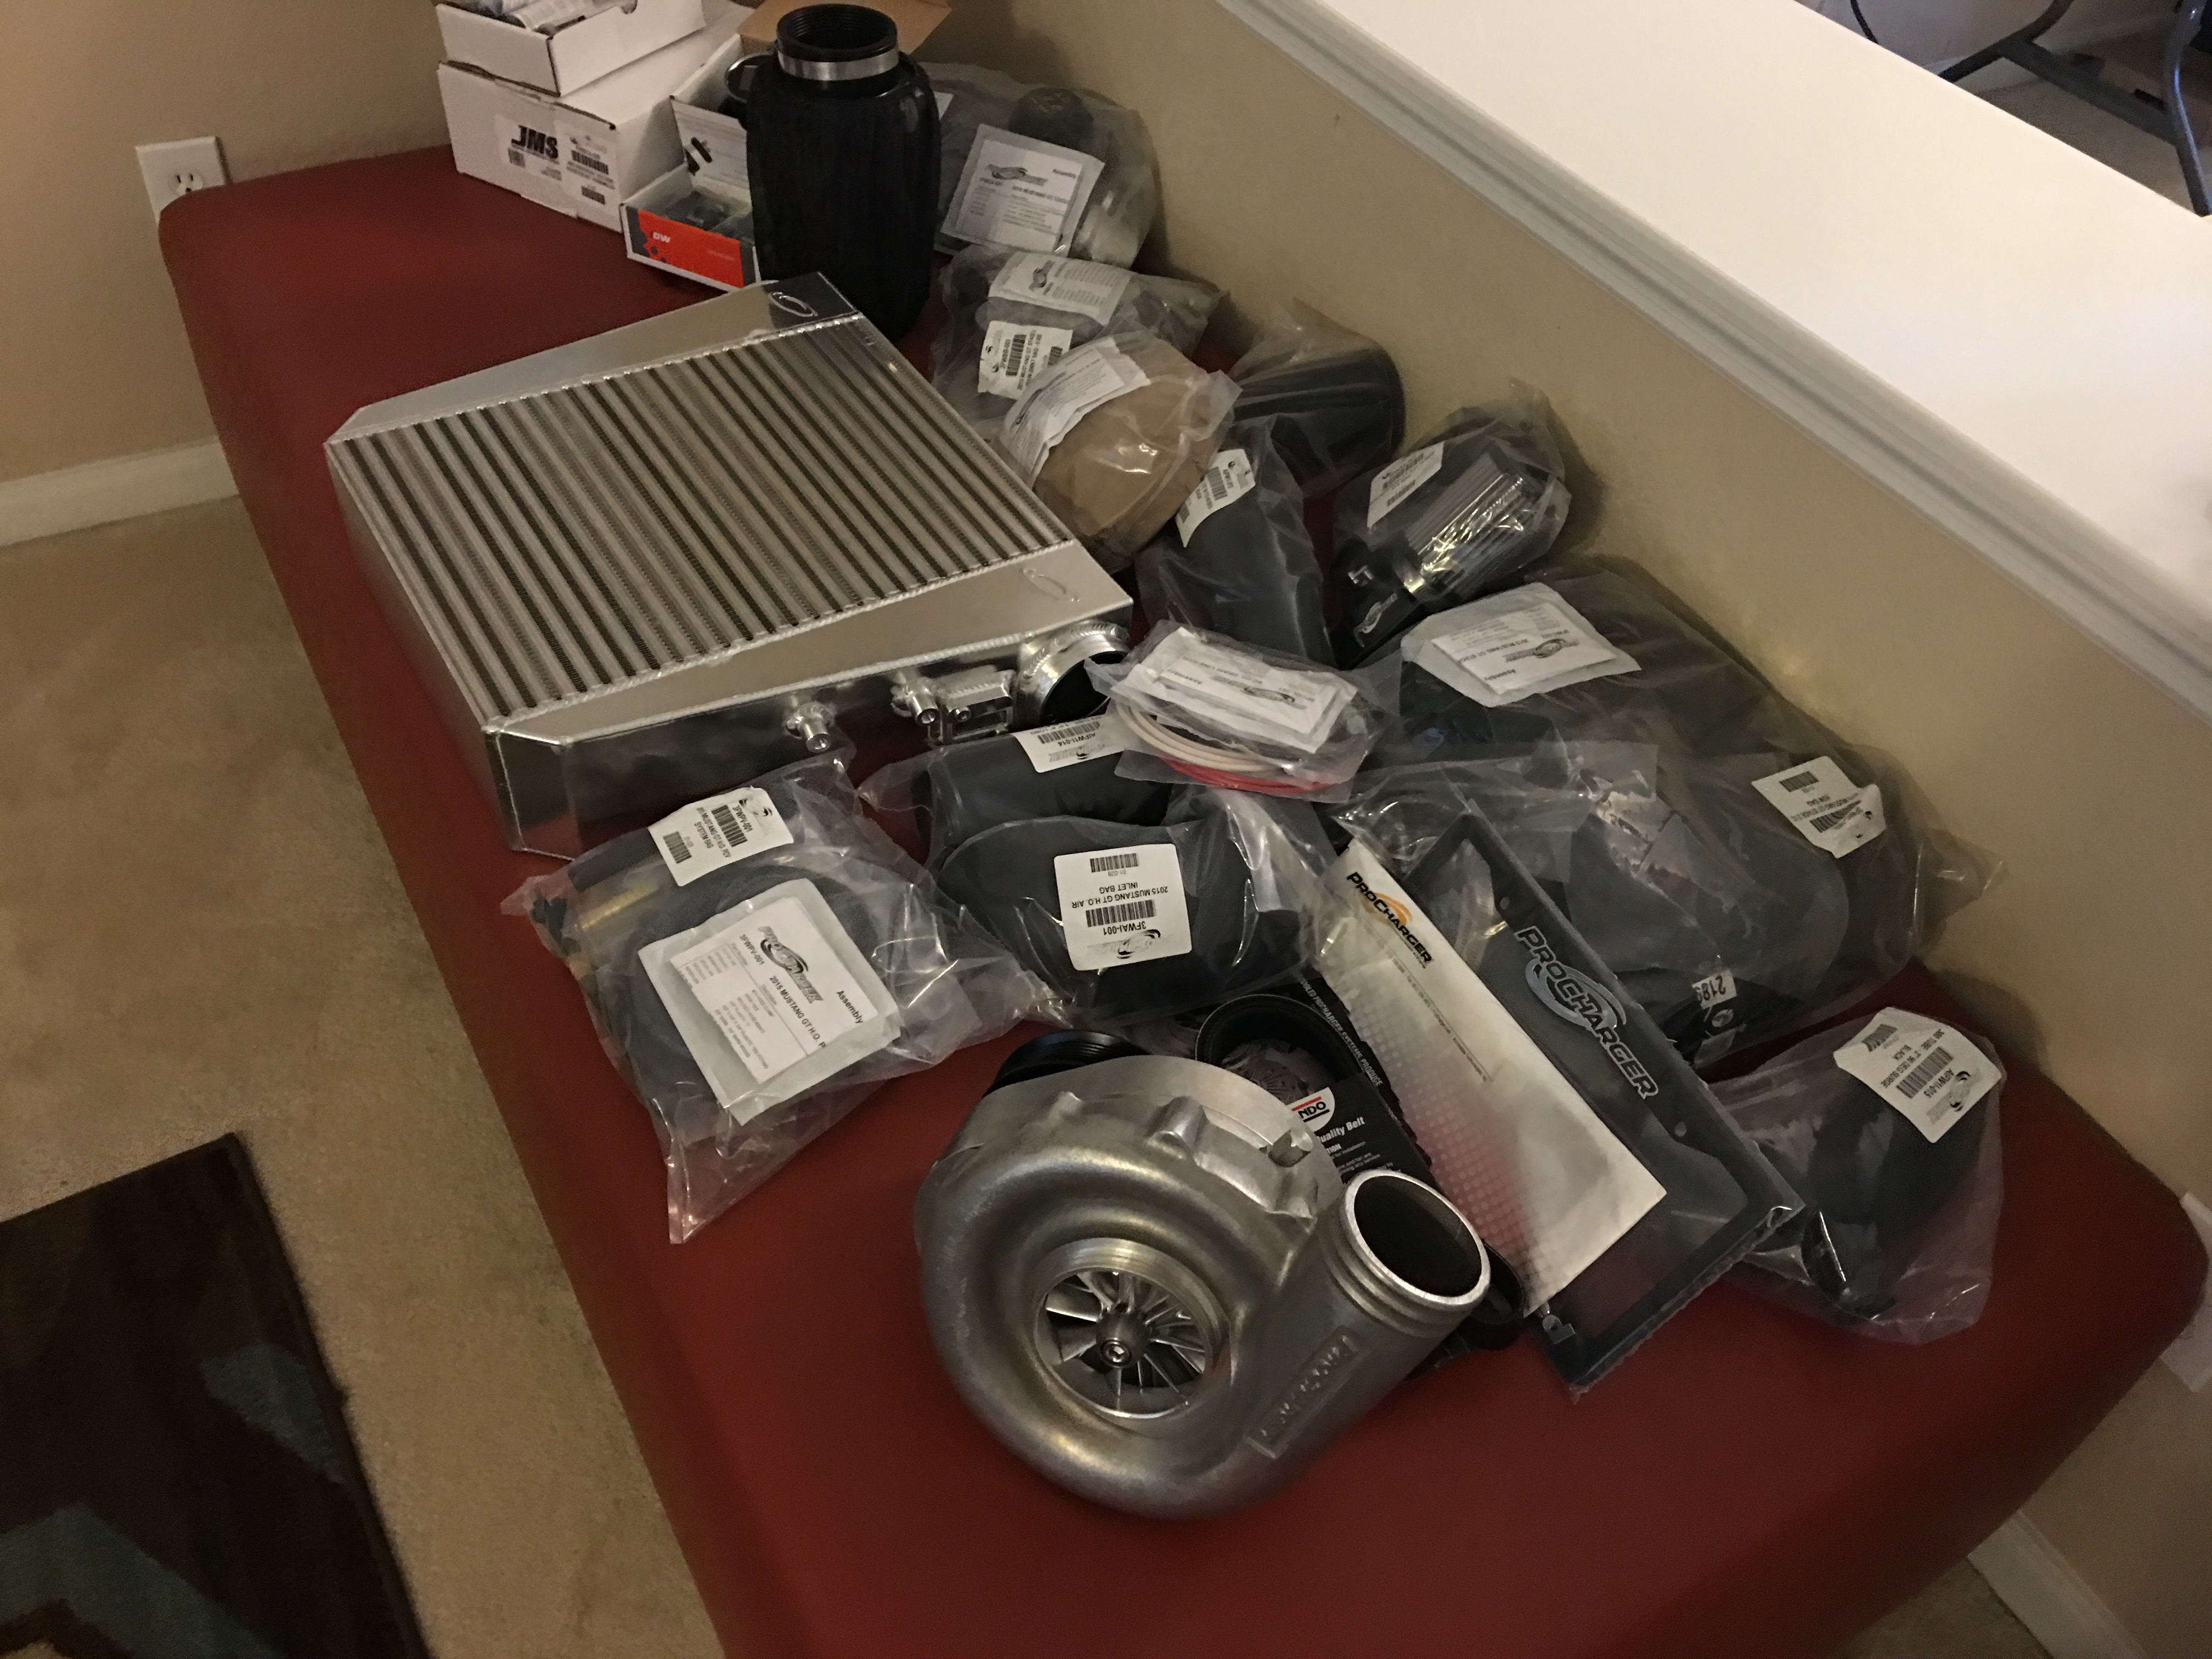
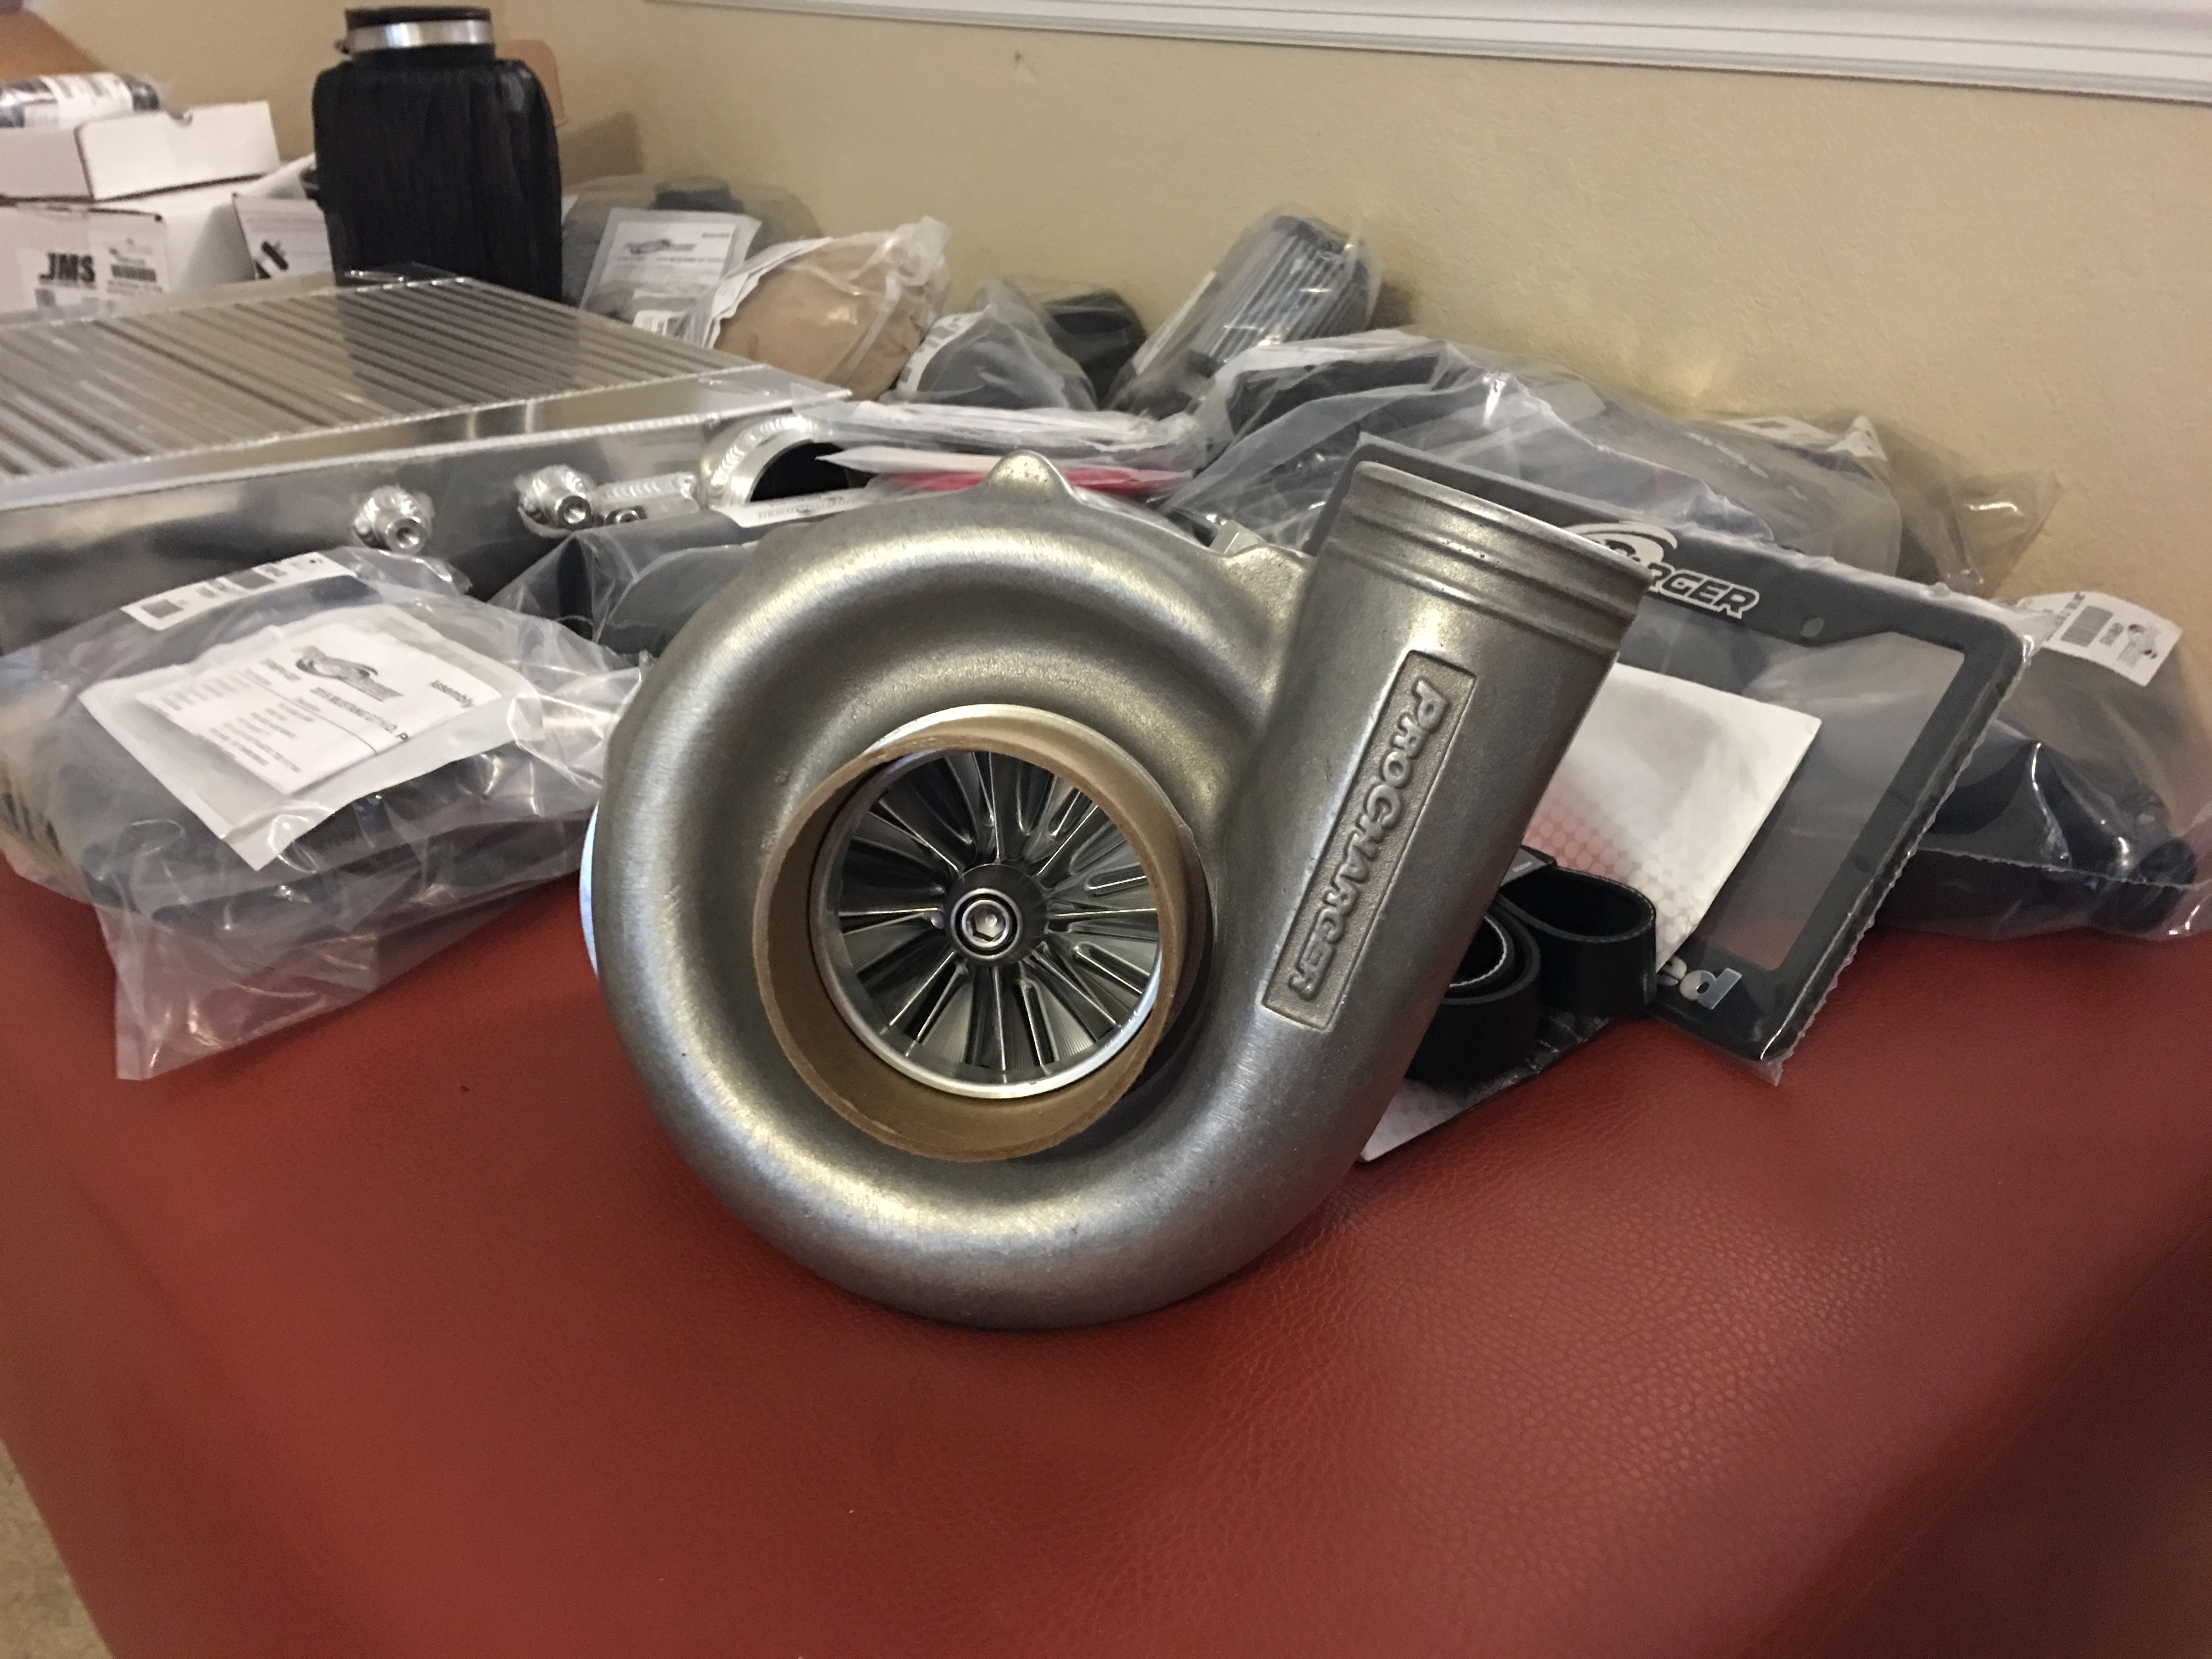
I settled on the ProCharger Stage 2 kit and ordered it from MAK Performance. My reasoning was that the centrifugal supercharger would give more linear power and more fun in the bends. After payment, my kit arrived within about a week and a half. Just look at all the parts:
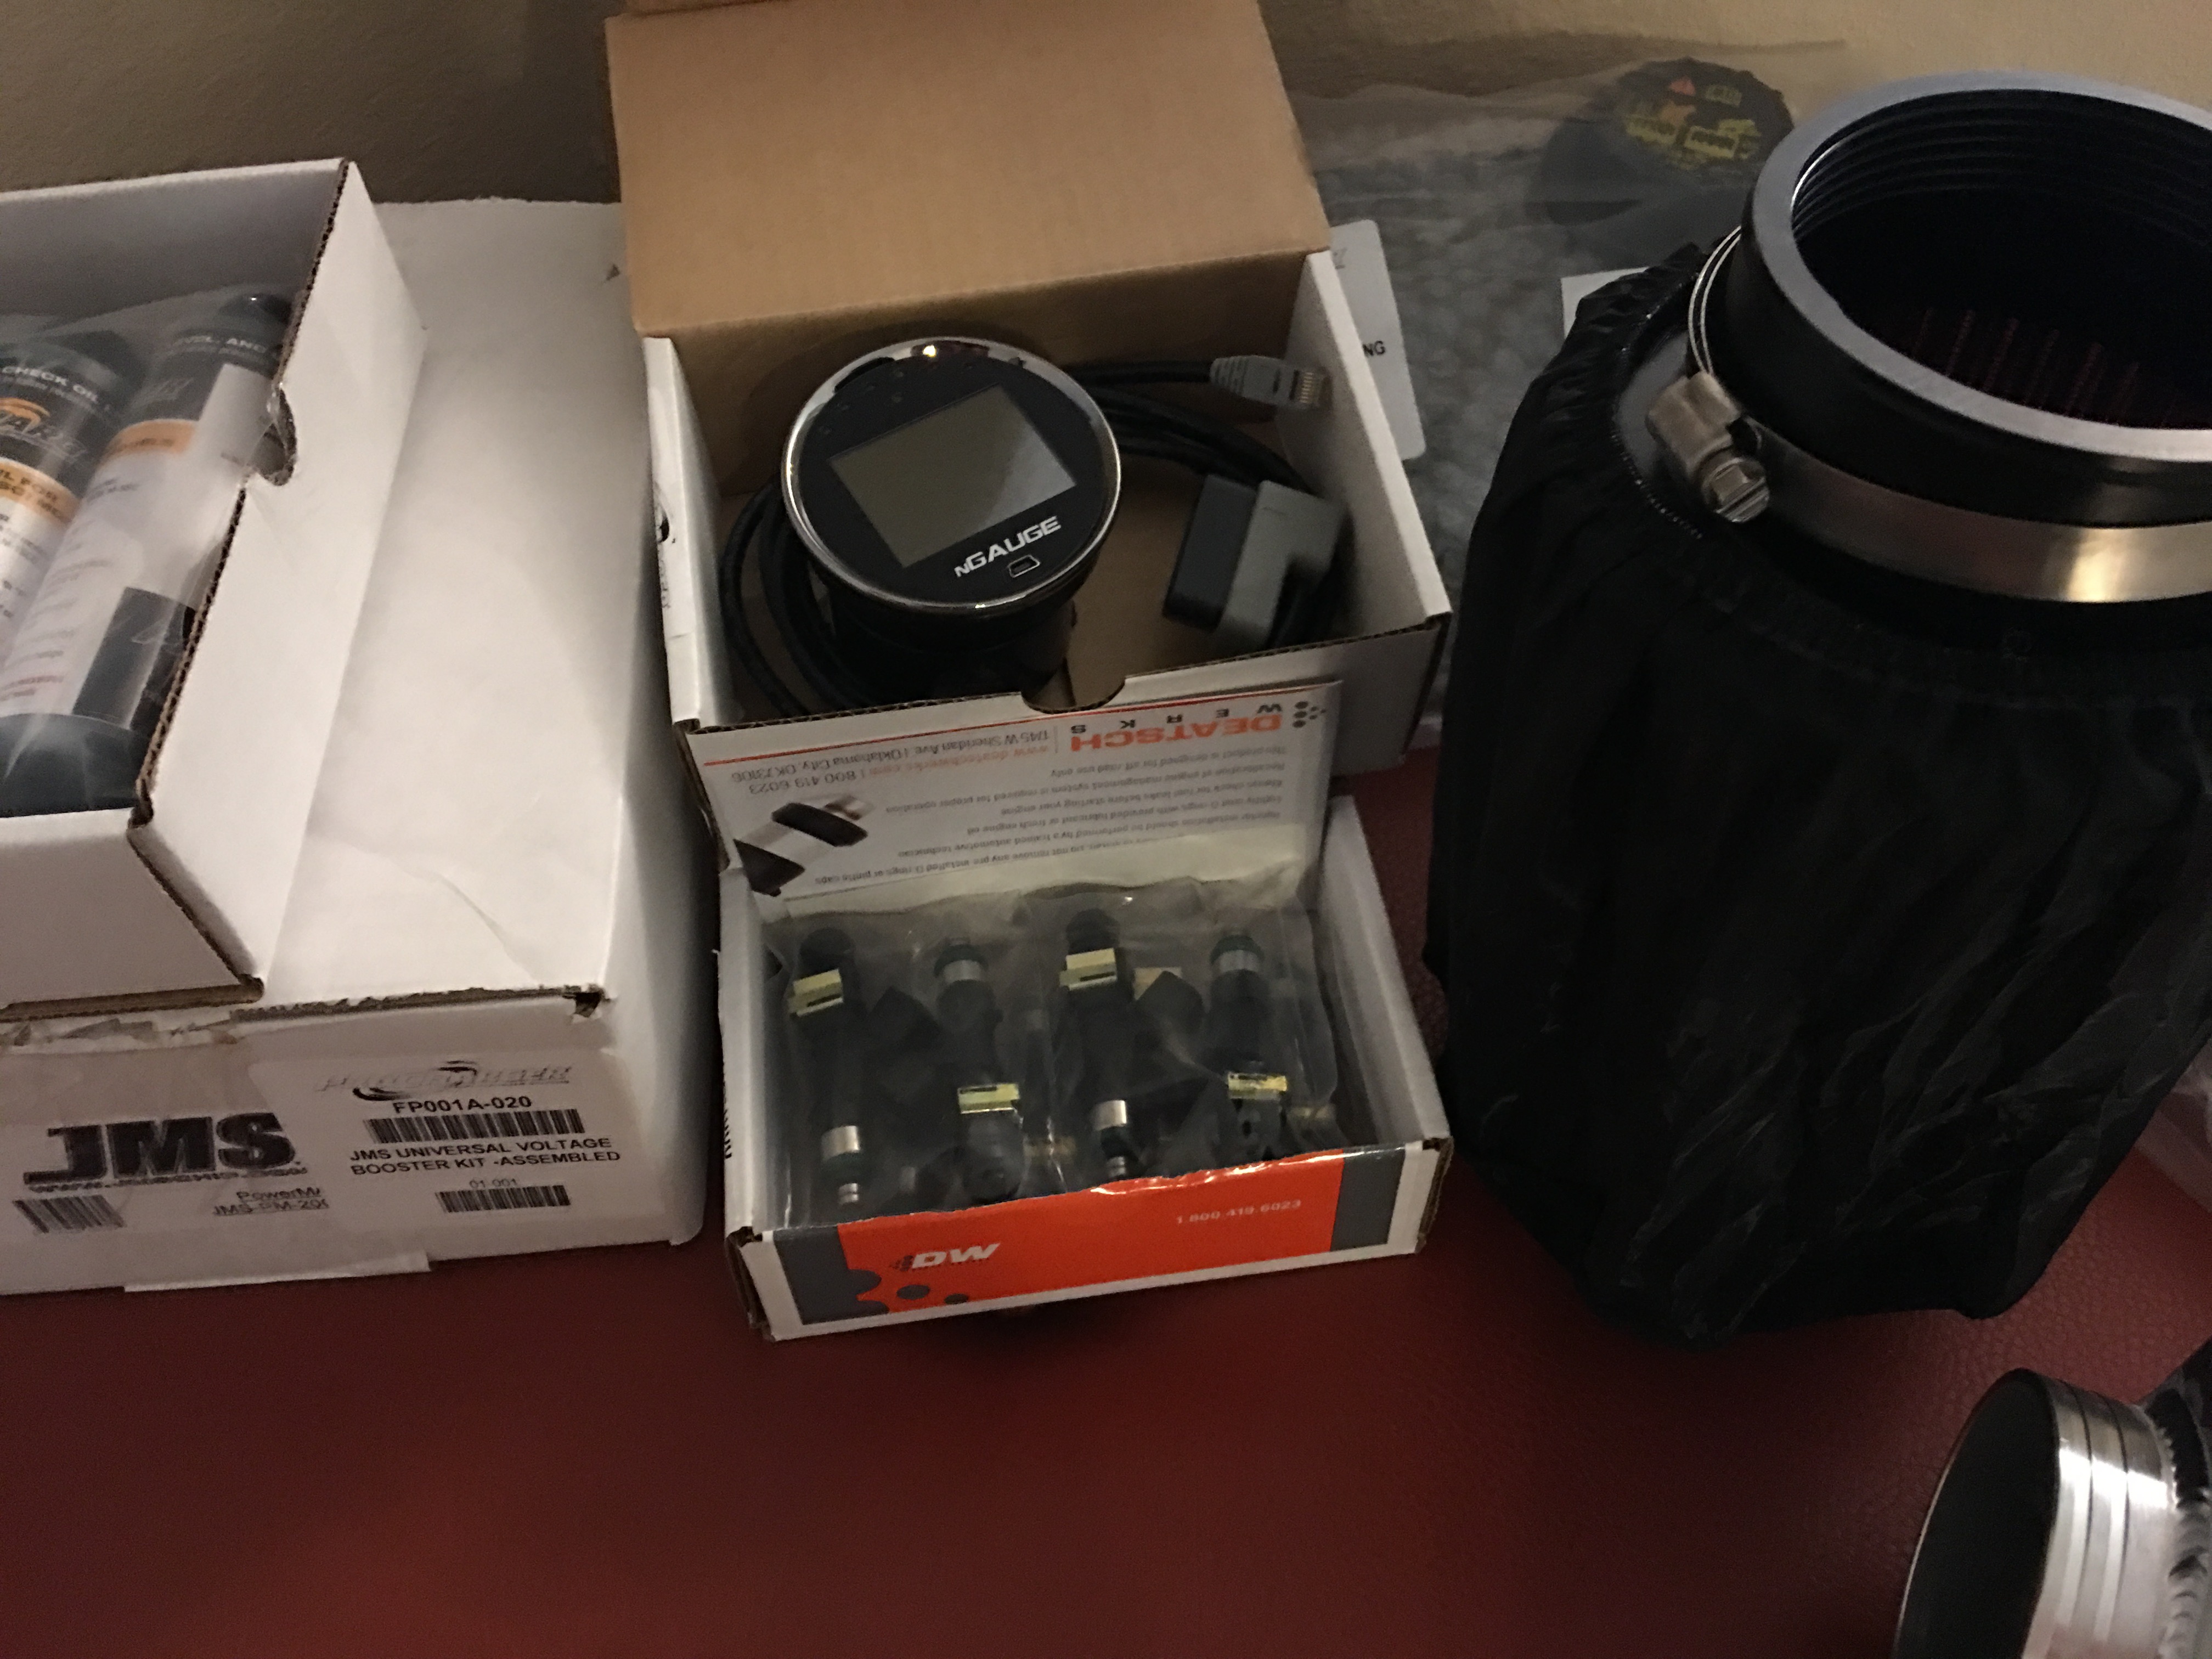
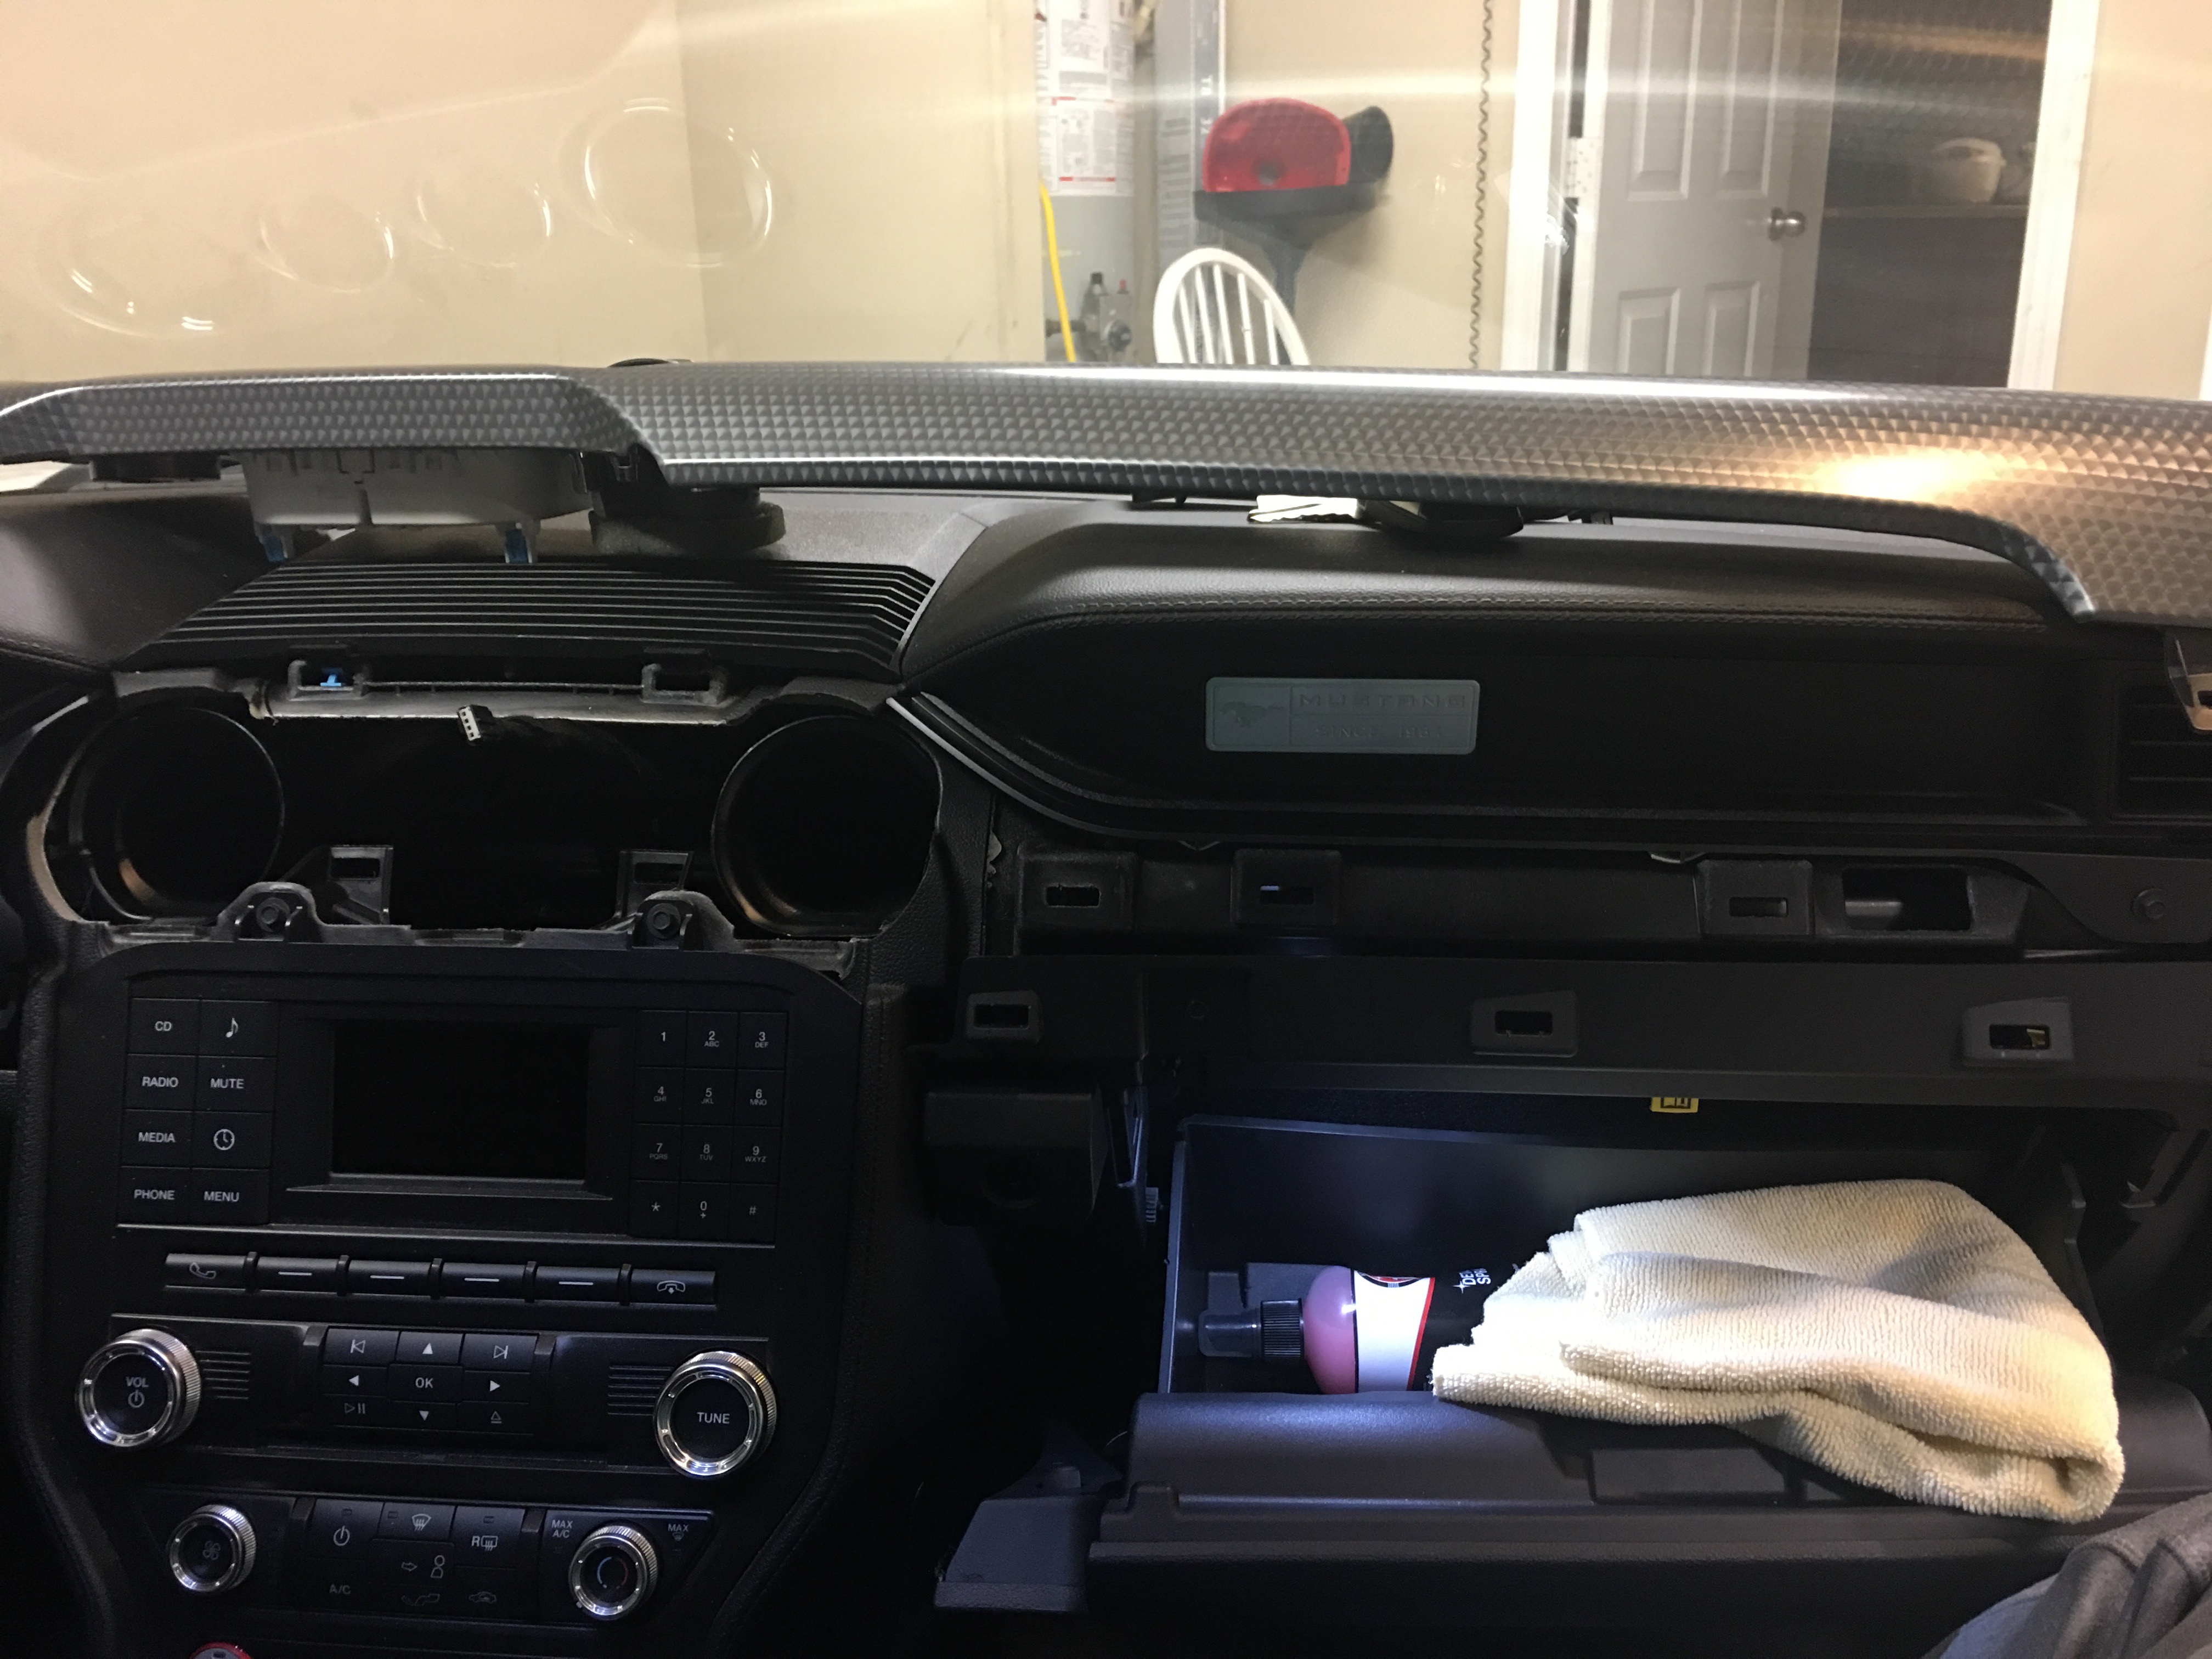
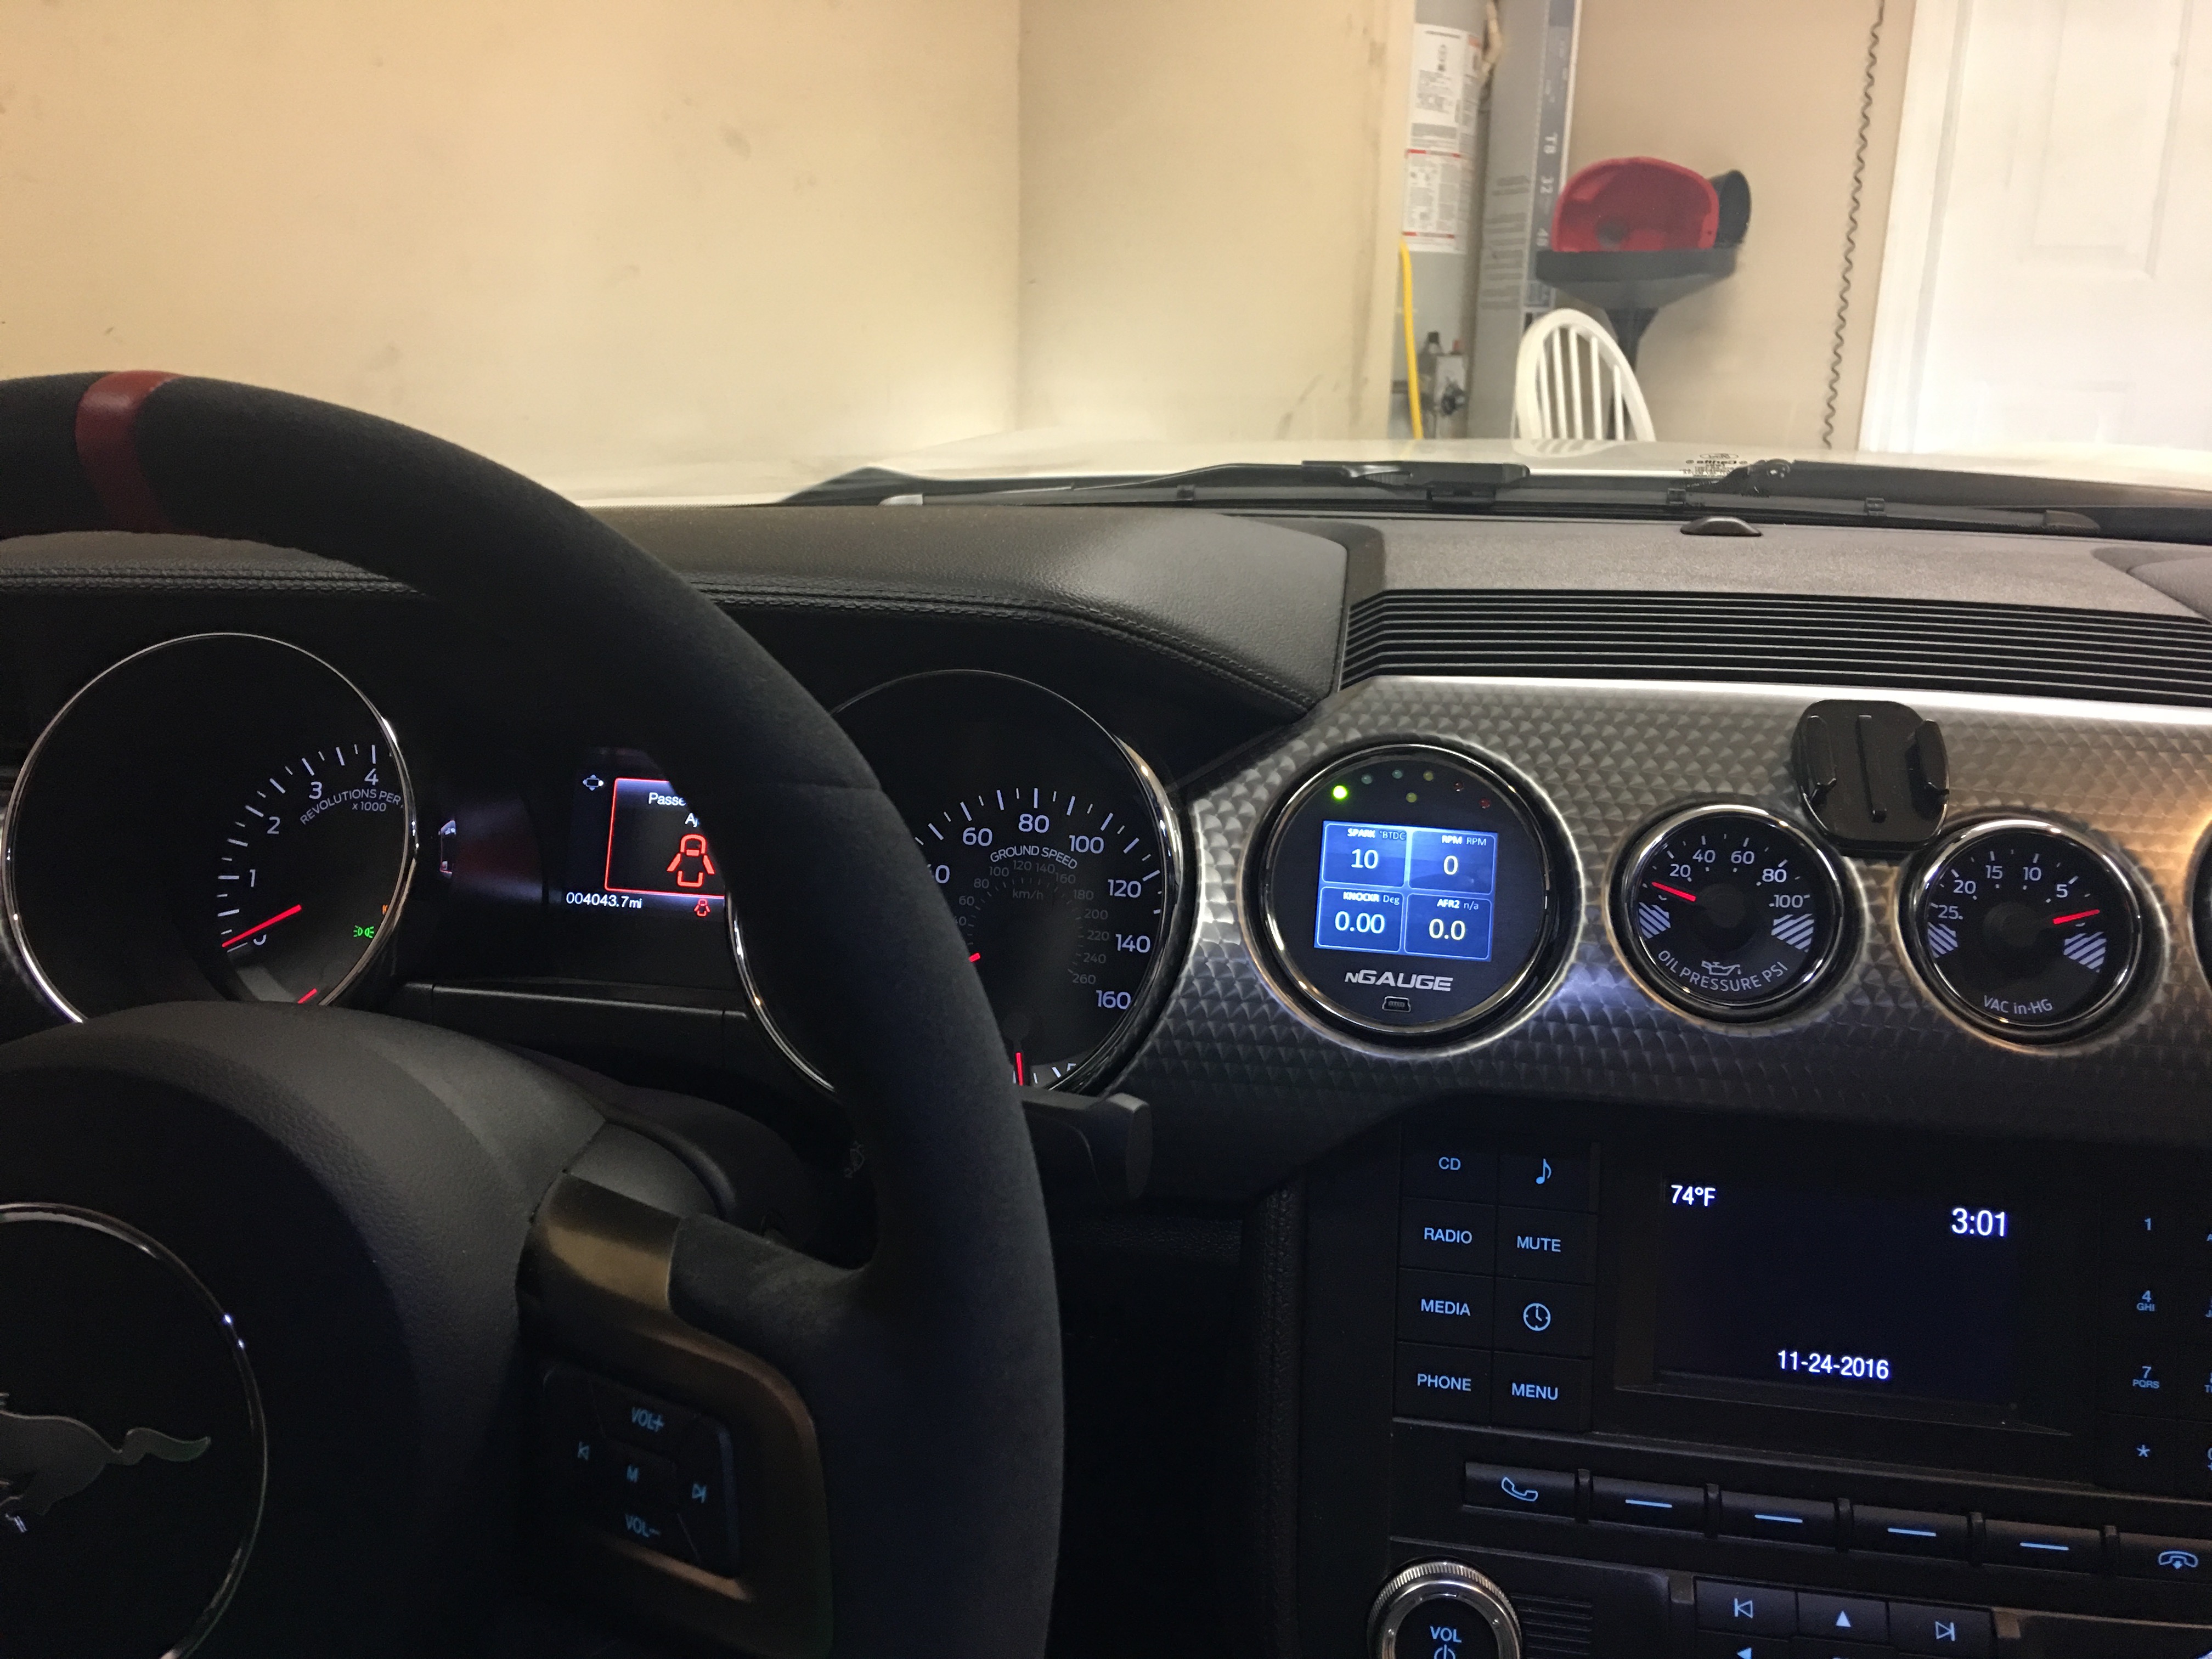
It was thanksgiving weekend and I decided to use the time to install the kit. First thing I started with was the nGauge Tuner & Diagnostics which is used to log engine management data, display real time data and flash tunes. The install involved removing the front dash trim and one of the air vents which was used to hold the gauge. I know losing an air vent may be unacceptable to some, I think you can order a suction cup mount. I love that the tuner auto shuts off so your battery doesn’t drain. Just tap the screen to start it.
Then it was time for an oil change and I used my usual combination of Mobil 1 5w-20 full synthetic oil and a Mobil 1 M1- 212 extended performance oil filter.
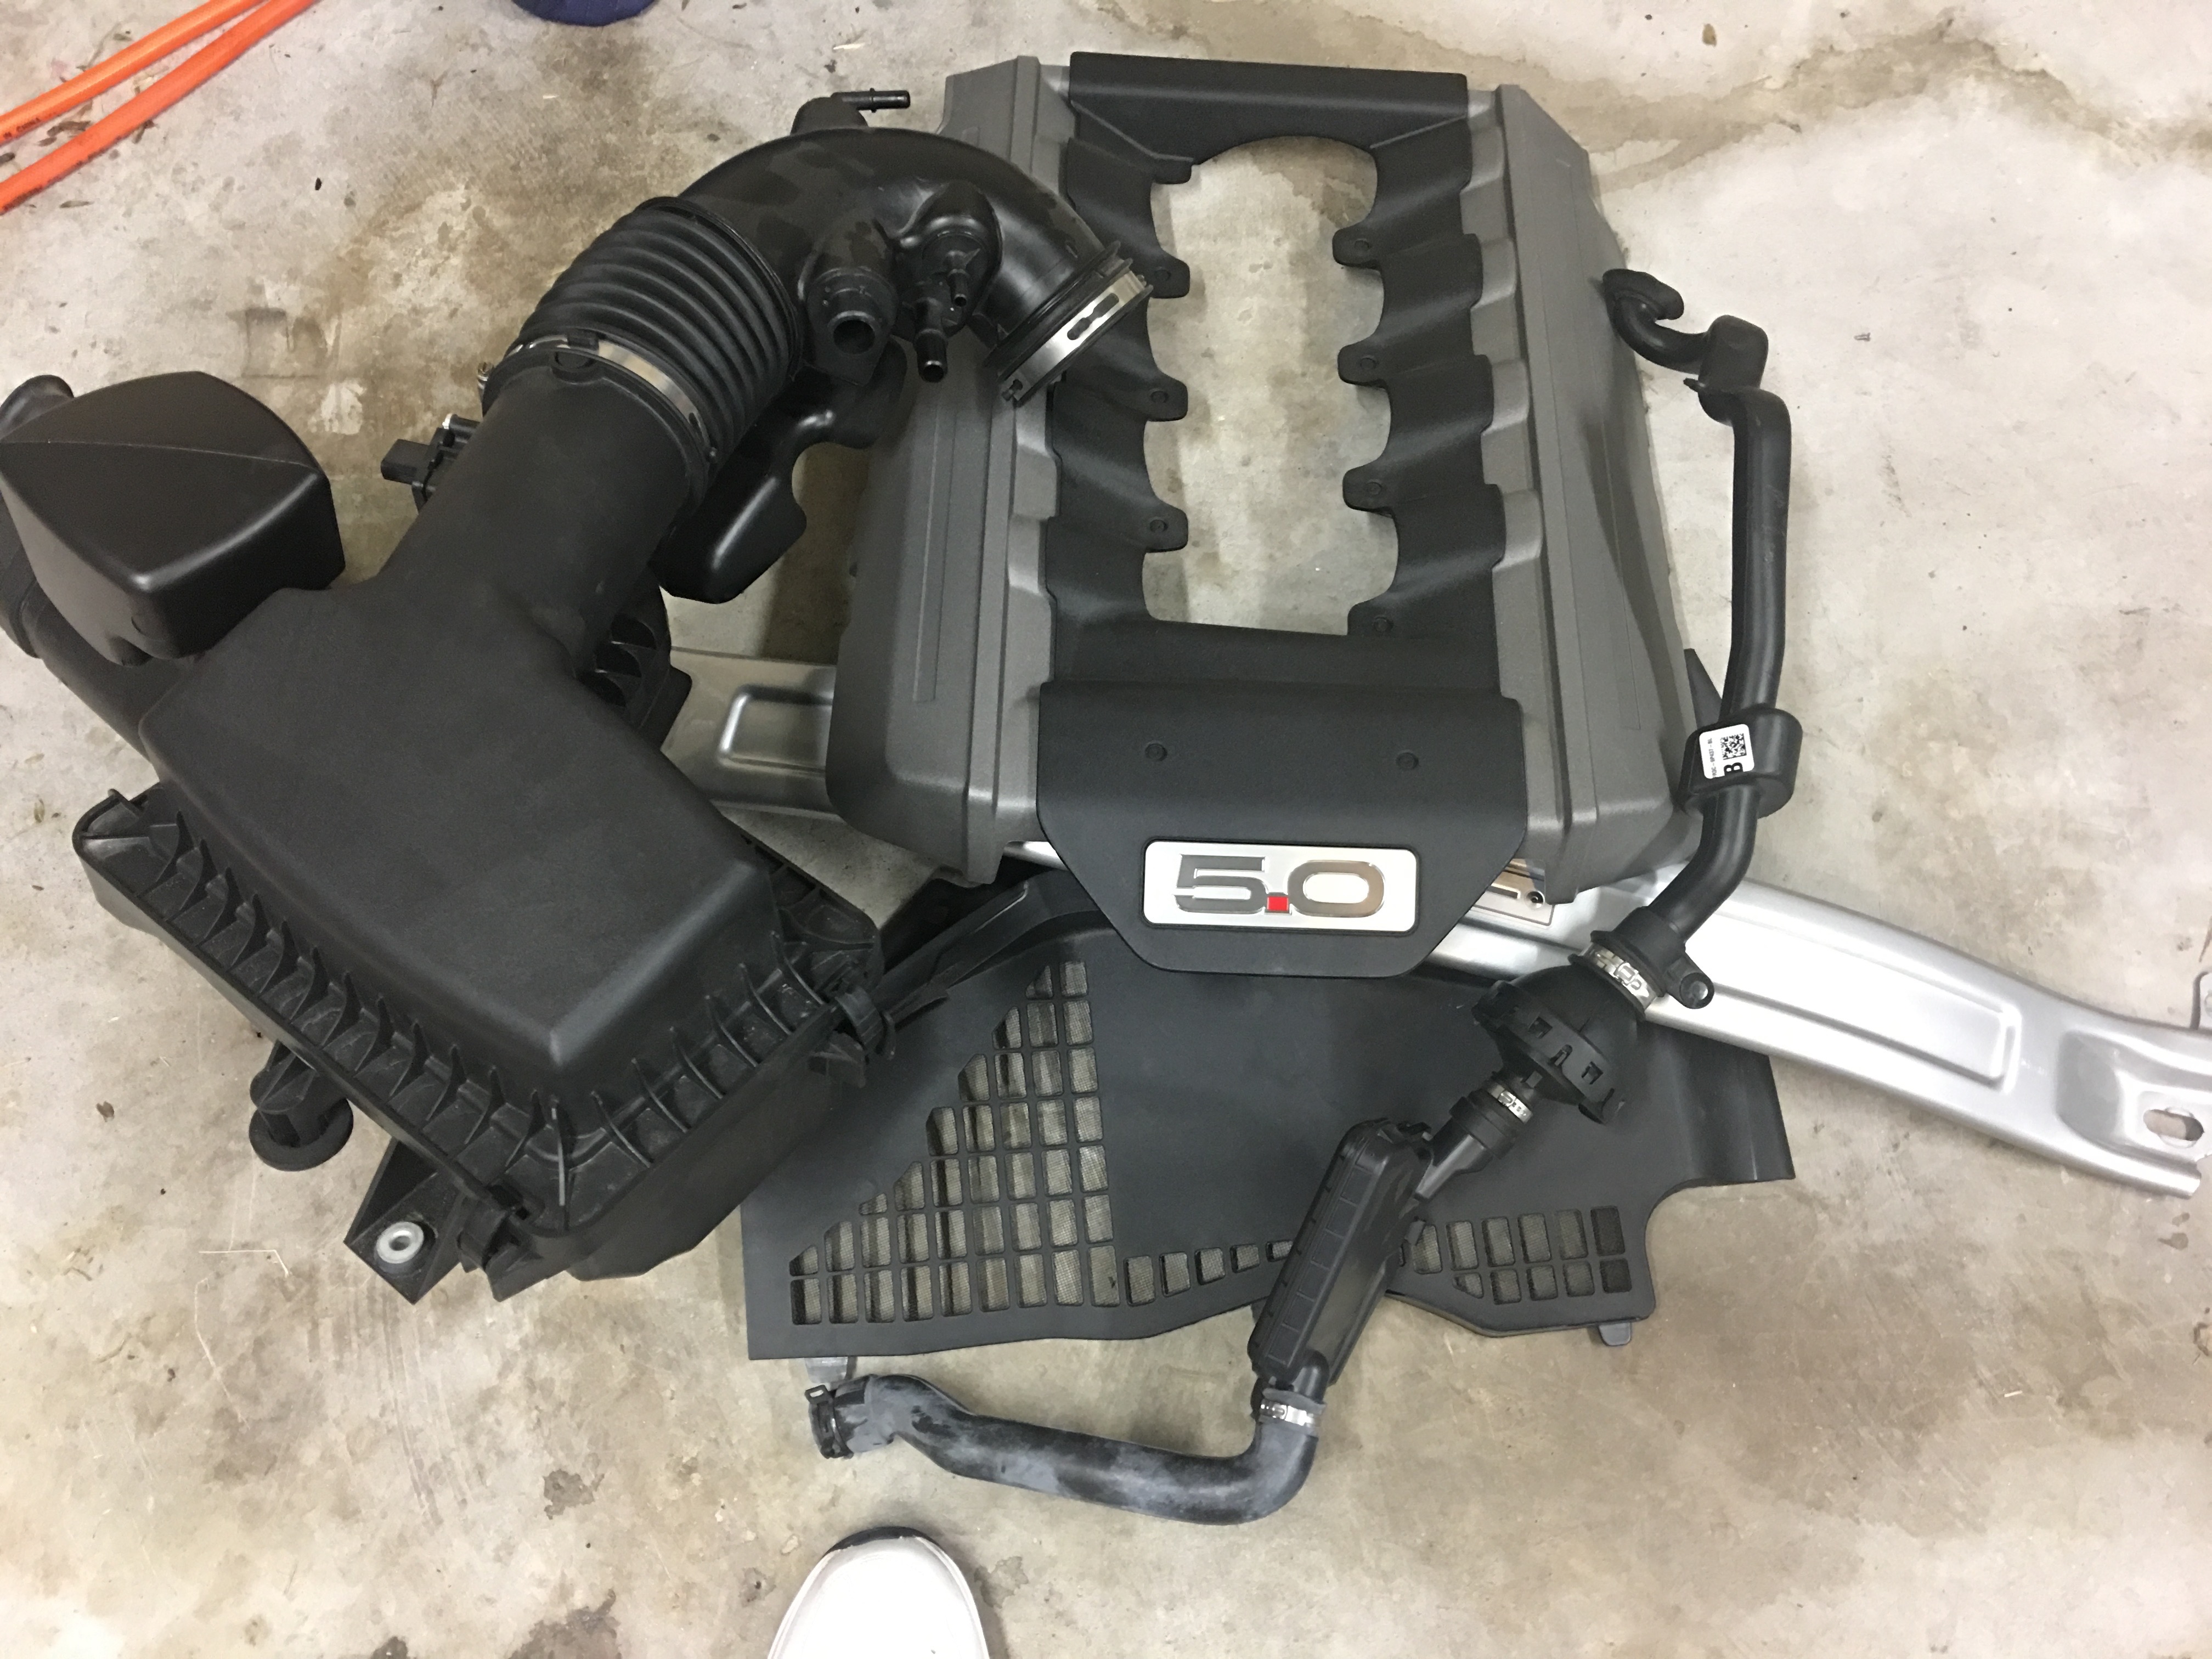
After the oil was nice and fresh I started to tear the car down to prep for the install. The first step was to remove my catch can setup as it wasn’t compatible with this kit. Next I had to remove the factory air box, but to get to it I’d have to take off the strut brace. Luckily the Procharger kit doesn’t interfere with the strut brace so I was able to put it back on after the install was finished. The only pain with the air box was the firewall nut holding the sound tube which transmits intake noise into the cabin (why???) could not be reached by my hands. I just twisted the tube until it broke off at the firewall, it’s not the cleanest strategy but not unique to me.
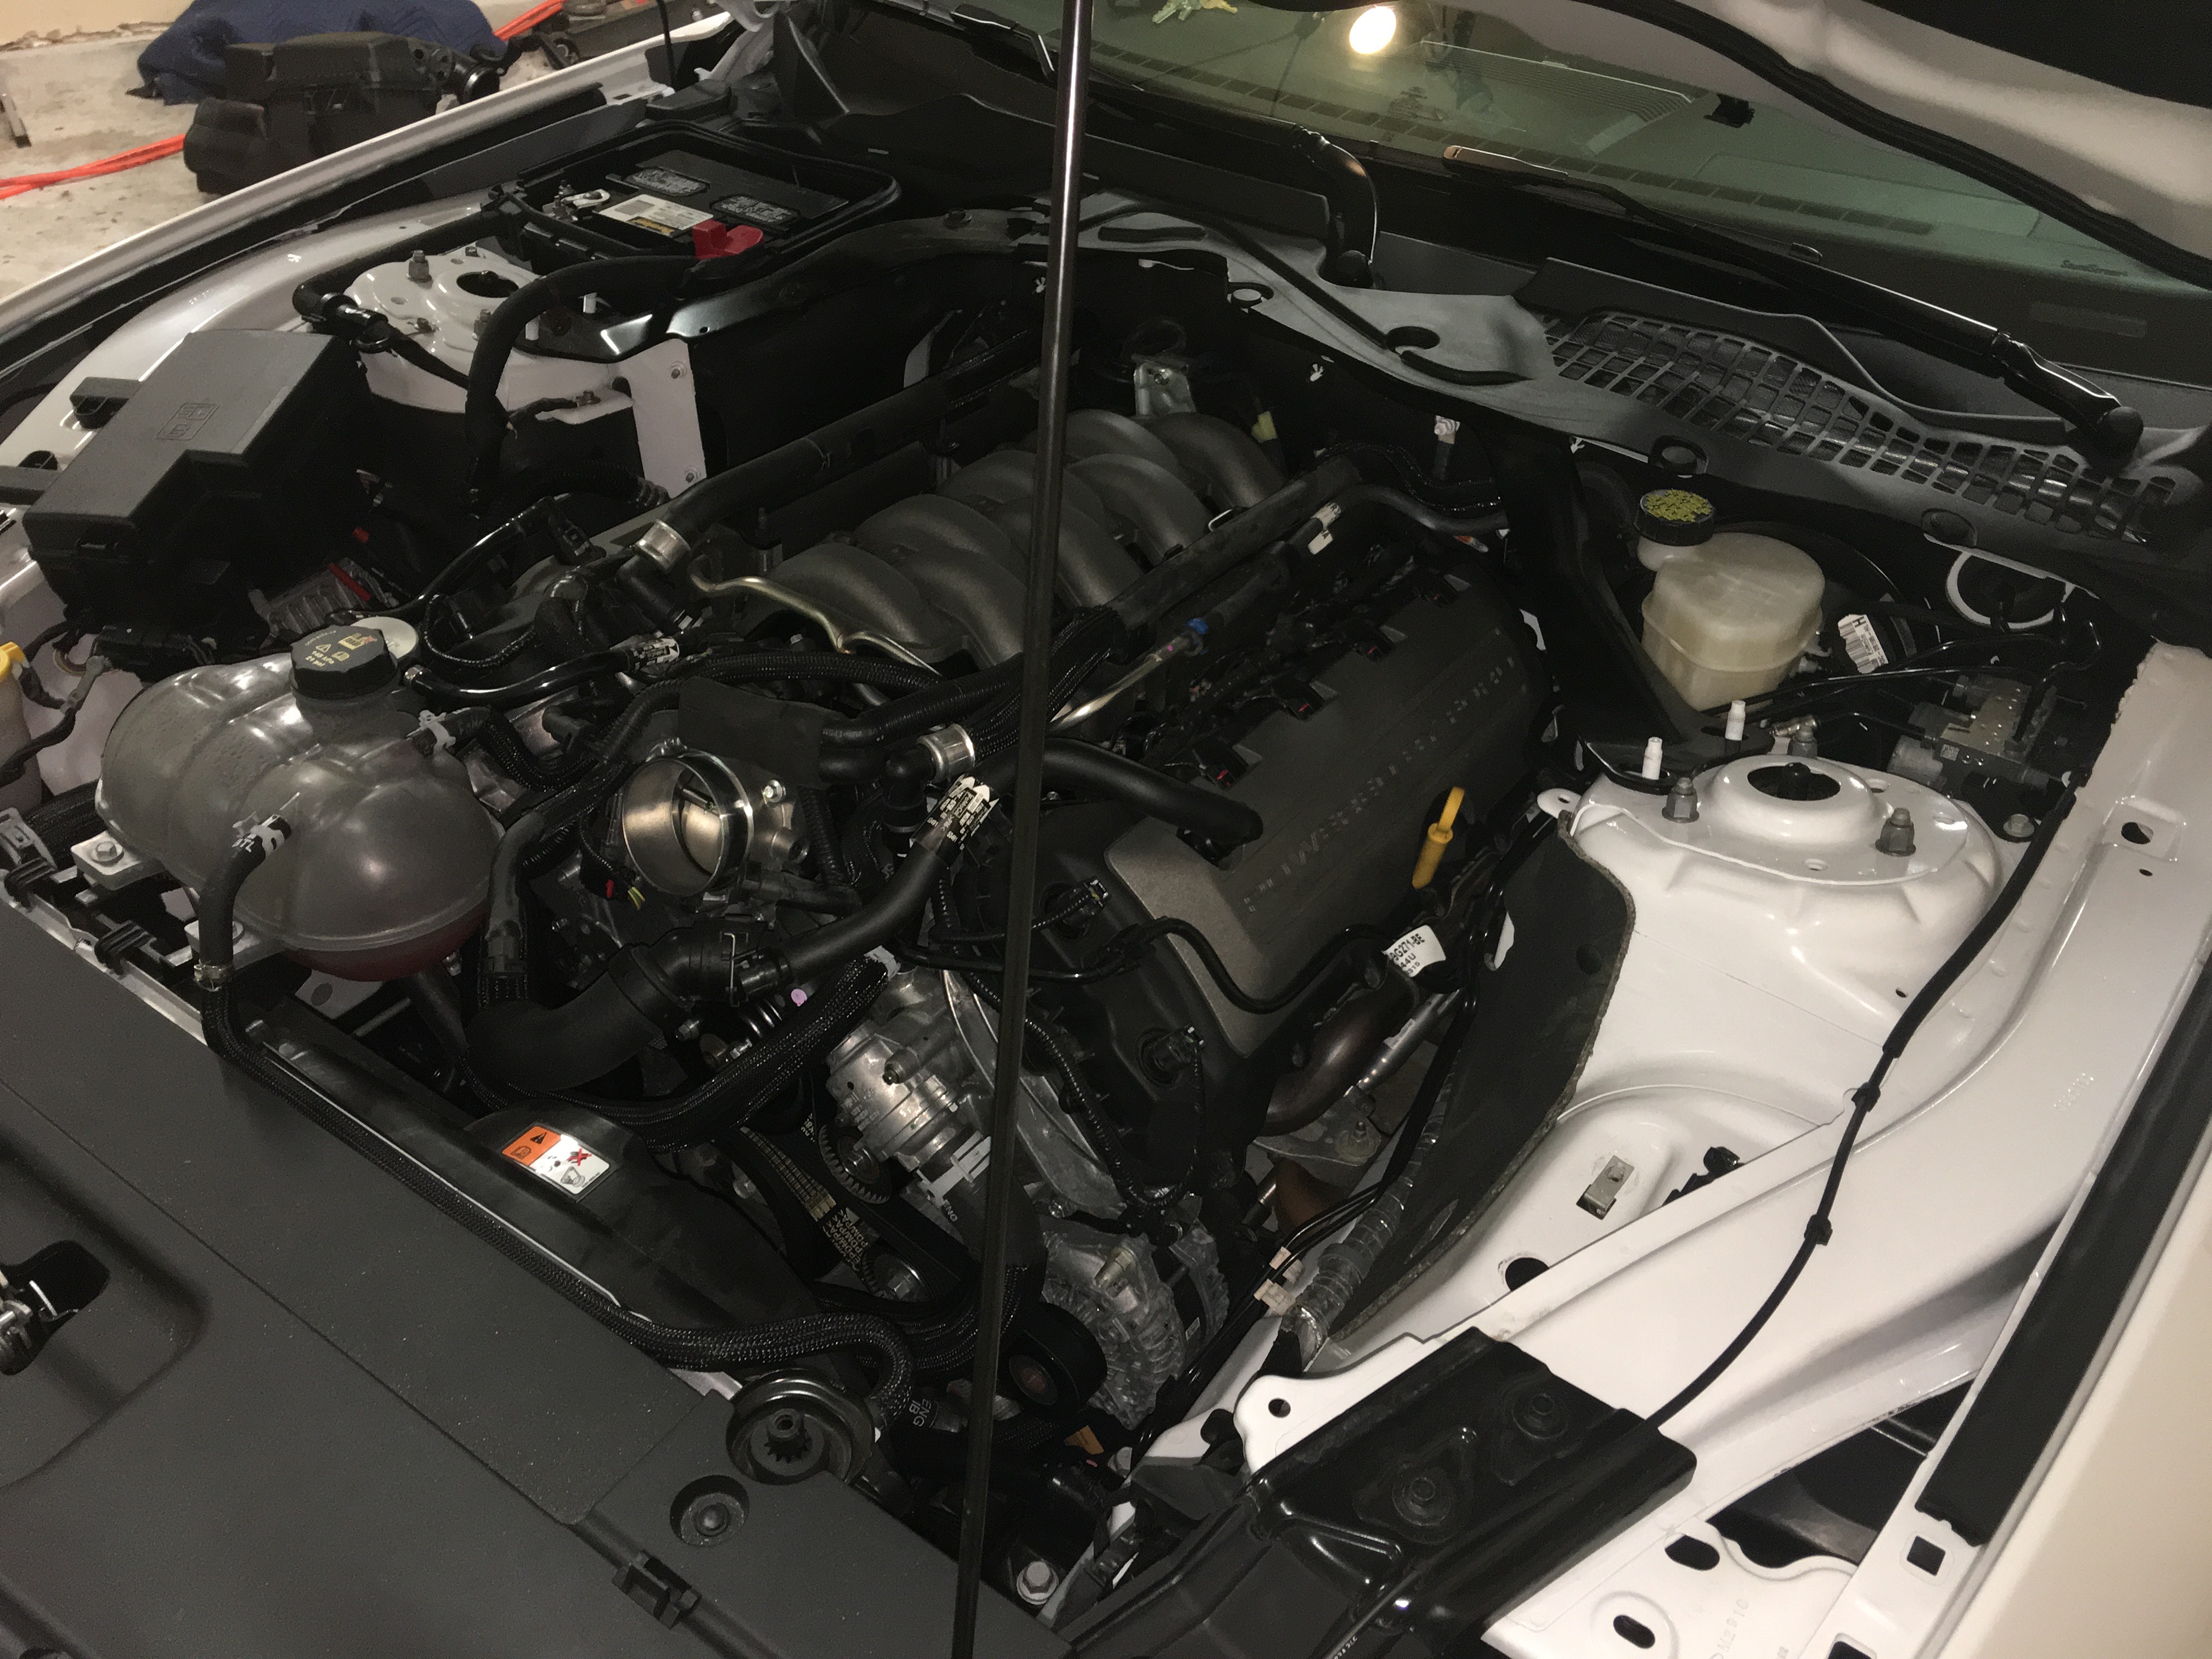
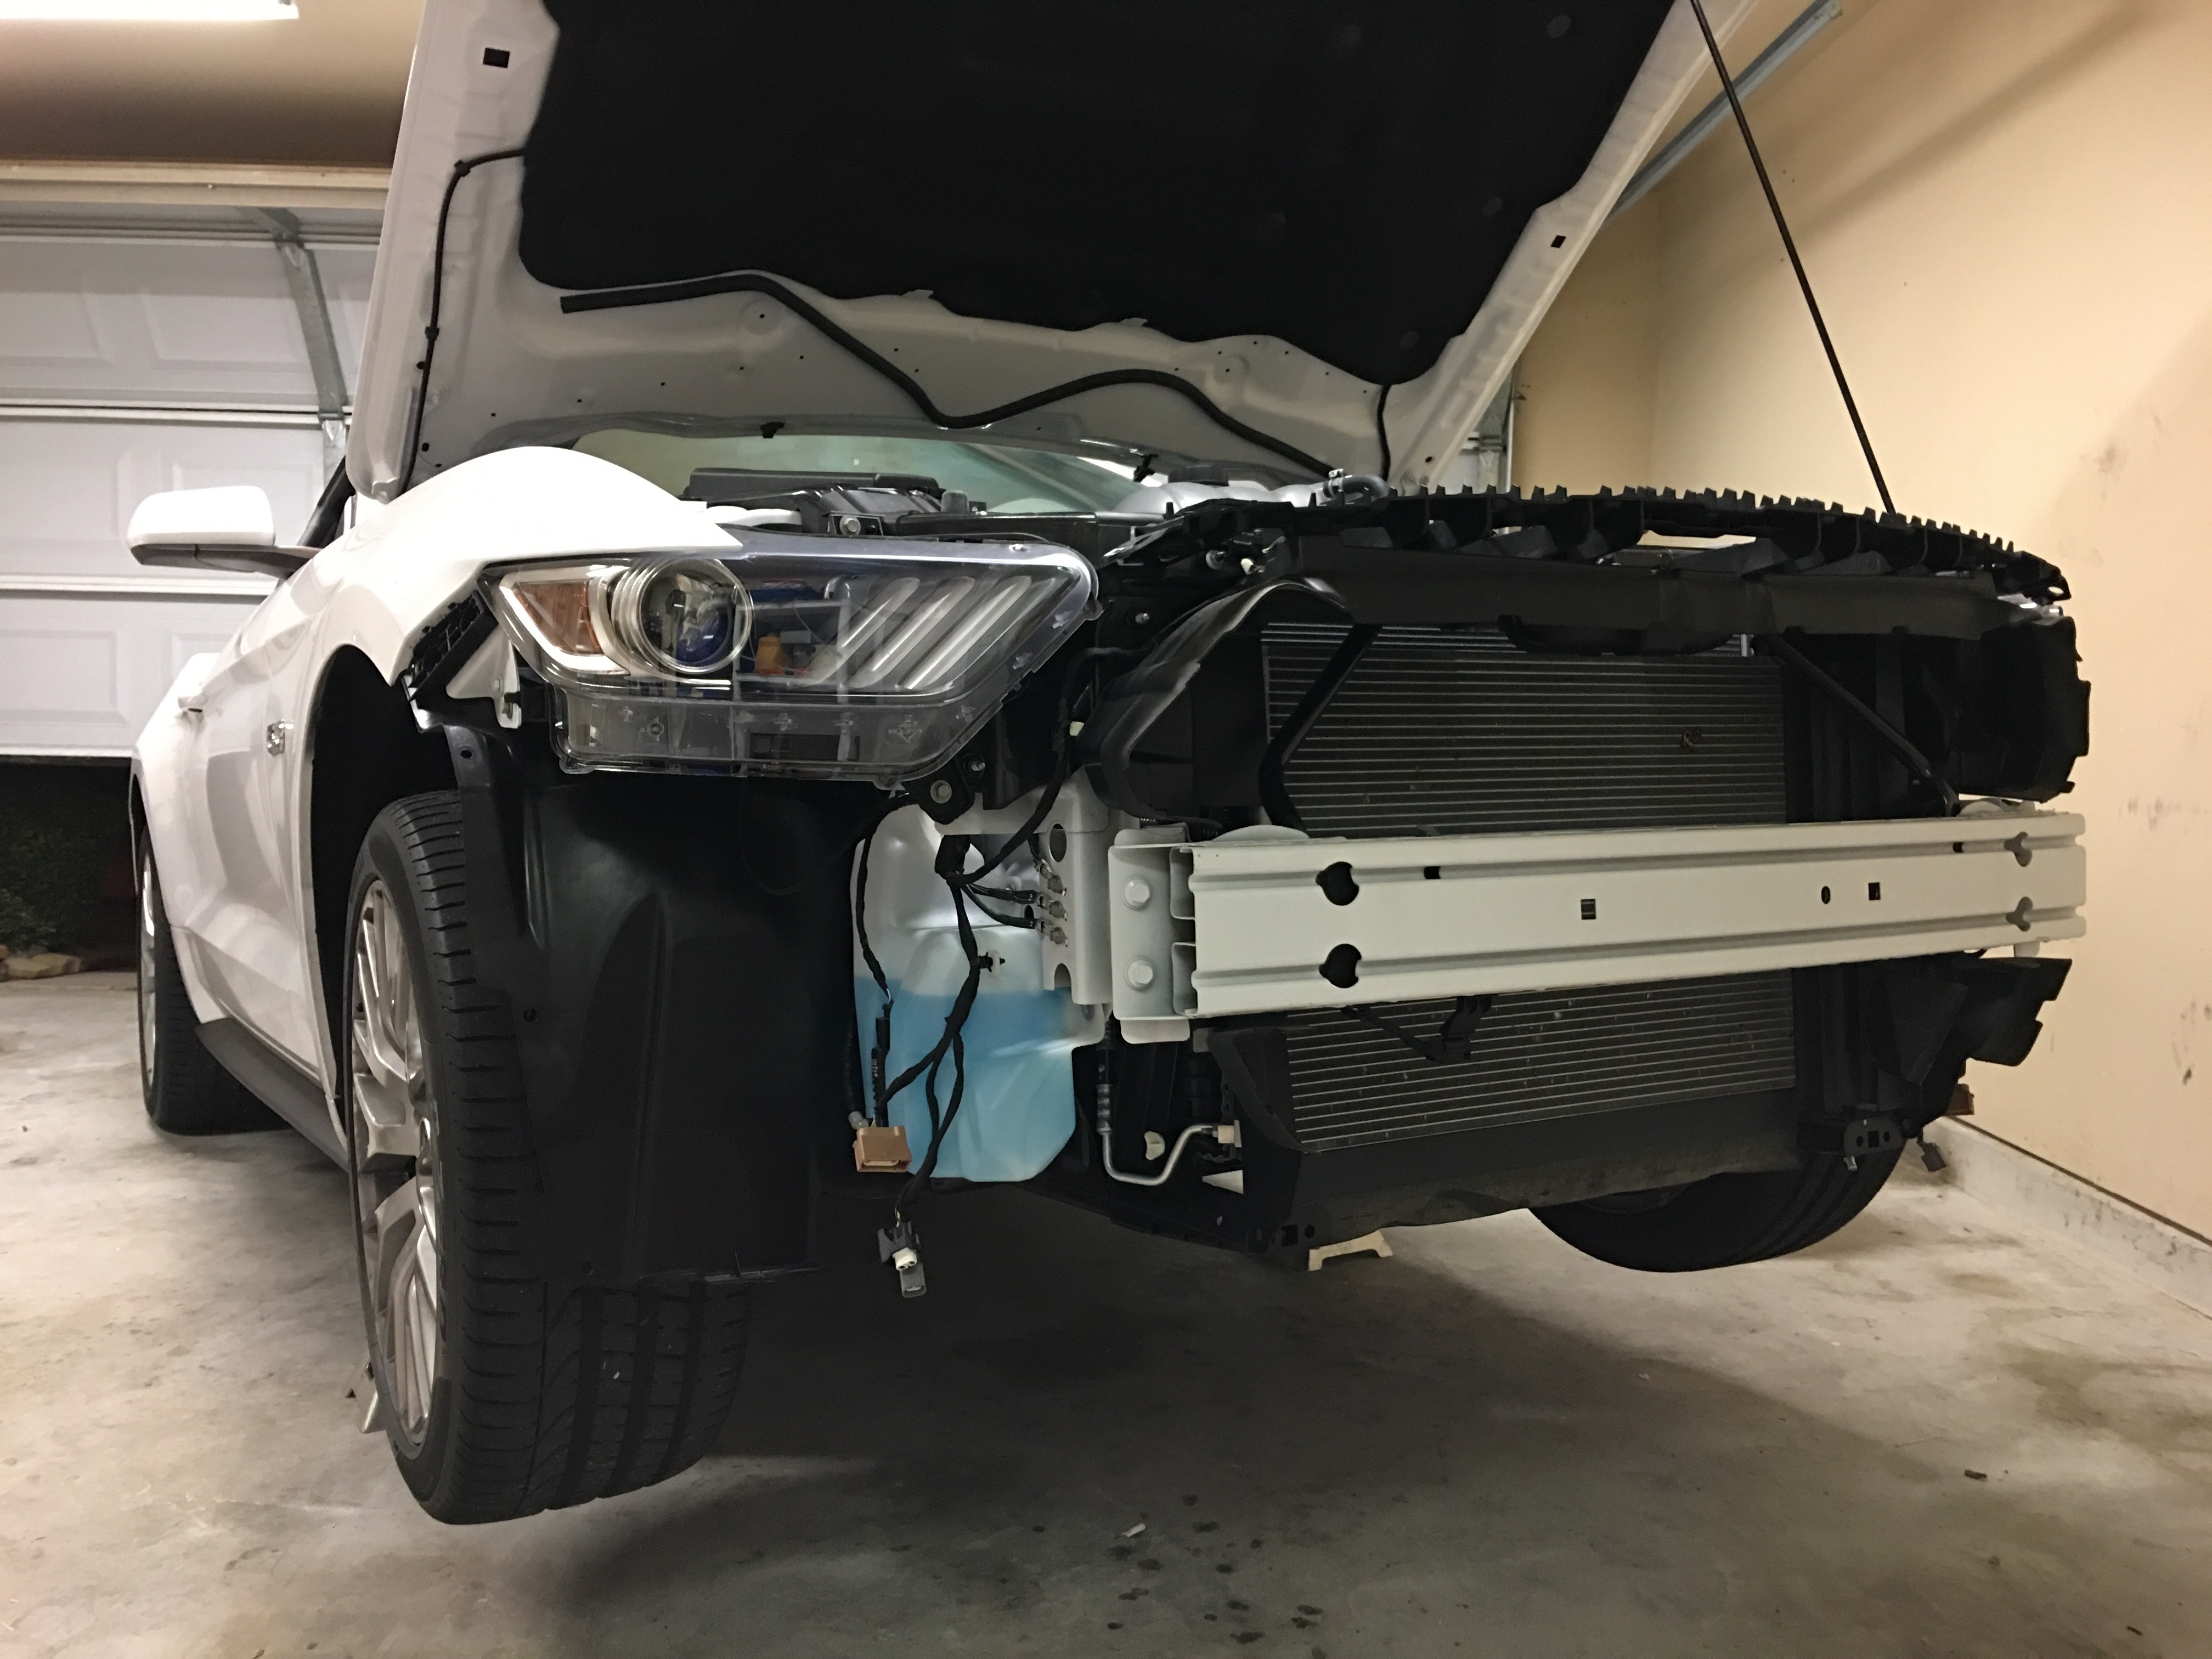
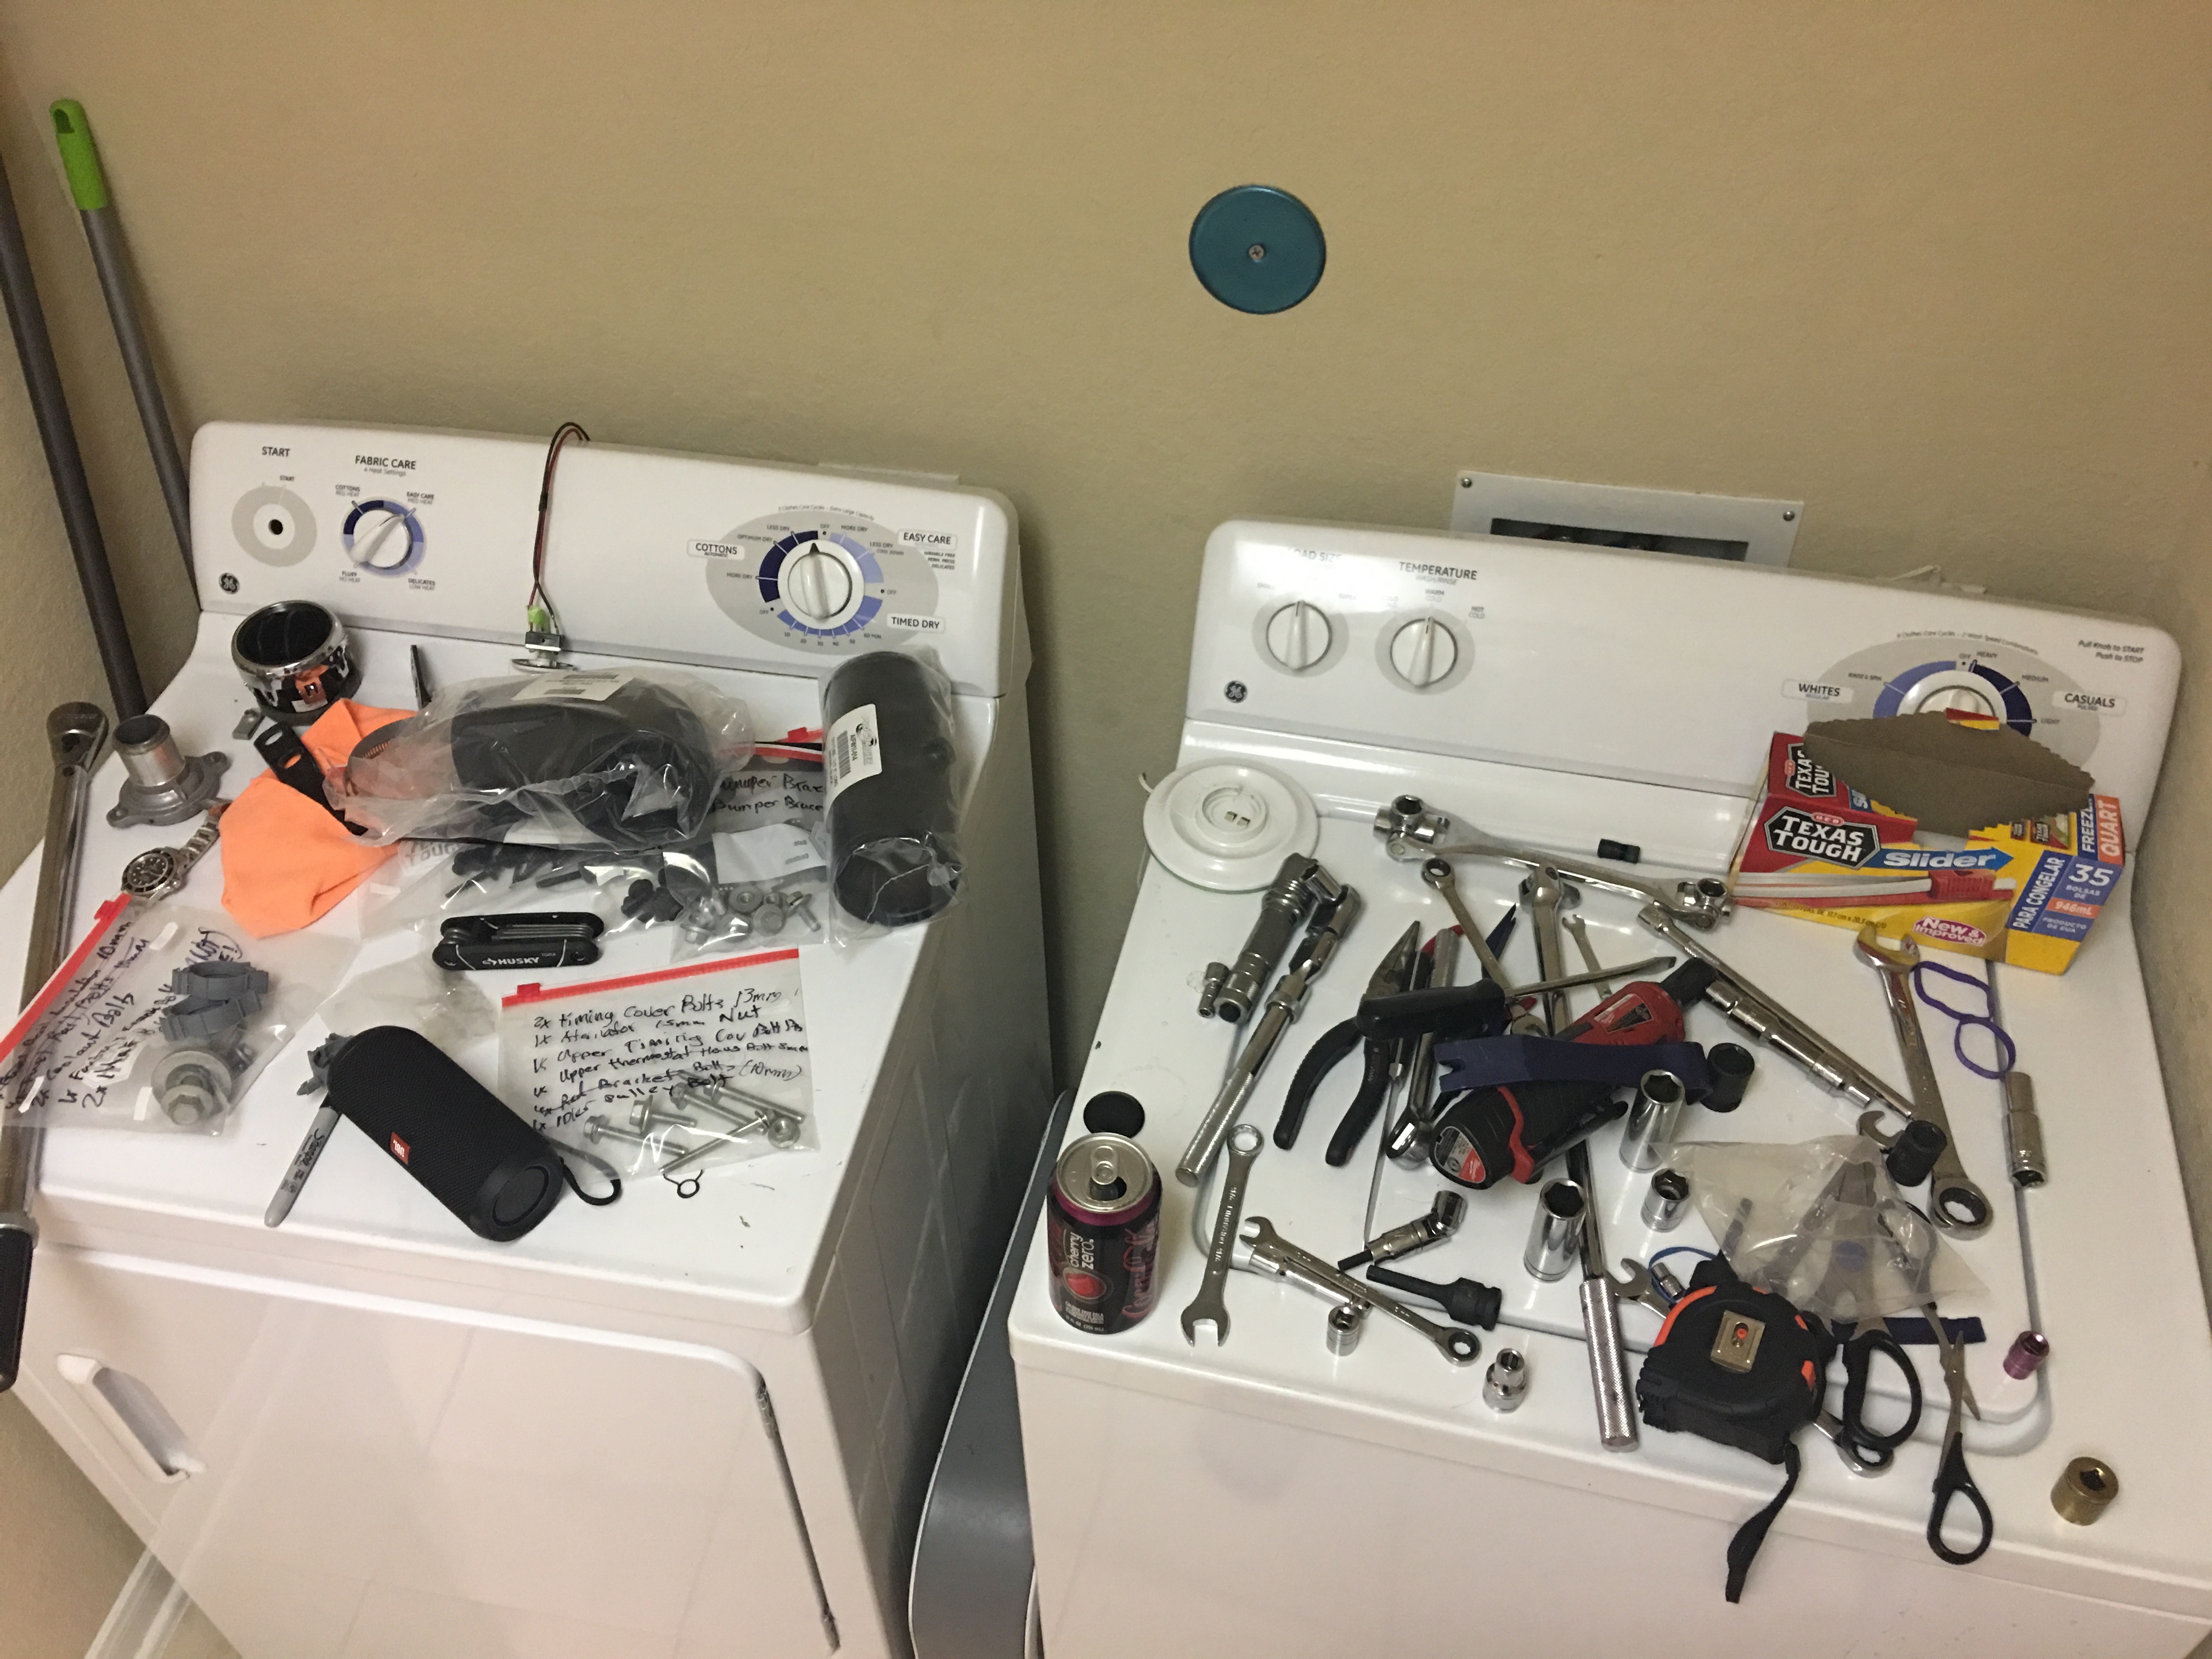
Overall the project was starting out easy enough. I needed lots of tools and some steps were kind of frustrating. I’ve removed the front fascia before so that wasn’t really a huge pain to do again. I was told by Adrian from MAK that removing the fascia was the hardest part, maybe if you’ve never done it before, but really it’s not bad. Here you can see some of the progress:

Because I was working on this project alone I took my time and didn’t rush. Fuel injectors were an easy install on this car and eventually I started to see the light at the end of the tunnel. I installed the new thermostat housing neck and replaced the factory coolant reservoir with the Procharger unit and used teflon tape (which later failed) to seal it up. Next up was the crank pulley and I had to take the crank bolt out. To do this the car was put into 6th gear and I used a big breaker bar to take the bolt out. The crank pulley itself did not need to be removed, instead I used the included cam locks to mount a second pulley on top of it. This pulley will eventually feed the dedicated drive of the supercharger.
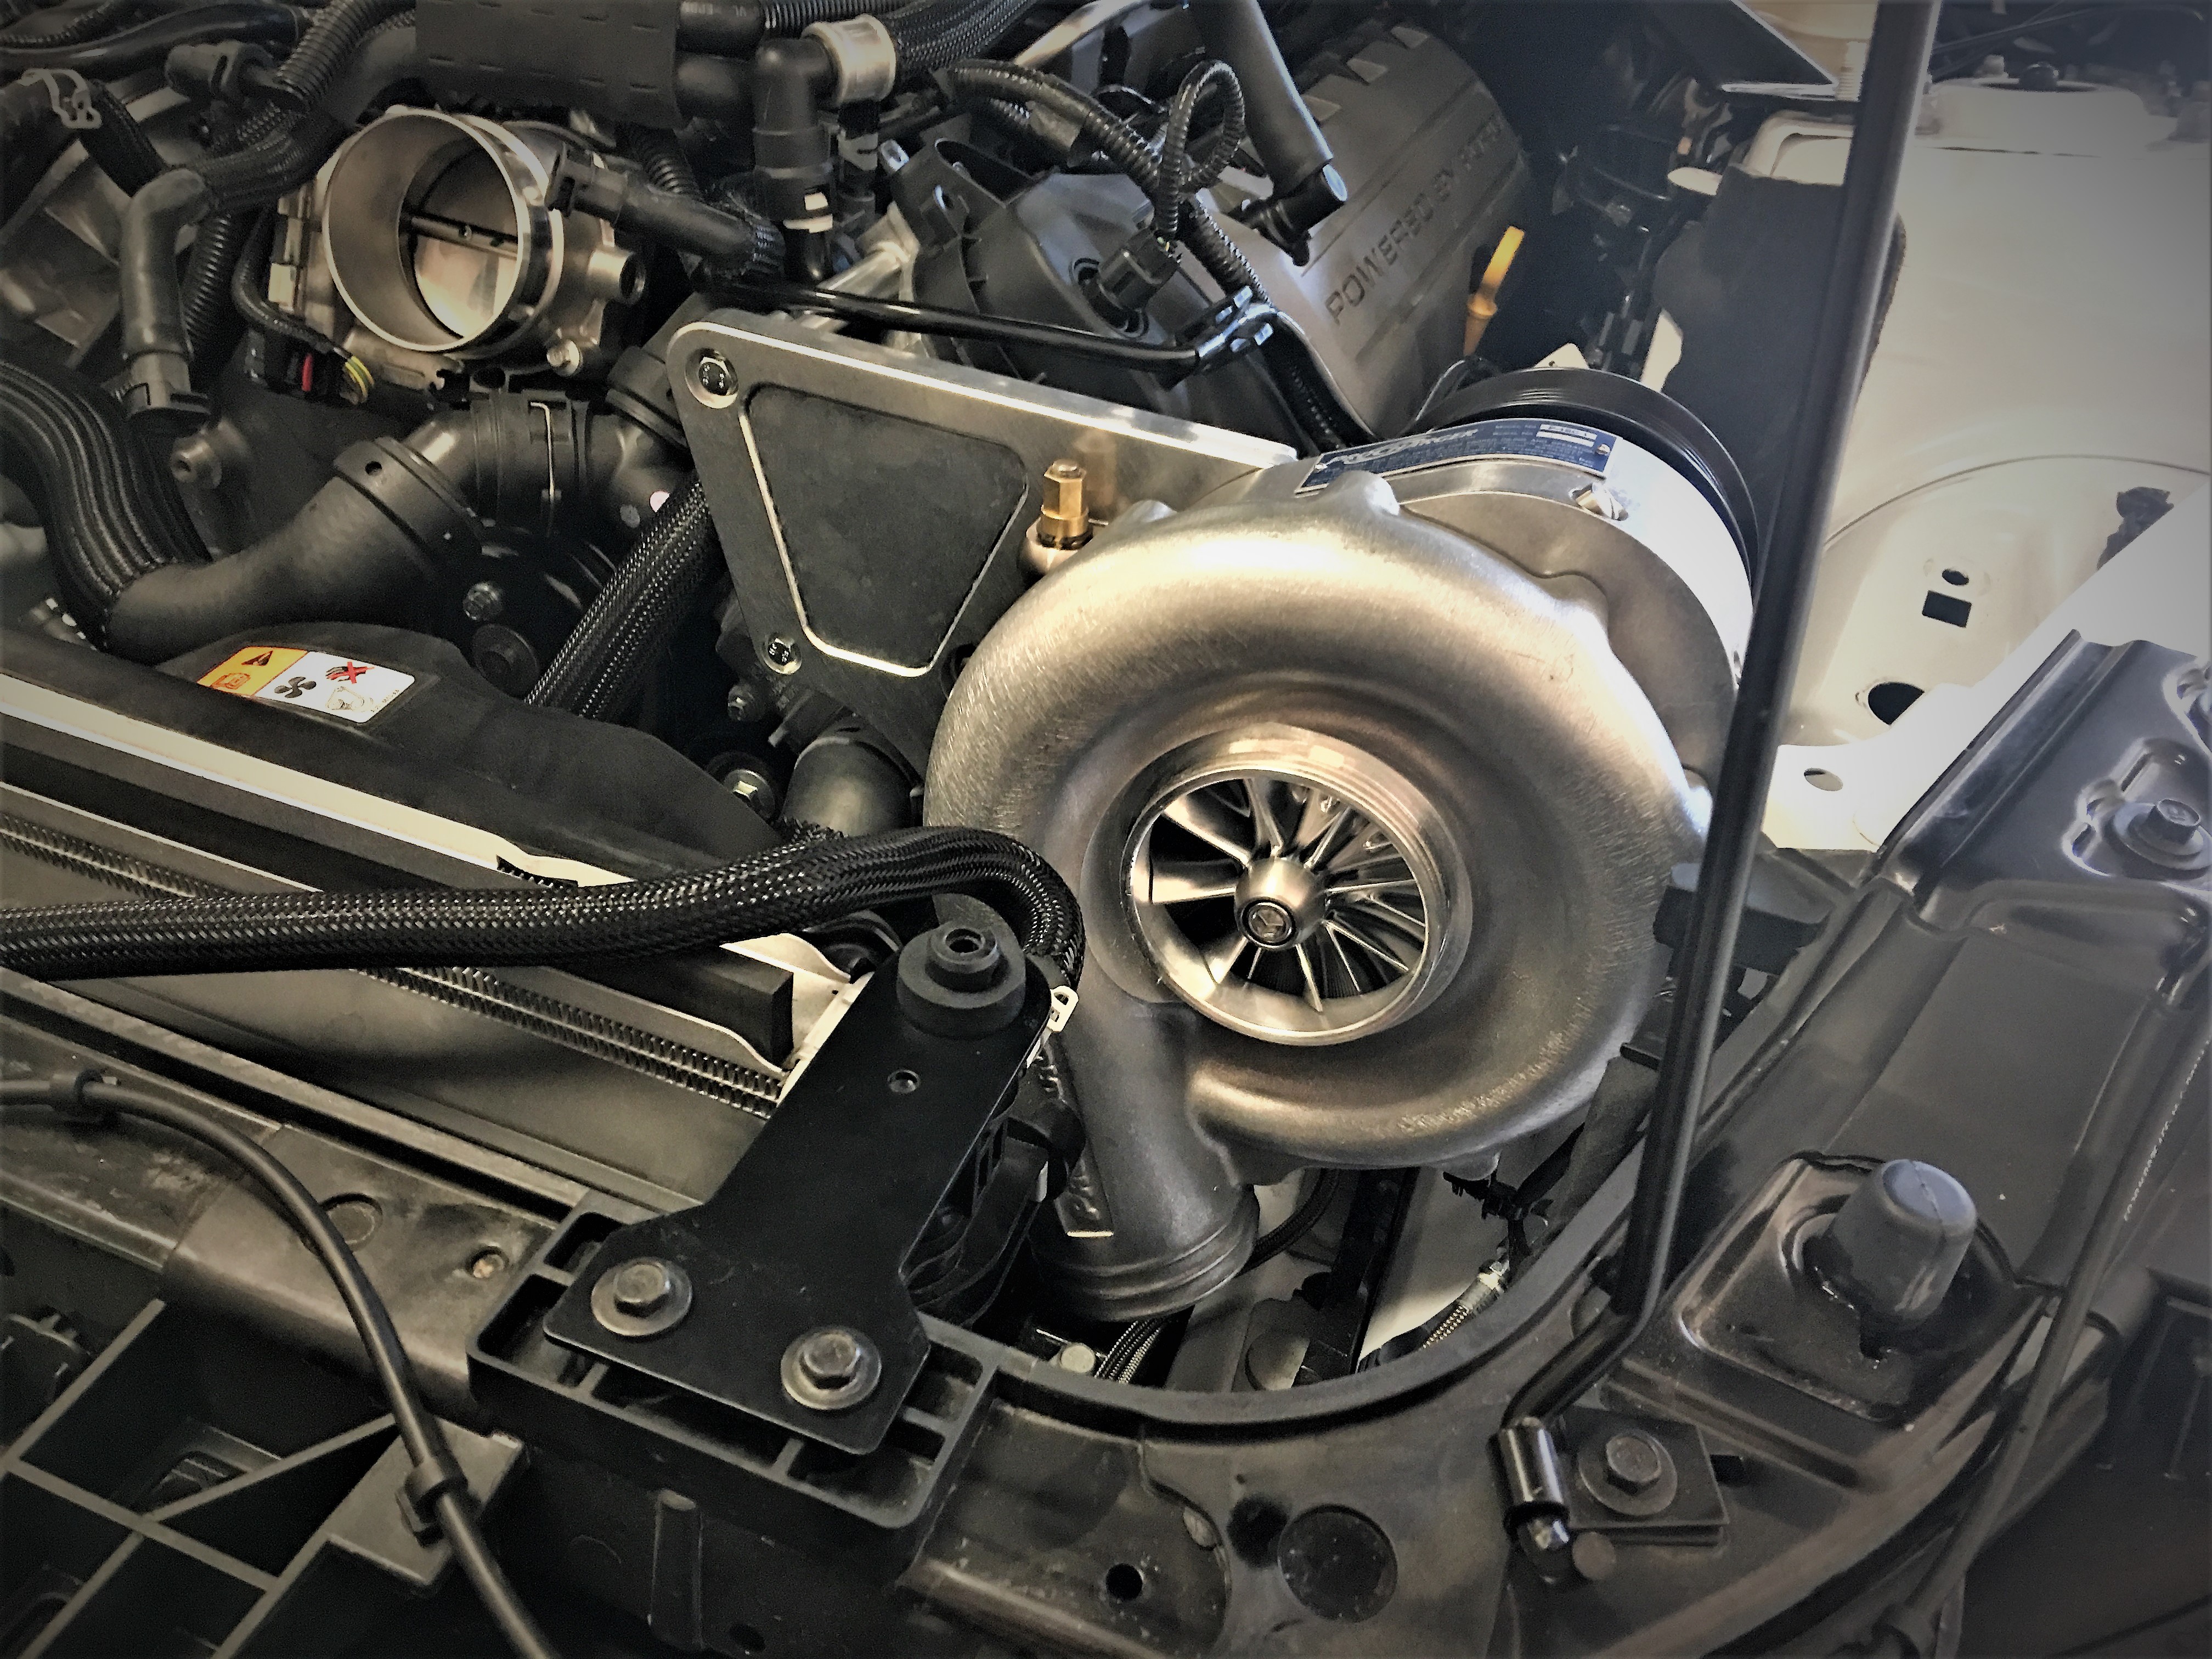
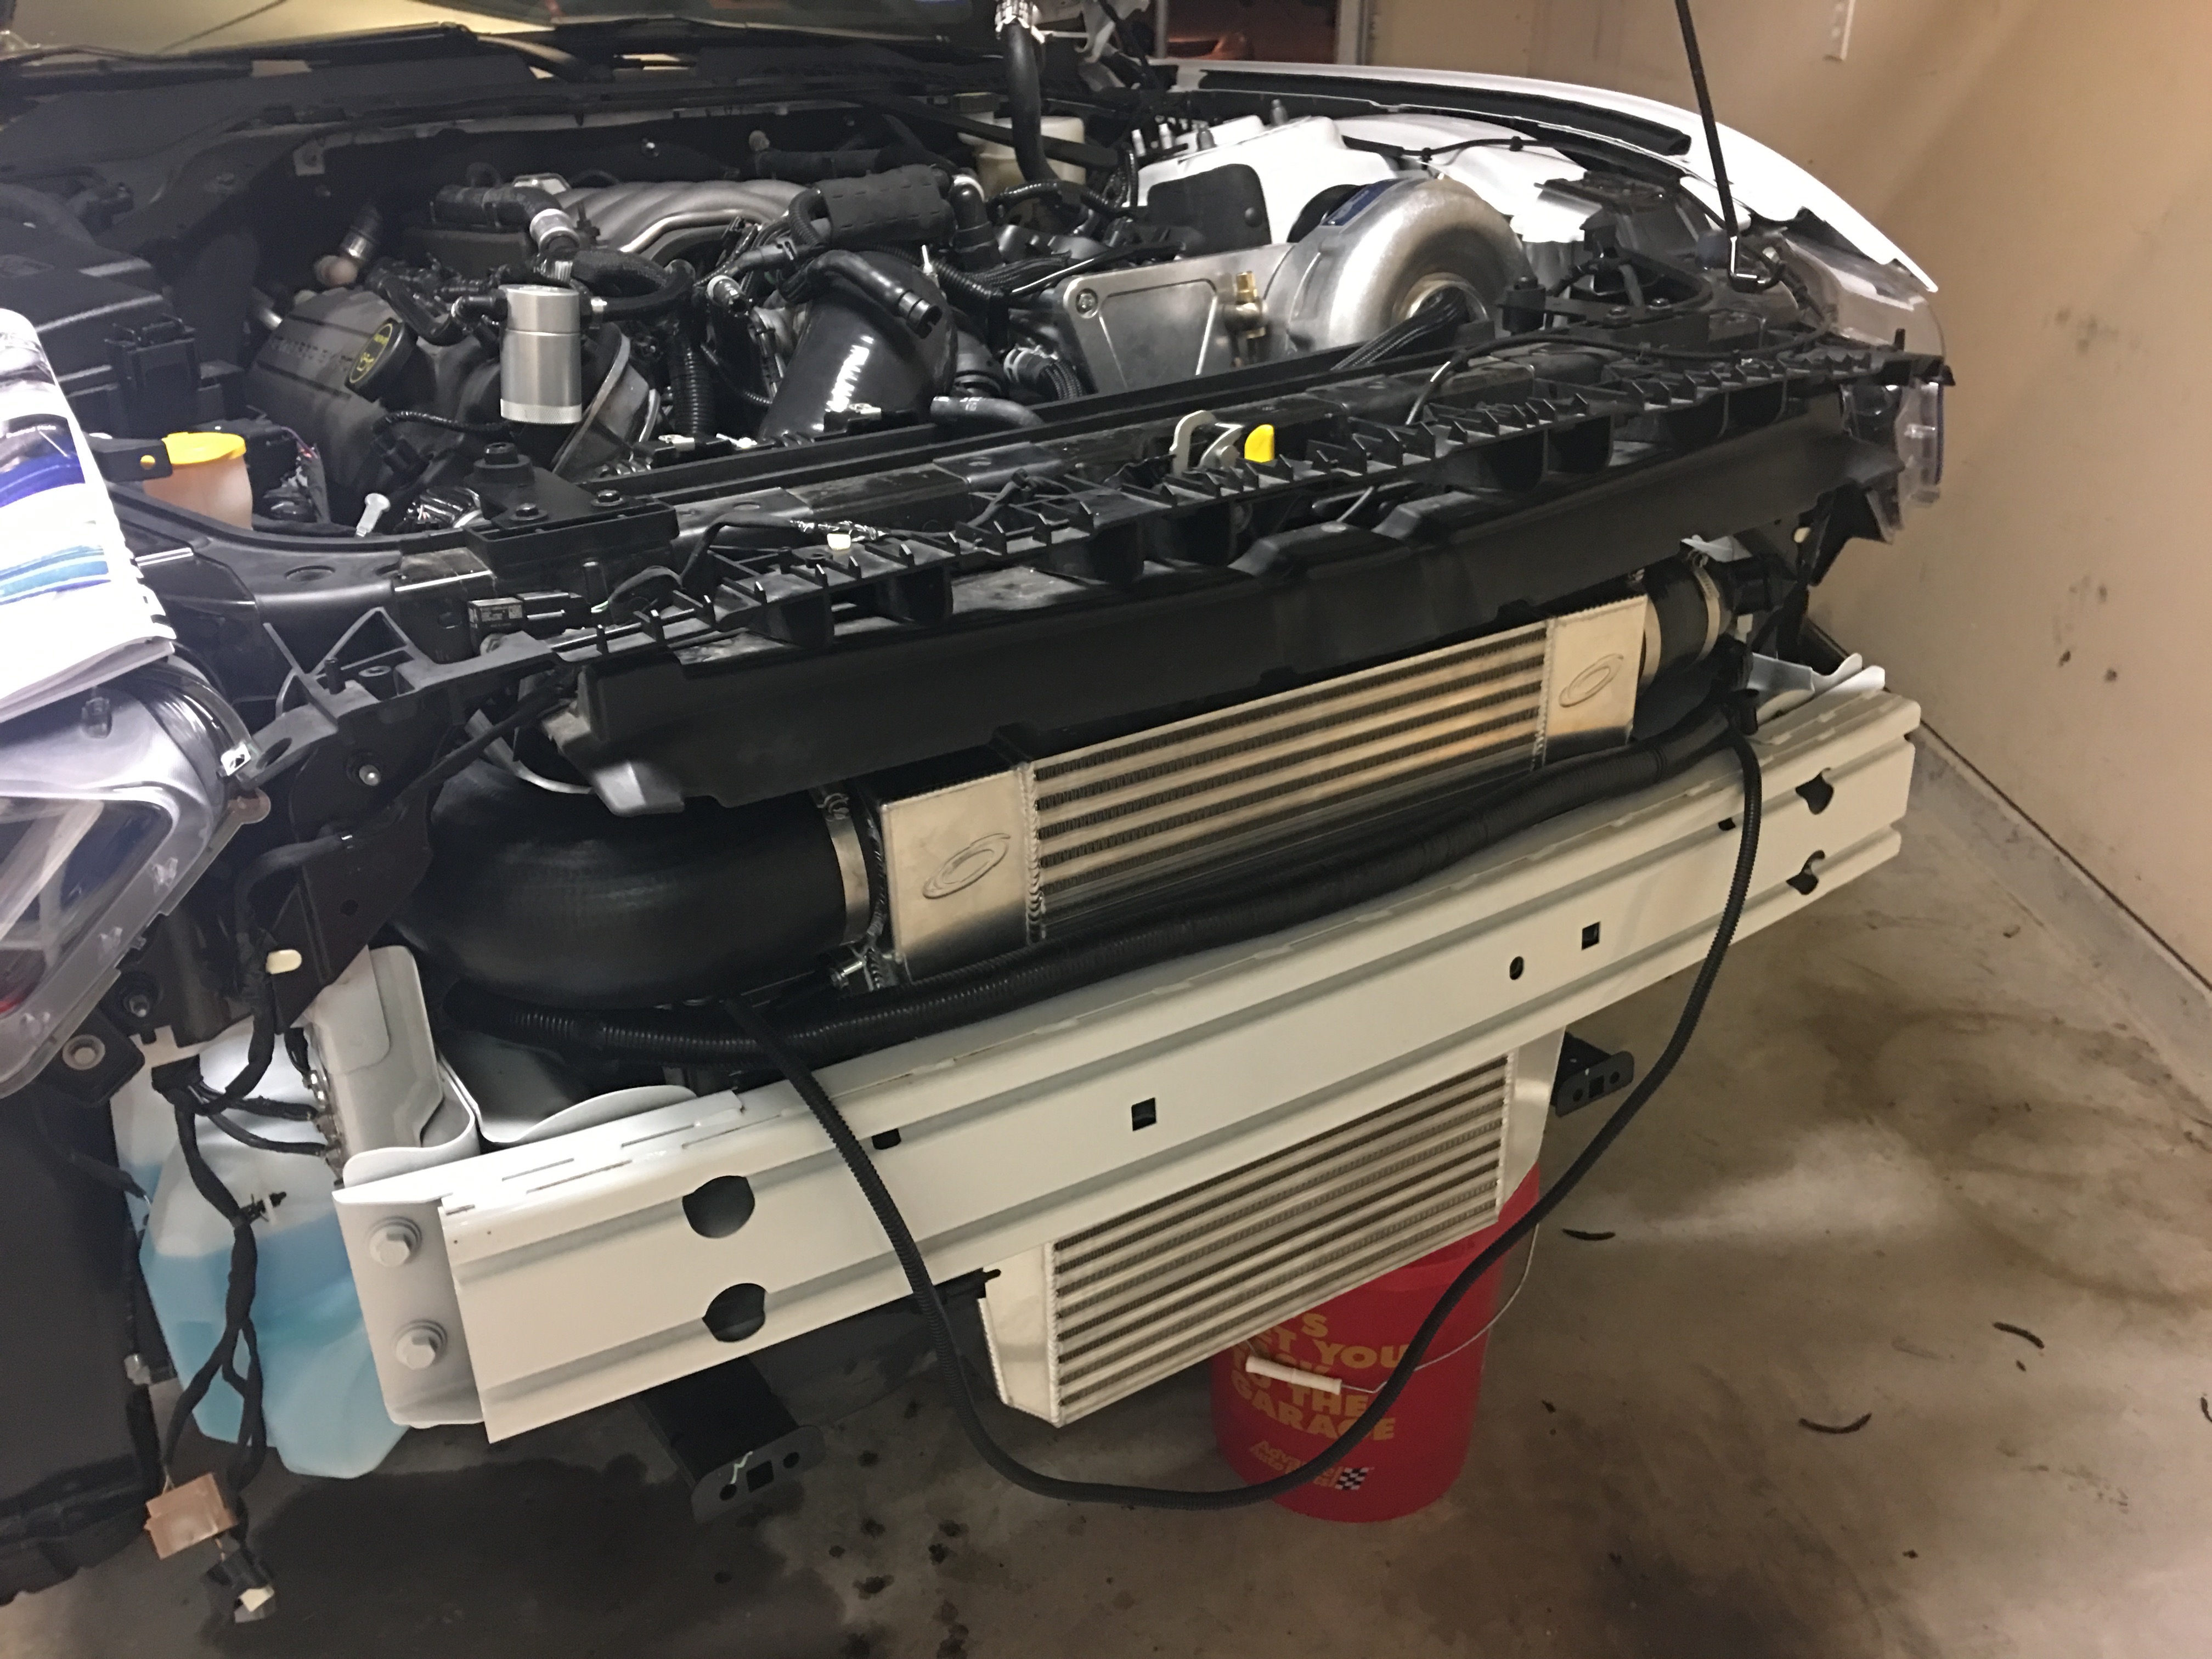
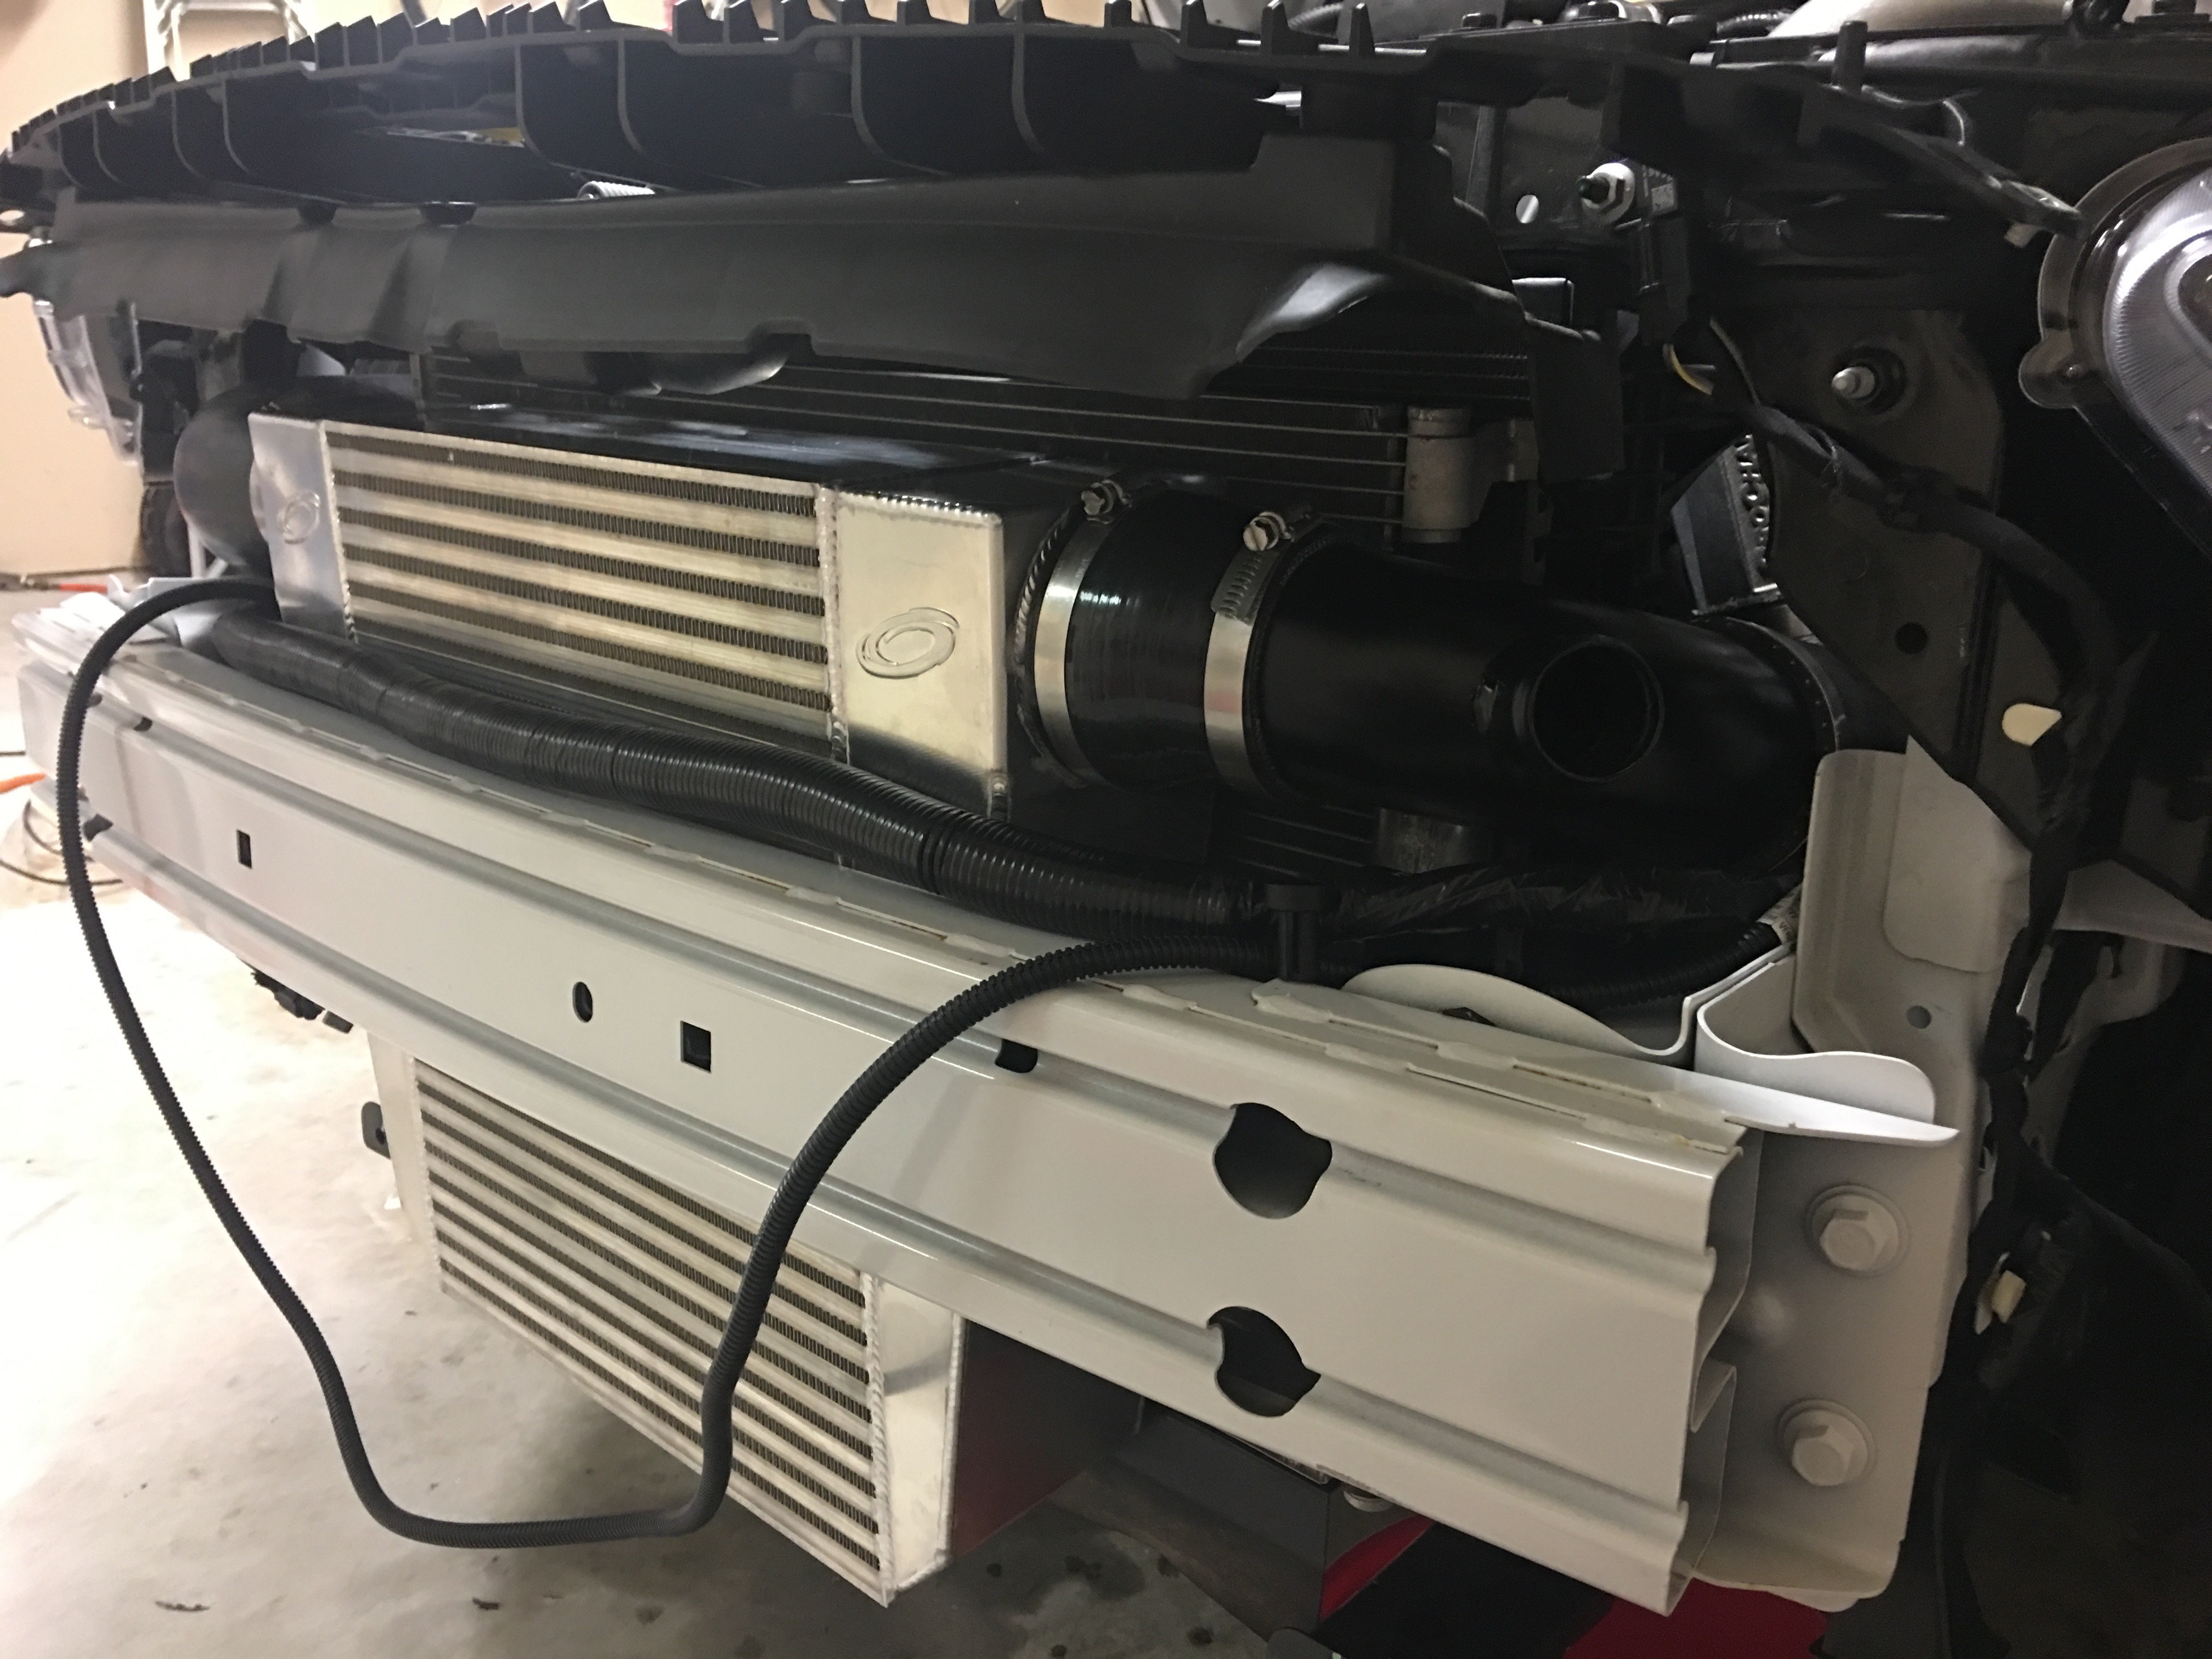
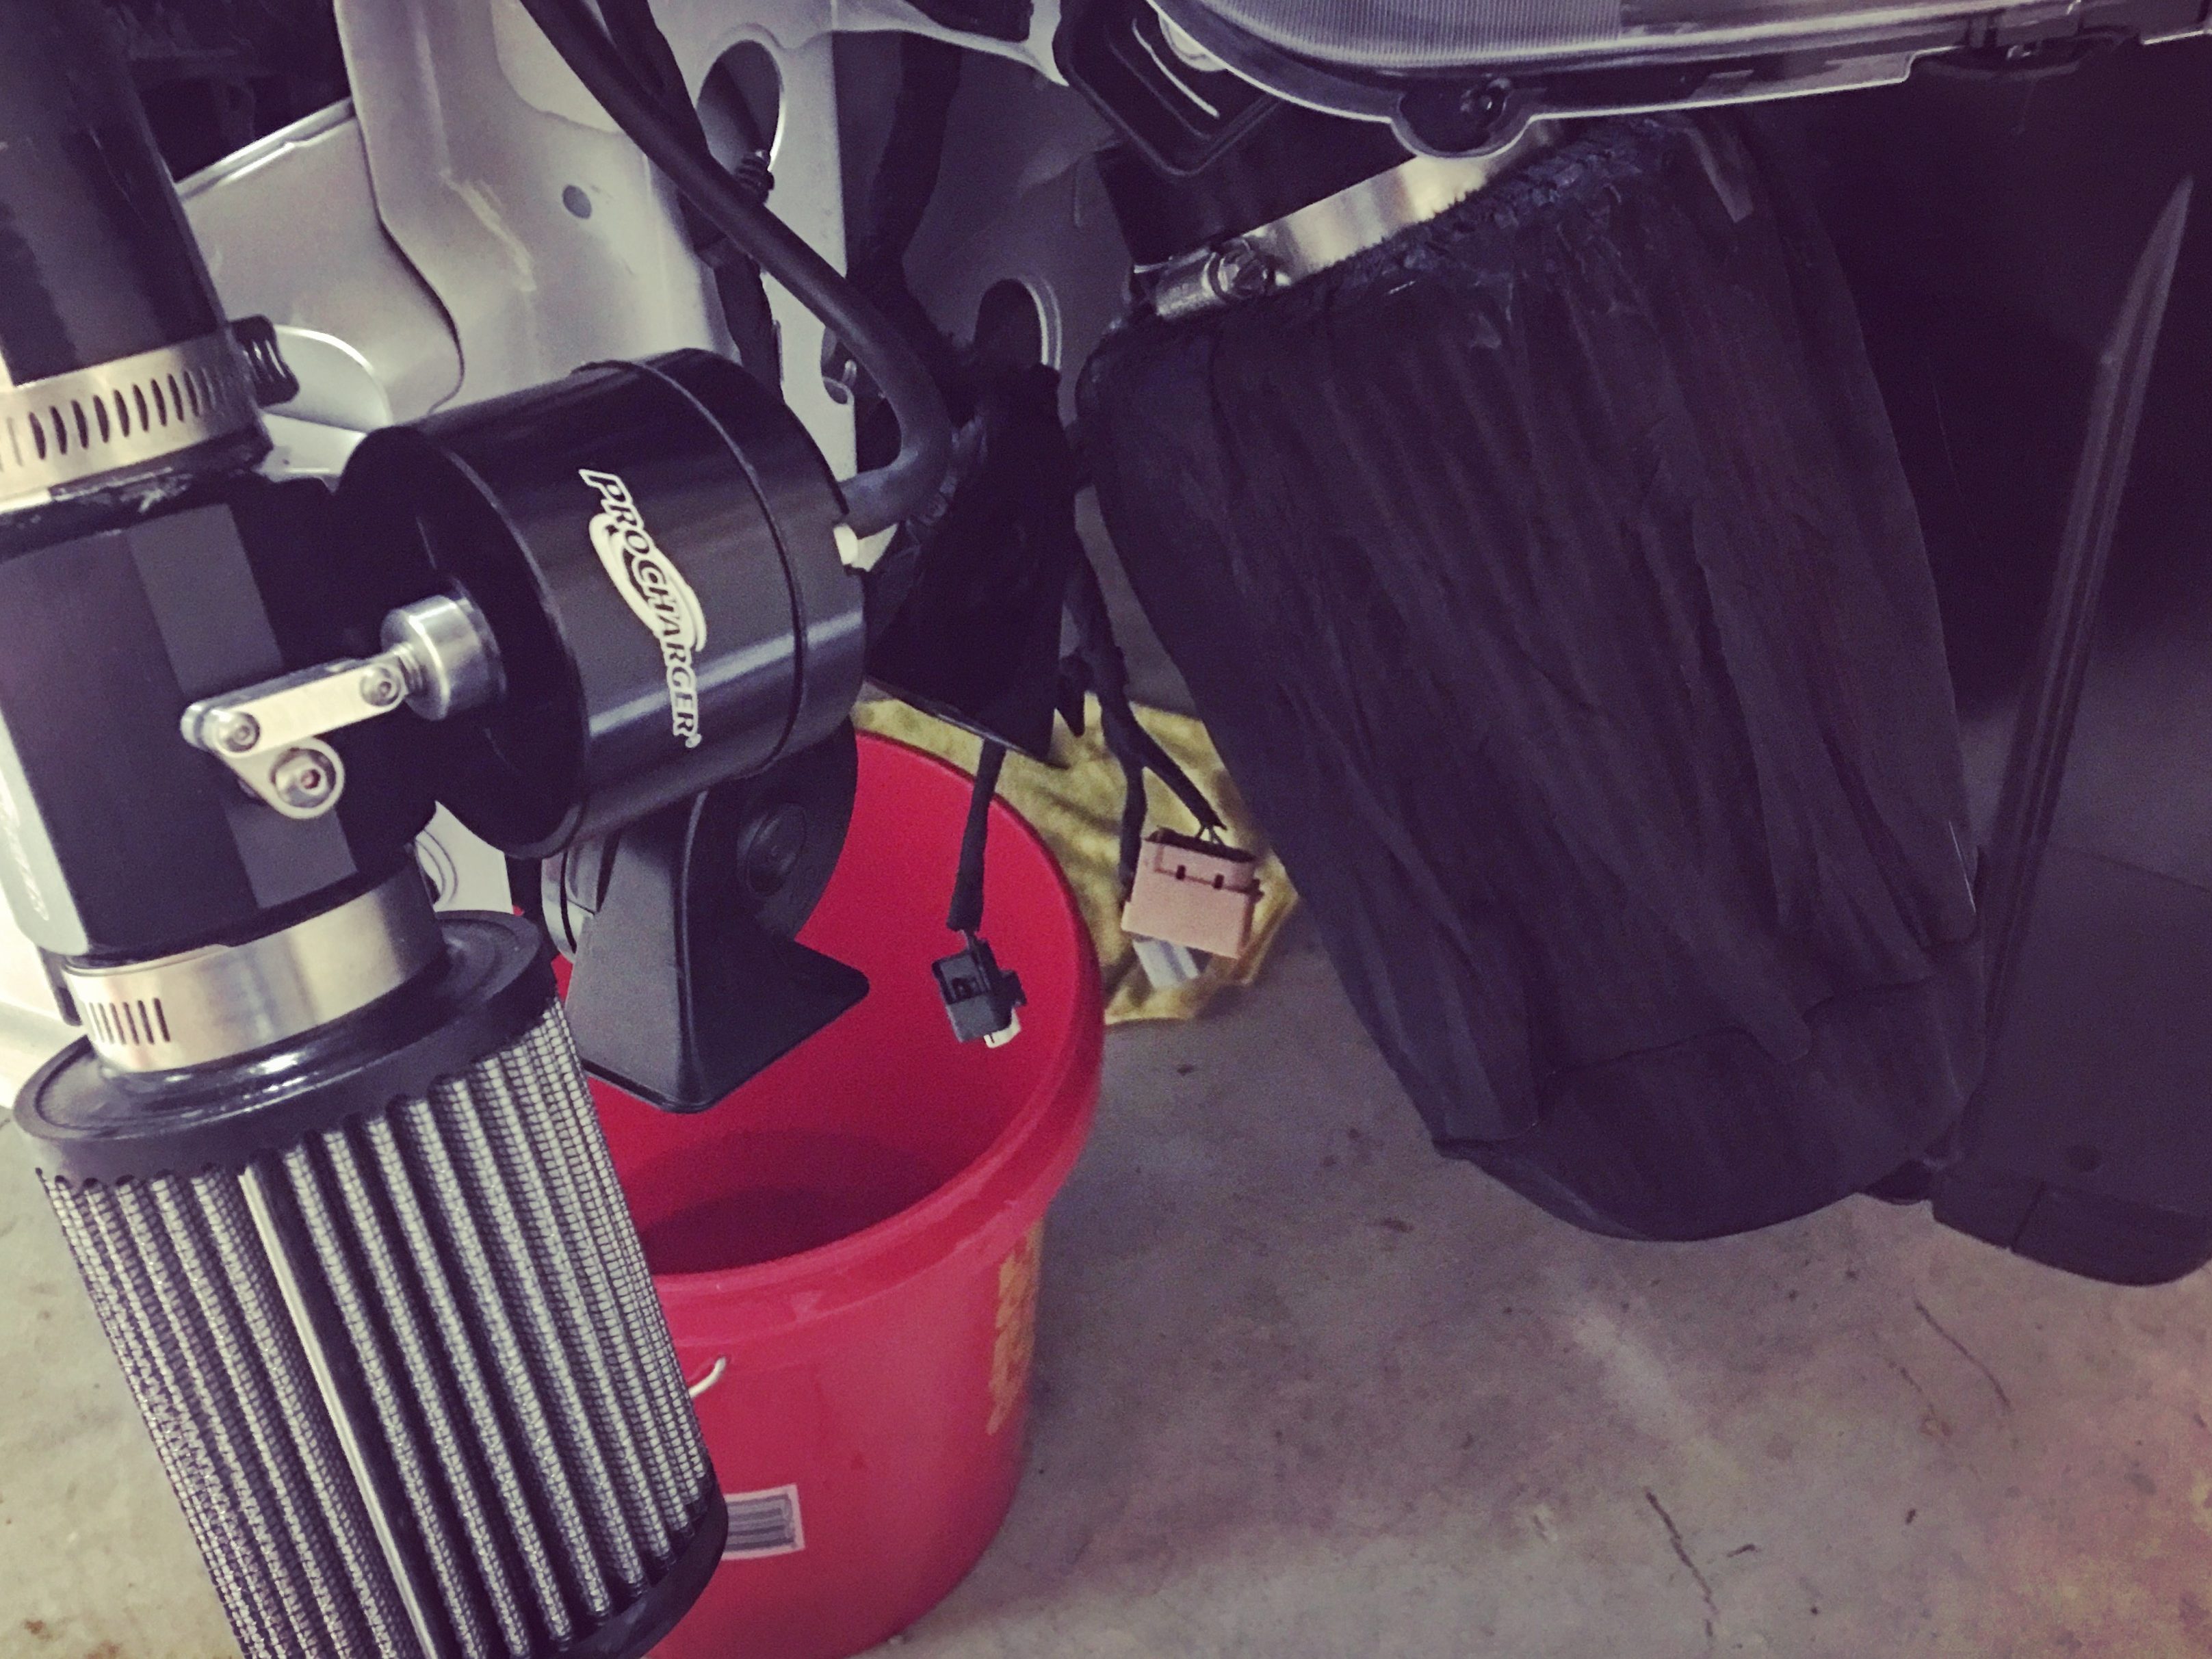
I got the supercharger bracket mounted and installed the supercharger head unit itself. This was the easy part. The biggest challenge was getting the belt on, because I didn’t initially get how the tensioner worked. The instructions could be better for this particular part. Then the intercooler went on and the plumbing was almost together! The filter elbow wasn’t that hard to trim, I don’t know why everyone says it’s bad. I was going to finish before the end of the holiday! The PCV modifications were very easy and then there was the fuel pump booster.
I wish bought a different booster and just used a plug and play model. The soldering I had to do while sitting in the back of the car (I’m 6ft3) was no fun. It didn’t help that the wires I had to solder were under the seats I had to remove and only about three inches long. Ever want to just weep? Finally I got everything soldered and shrink wrapped.
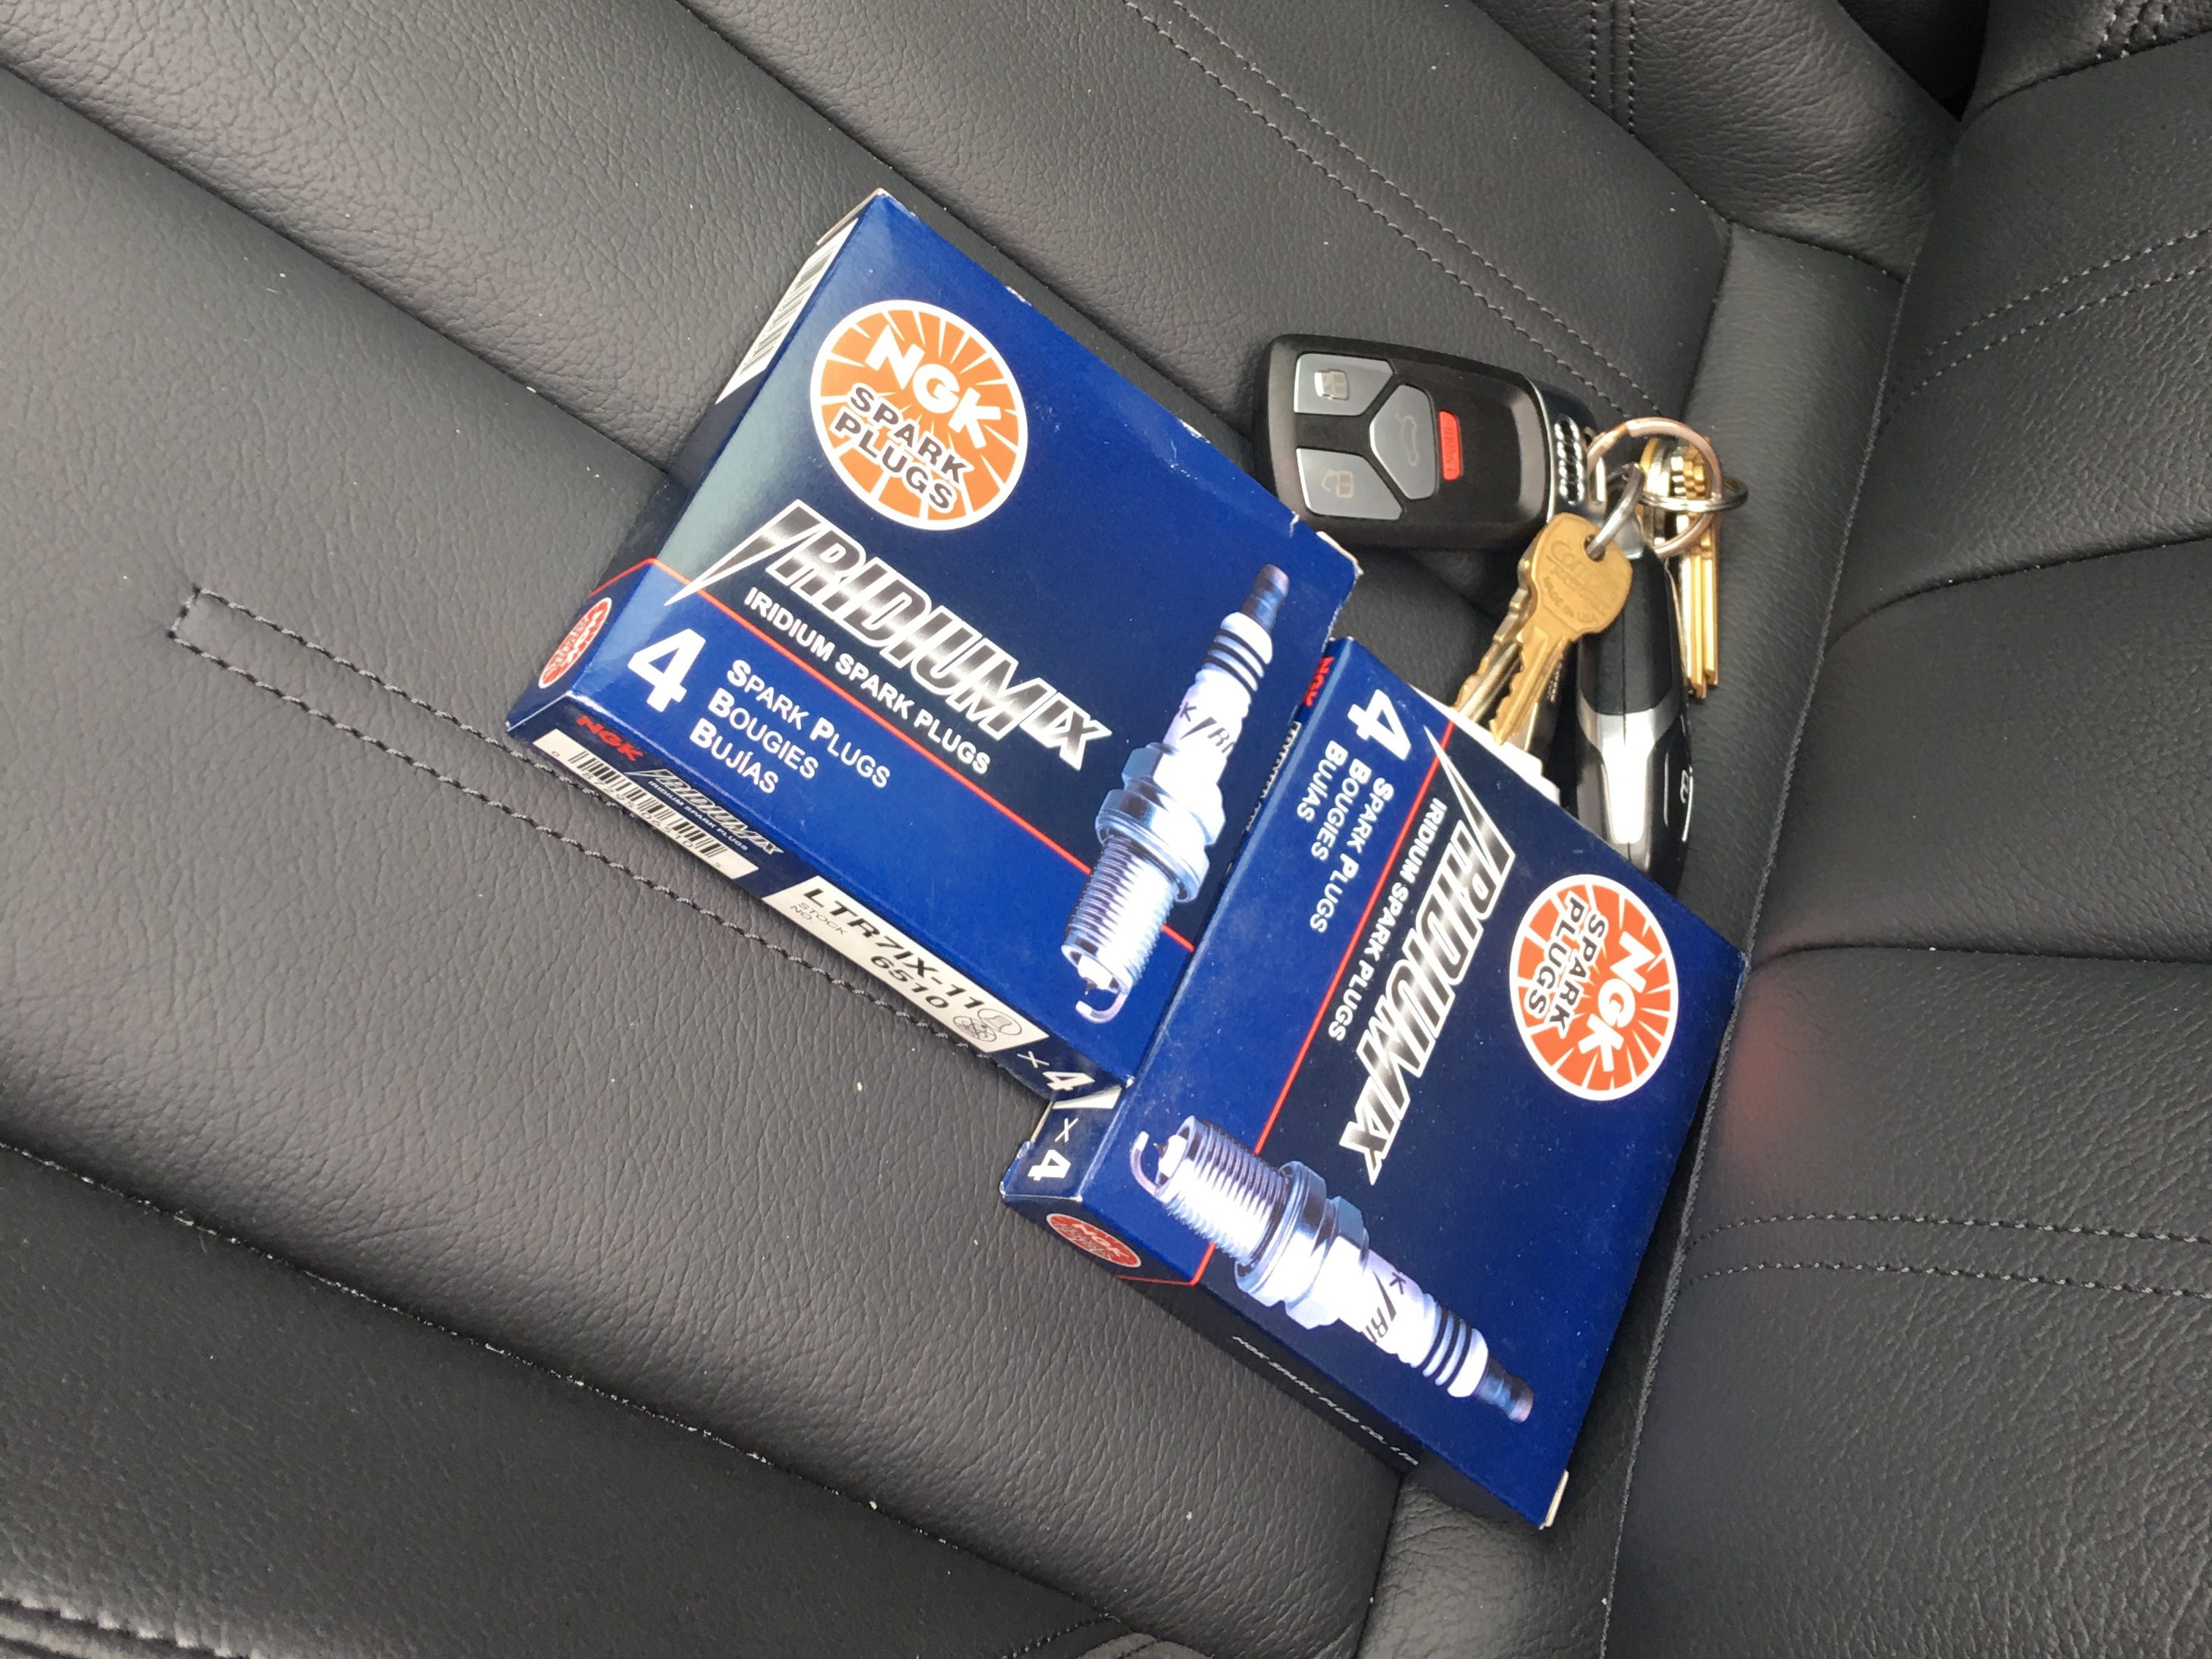
I made one huge mistake and forgot to buy cooler spark plugs. I needed NGK 6510 Iridium spark plugs gapped at 0.032″ to complete my mustang procharger install. Hit the auto parts store which luckily had these plugs in stock.
Eventually I was done and ready to crank her up! Here is the first start:
https://youtu.be/kf3wQW5X-uI
Now I started buttoning the car up and getting ready to test it. Look at how torn my hands got doing this mustang procharger install!